Overclocking the EVGA GTX 980 Classified with LN2
Author: Dennis GarciaNext Step: Heastinks
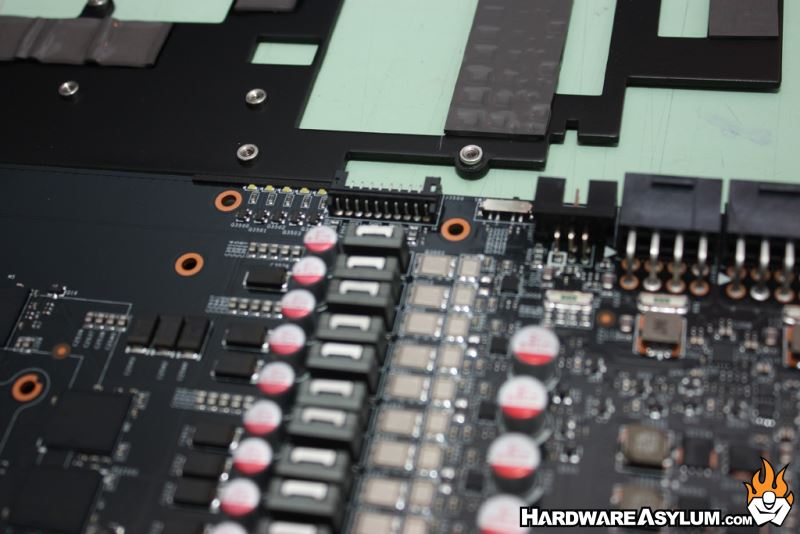
One thing I like about the EVGA ACX cooling solution is that GPU heat goes into the primary heatsink while memory and VRM heat is handled by a large aluminum heatspreader. This heatspreader also helps to reinforce the large PCB making the card quite strong.
When you do extreme overclocking you need to take extreme steps to ensure success. In this case I’m going to cut the heatspreader in half and then reinstall the VRM section.
I technically did this part first but I won’t tell anyone if you don’t. Oh wait a minute.
The heatspreader comes off as one solid piece so I need to make a couple marks on the heatsink so I know where to cut. For this mod I’ll be removing the small chunk near the top and again at the bottom.
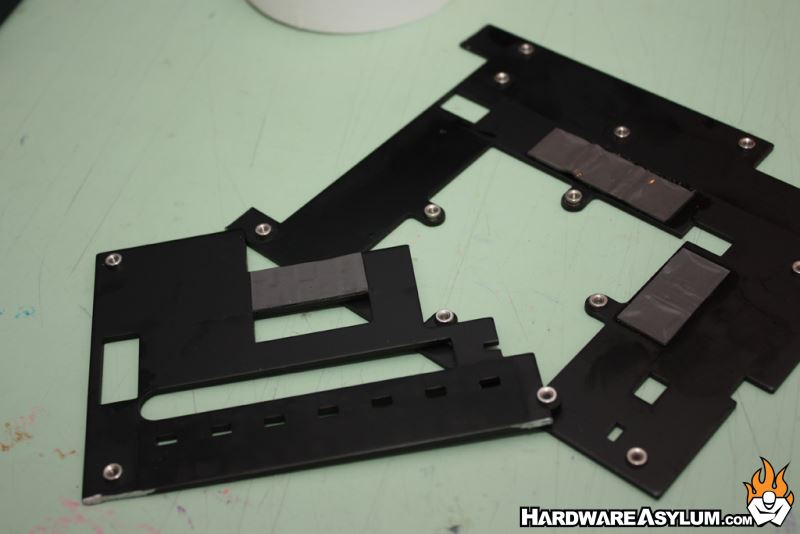
After a few seconds with the Dremel the heat spreader has been separated and is ready to be reinstalled. To ensure I didn’t get any metal shavings on the thermal pads I carefully pealed them off and will install them again later.
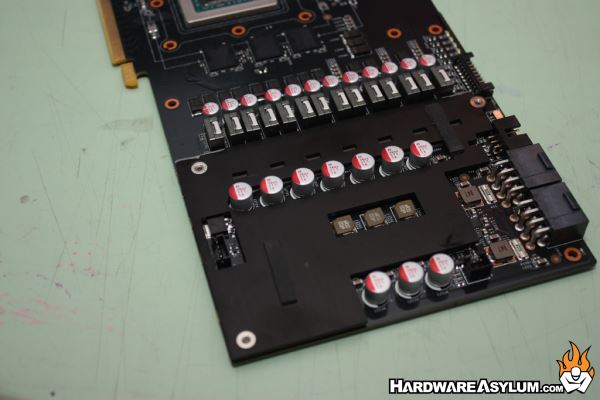
Using the factory screws the new VRM section is reinstalled and ready to go. Of course there is one HUGE drawback to cutting the heatspreader in that we don’t have as much thermal capacity but a fan will help remedy that.
At this point I can install the GPU Pot and finish up the insulation.
Installing the GPU Pot is pretty straight forward. I preconfigured the pot for the video card bolt pattern and covered the copper and aluminum with two layers of armaflex insulation. I also made a foam donut around where the GPU contacts the container to ensure an airtight seal at the GPU. (You’ll see that later)
Apply a small amount of thermal paste and mount the GPU Pot. I prefer to place the pot down on a table and set the card on top pushing down at the GPU to make sure it sits flat on the cooler. Then I install the nuts to each corner making sure to tighten each corner progressively to ensure even pressure. Not to snug and not too loose, maybe less than finger tight.
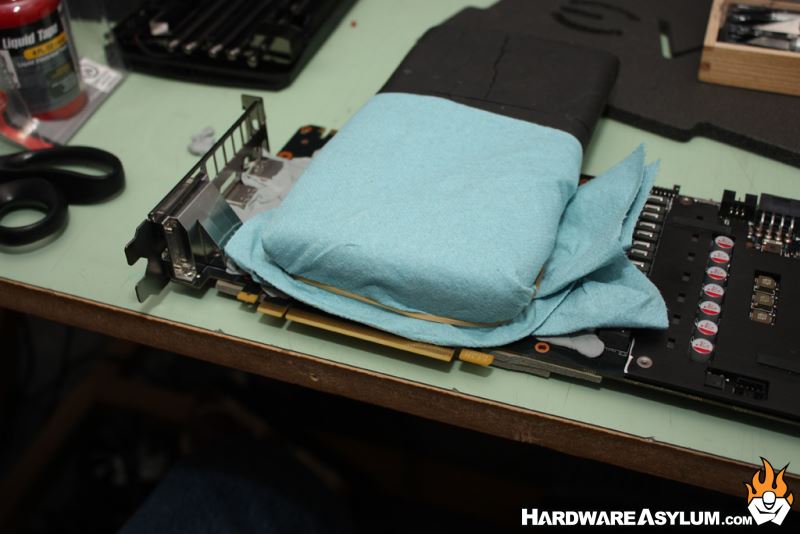
The final step on the front is to rubber band some blue paper shop towels to the container to capture any water and turn the card over.
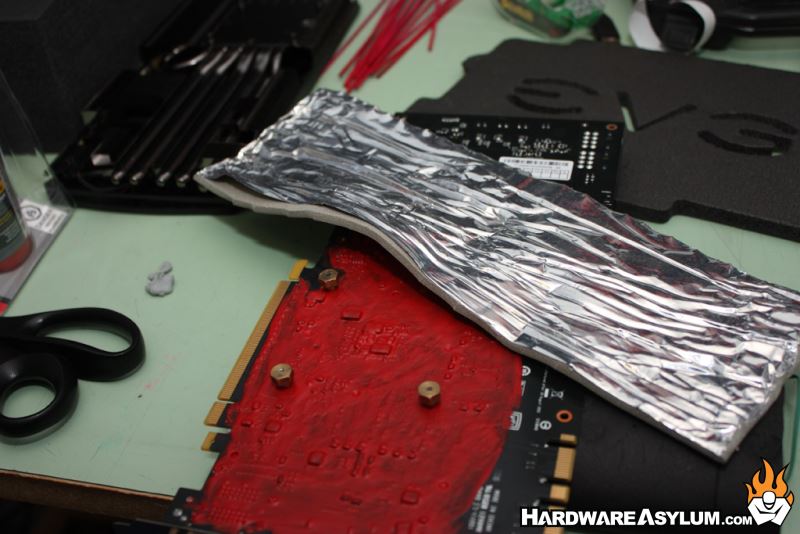
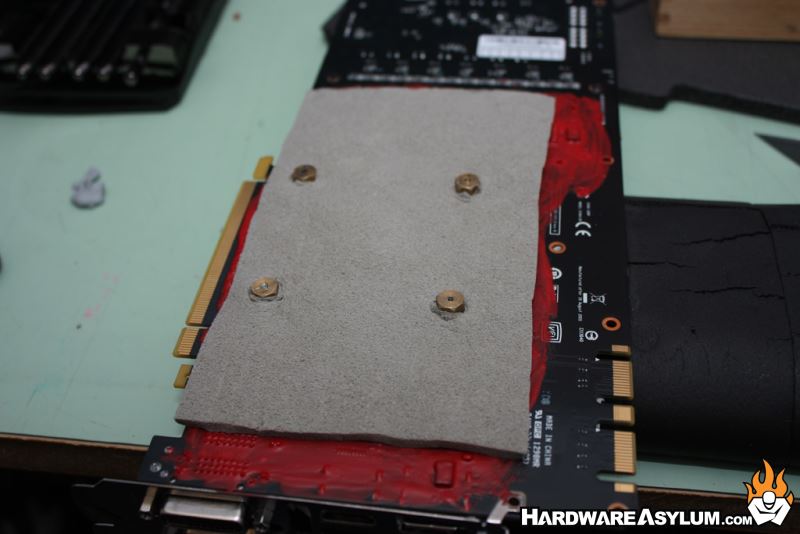
Liquid electrical tape offers no insulation so I use a bit of metal back duct insulation to help keep frost from building up. This method won’t prevent it but does a pretty good job at keeping the air out and thus the condensation down.
Basically cut a square to fit the area that has been taped. Peel the metal part off and apply it to the card. The sticky side will hold the insulation to the card.
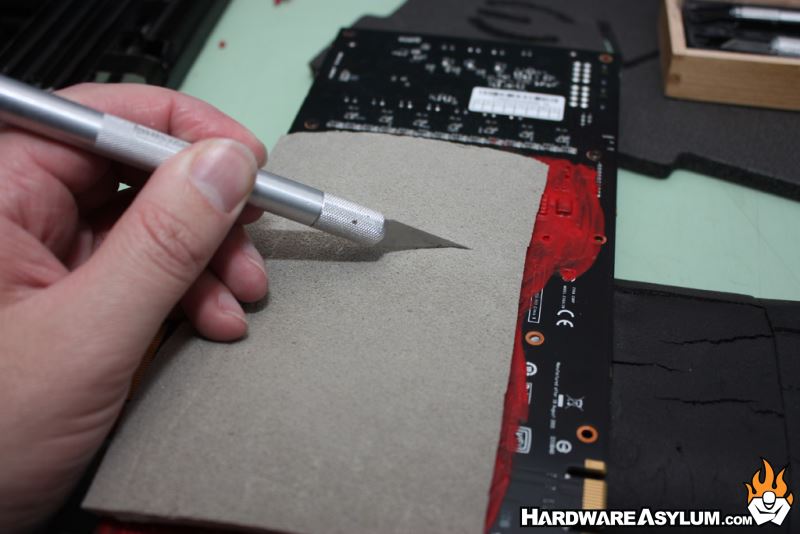
Then use a hobby knife or razor blade and cut X’s over the screw holes and work the insulation around them . This not only creates a good seal but also helps to keep the insulation in place.
Finally (not shown) cut a smaller square of the same insulation and place it over the exposed nuts.
To help promote adhesion I turn the card over again and let the weight of the GPU Pot apply pressure to the insulation.