Cooler Master HAF Stacker Casemod
Author: Dennis GarciaThe Cooler Master HAF Stacker 935
My plans for this case are rather straight forward and would involve painting a few select sections of the case to create a nice contrast between the black panels and new painted parts. The first step will be to tear the case down and separate the parts I need to paint from the rest of the chassis.
I painted up two other cases at the same time so you'll likely see some mis-matched parts, pay them no mind.
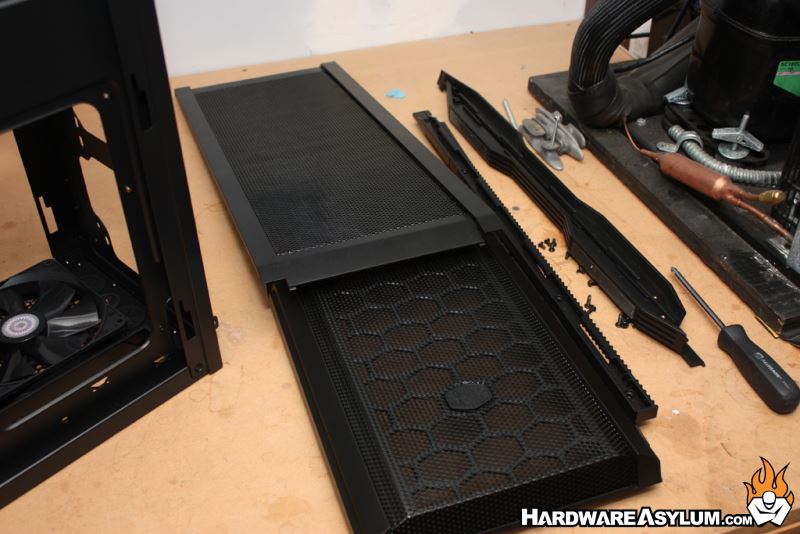
The Stacker was a rather simple case to break apart. To give the front bezel a slightly different look I removed all of the metal mesh and set the parts aside. Removing the mesh is rather easy and simply requires bending the tabs back and pulling the metal away from the plastic.
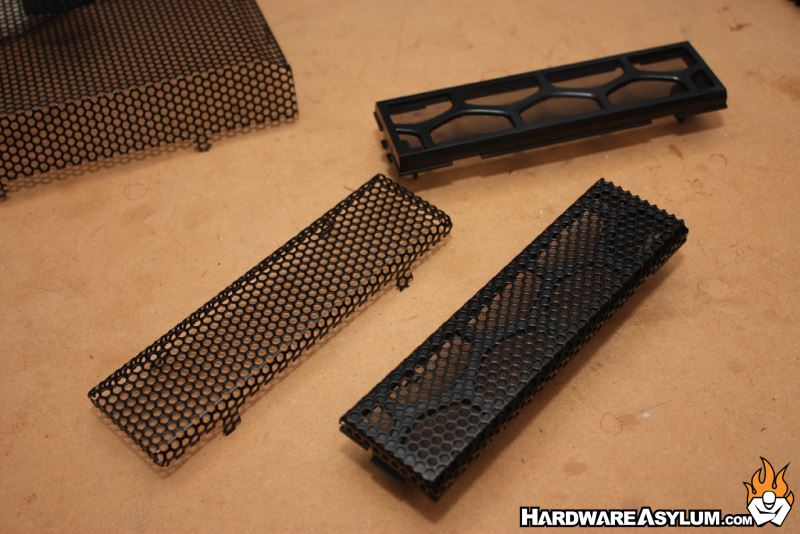
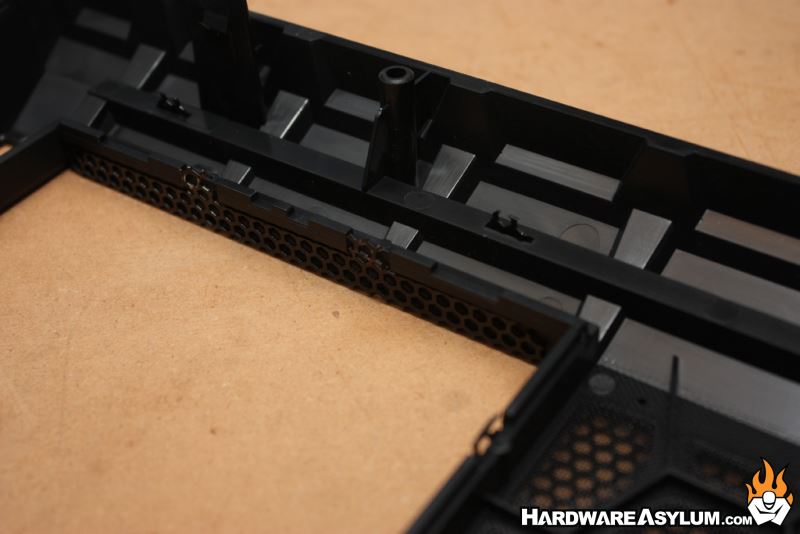
Care needs to be taken to ensure you don’t bend the metal mesh and you need to be careful bending the tabs back. First of all the metal has already been stressed and bending it back and forth too many times will cause the tab to break off. Second, the holes in the plastic are quite small and to ensure the metal can be removed and easily reinstalled you need to make sure the tabs are completely straight.
Again straight without bending them too much.
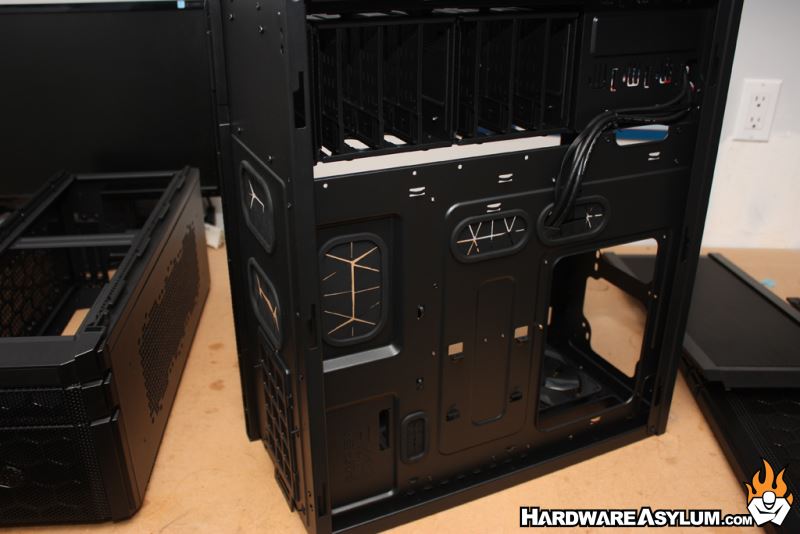
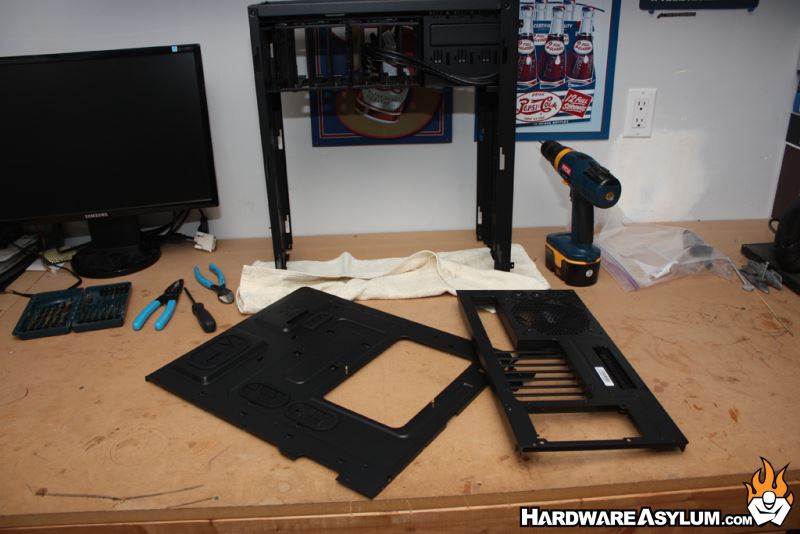
The next parts to be removed are the main motherboard tray and back panel. These would be painted while the remainder of the case will be left as is. This includes the front drive trays and upper and lower case sides.
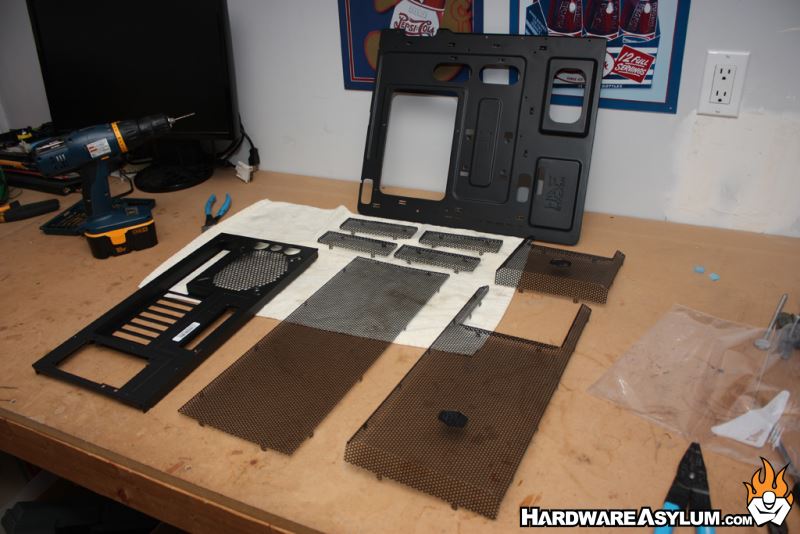
I also removed the expansion slot covers and any thumb screws. Adding these back over the painted panel will give a nice contrast but more importantly give me fewer parts to paint.
You may notice a cordless drill in some of the above photos. As you can image the rivets holding the HAF together needed to be drilled out so the panels could be separated. A 5/32” drill works great for this purpose being just large enough to remove the rivet and yet small enough not to damage the pilot hole.
If you choose to do this for yourself keep in mind that many times the rivets are secure but will spin when you try to drill them out. Using a pair of needle nose pliers you can hold the back side of the pop rivet and keep it from spinning while you drill out the rivet head. Just watch your fingers and make sure everything is clear of the drill bit.