Enermax iVektor Casemod
Author: Dennis GarciaLaying Down the Colors
My first paint coat was a sealer primer that would cover the existing paint and give the new color something to stick to, this is a very important step and any errors at this stage will only amplify as more coats get applied. Given that the temperature was below the recommended there is an increased chance that the paint will run. Lucky for me I was able to strike a good balance.
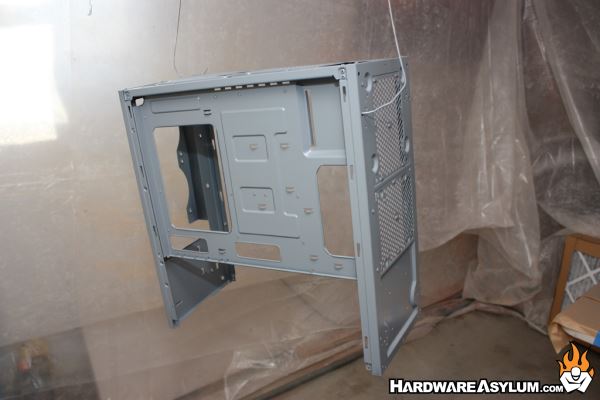
As you can see the sealer is a traditional grey and goes on as thick as it needs to be.
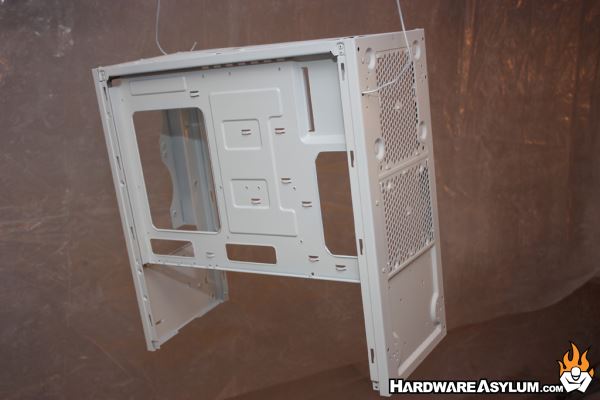
The next color is a white basecoat and the first part of the tri stage paint. Had this case been pearl white the basecoat here would have also been the color coat.
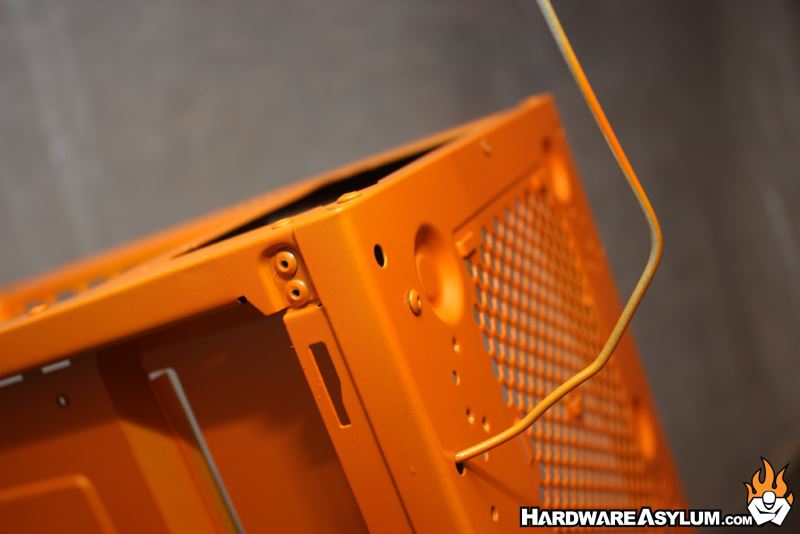
The midcoat is the main orange and pearl mix followed by the clear coat. You often hear of painters mixing their own pearls and putting the particles in the clear. This adds depth to the paint but really isn’t needed. Even cars from the factory have their pearls mixed with the color.

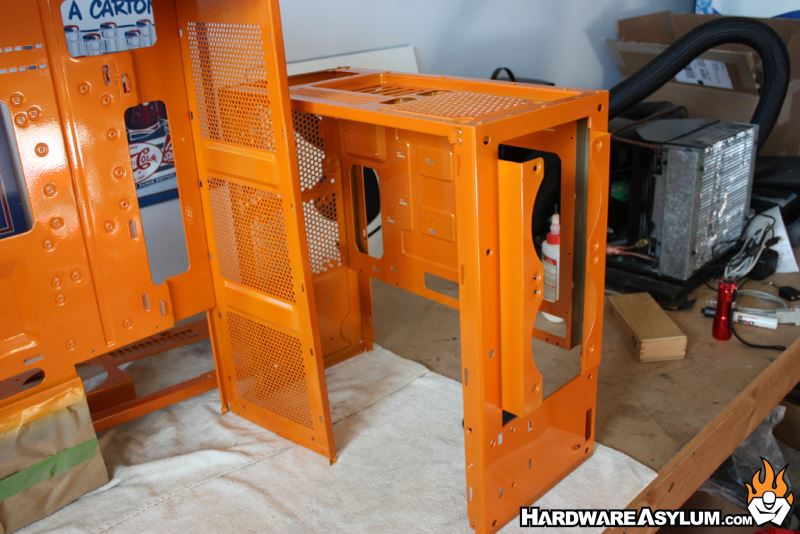
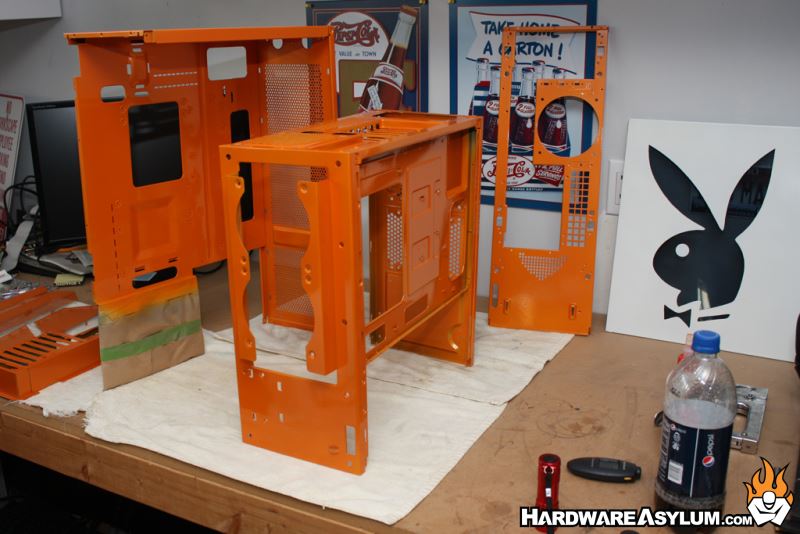
You will notice that I positioned the case with the opening facing the floor. I didn’t have a problem doing this with the previous project so I went with it again for this one. The problem here is that to spray the inside of the case you have to basically get under your work and spray upwards. This is ok for sealer and basecoats since their application isn’t all that critical. What you won’t see is that after the color coat shown in this photo I came back the next day and applied another color coat but not after flipping the case over.
In retrospect I should have just positioned the case that way but most painters will tell you to position your part in the orientation it will appear. That way what you see in the paint booth is what you see when the part is done.
At this point you can begin to see the color change occurring as light bounces off of the pearl. Up until now none of the coats have introduced any catalyst (hardener) and simply cured in the air. I mention this because once you add catalyst the paint it becomes extremely sticky and will grab things from the air and cause your clothes and hair to become magnets for dirt and dust.
Of the coats the clear is the most nerve racking too because the paint has no color so you must rely on how the paint reflects to know if you have enough down. Yes you can paint by feel but you can often leave sections rough or cause parts to run if you aren’t careful.
About an hour later the clear coat has set and the parts could be moved out of the booth to "rest".
Start to finish the painting part of this project took two days. I started setting up the paint booth around 9am and had parts ready to paint by noon. Given the colder temperatures the paint took longer to cure so instead of applying a coat every hour it was more like 2.5 hours. Needless to say by the time I was applying basecoat I had lost the majority of my sunlight and did the rest with the garage door closed using halogen shoplights.
My decision to spray clear the following day was what made this project work. By then the sun was out so I could watch the clear gloss up and it gave me more time to allow the parts to cure before I took the booth down. Sadly it was dark by the time I was done breaking everything down but the process was worth it.