Hardline Watercooling Loop Install using Pacific Cooling Gear
Author: Dennis GarciaPump and Radiator Installation
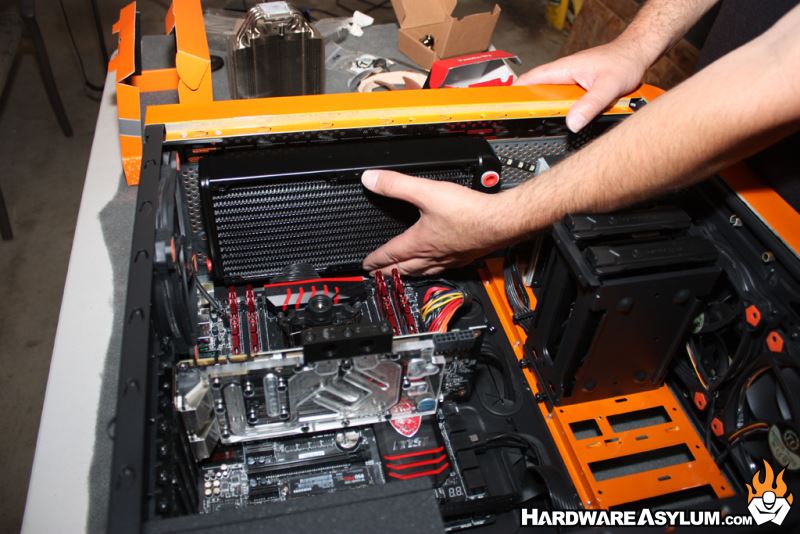
There are four places to put a radiator(s) in the Thermaltake Core V51 and of those four only two of them support a radiator of any significance. The top and front both support radiators up to 420mm however installing one that large requires removing the external 5.25” drive bays and wasn't something we planned to do.
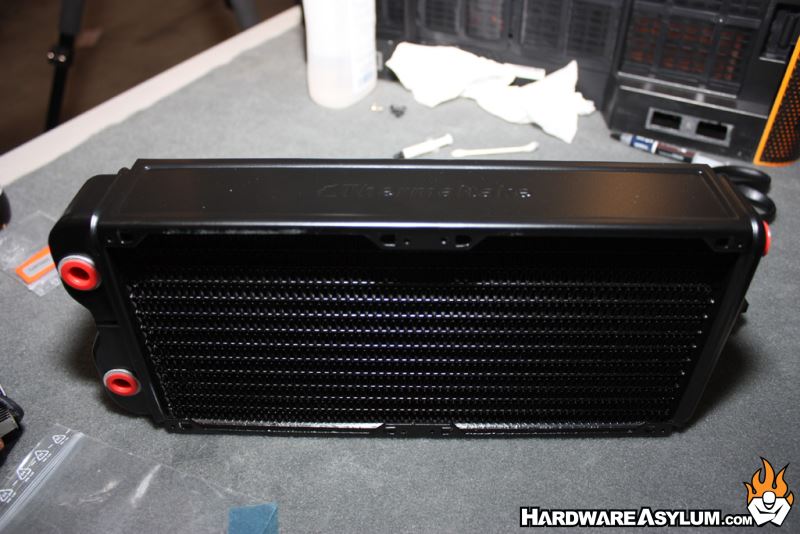
For this build we are going with the Pacific RL280. This is a dual 140mm radiator with a rather high fin density and is 56mm thick. The size of the radiator limits it to only being installed at the top of the case, at least in this configuration.
Once the radiator is installed the only thing left is the pump res combo. For this build we are using the Pacific PR22-D5 with a Silent Kit to dress the pump up. The combo is quite tall and for looks and ease of installation it will be mounted directly to the bottom of the Core V51 and directly below the radiator ports.
One of the maintenance items with an assembled DIY watercooling loop is that the coolant needs to be changed every once in awhile. With softline tubing you can get away with pulling a hose to drain the system. However, with hardline once the tubes are in place they become a cohesive unit making it rather impossible just to "pop a hose". So, to accommodate the occasional fluid change a drain needs to be installed.
Some enthusiasts recommend a drain valve however I took a simpler route and installed a “T” fitting and found a spot in the loop where I would need a 90 degree turn and capped off the end I wasn’t using.

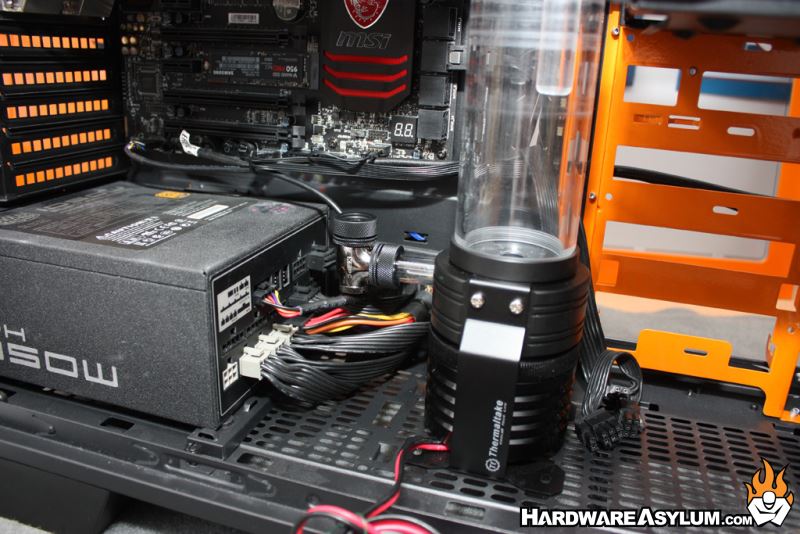
Initially the intent was to have the drain hidden so a small lead was attached to the pump with the “T” fitting on the other end. While there is technically enough room to drain the system in later versions of this loop the drain was brought more forward to allow better access.
The last photo shows everything installed in their final locations.
Next up lets bend some tubing.