Asetek Gen 4 AIO Cooler Review Roundup
Author: Dennis GarciaCooler Installation
Asetek offers two types of installation hardware. The first is a standard retention kit which consists of a mounting ring and single piece fasteners. You’ll need multiple sets of these depending on your system and while I find the Standard kits to be easy to use, you are left with a good amount of extra hardware to throw away.
The Premium Retention Kit is what Asetek sent with these coolers and is claimed to be quicker to install and more aesthetically pleasing. I will admit, at first I didn’t like it but, after switching coolers over 12 times I can honestly say the Premium Kit is much nicer.
Kits are configured by system and I recieved hardware for both LGA 2011 and LGA 115x. In a way the Premium Retention kit is almost universal considering that the only major difference is how the cooler attaches to the motherboard.
For LGA2011 you first install the threaded posts using a nut driver and light pressure to secure them to the CPU socket.
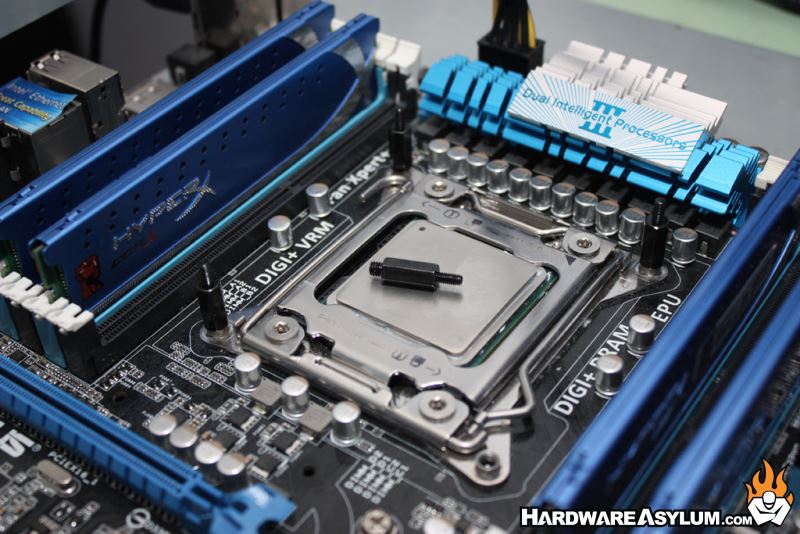
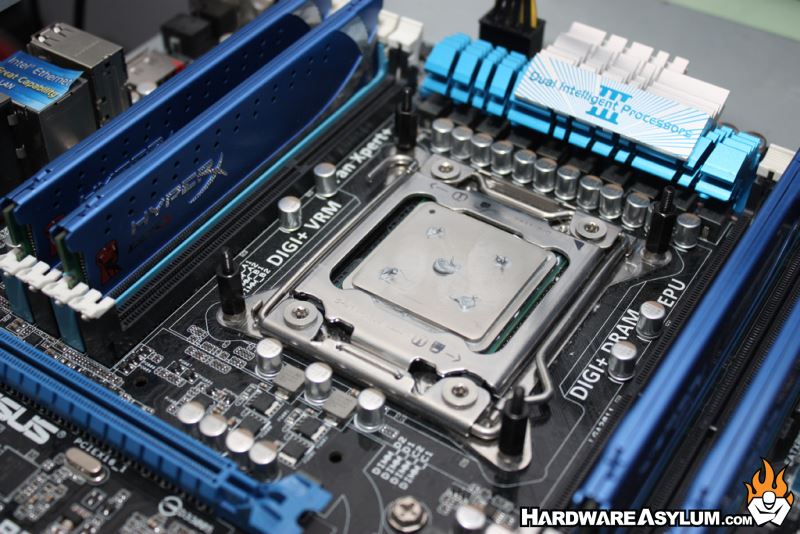
I’m using the Noctua thermal paste and prefer the 5 dot method as that remains one of the most consistent methods for my heatsink testing.
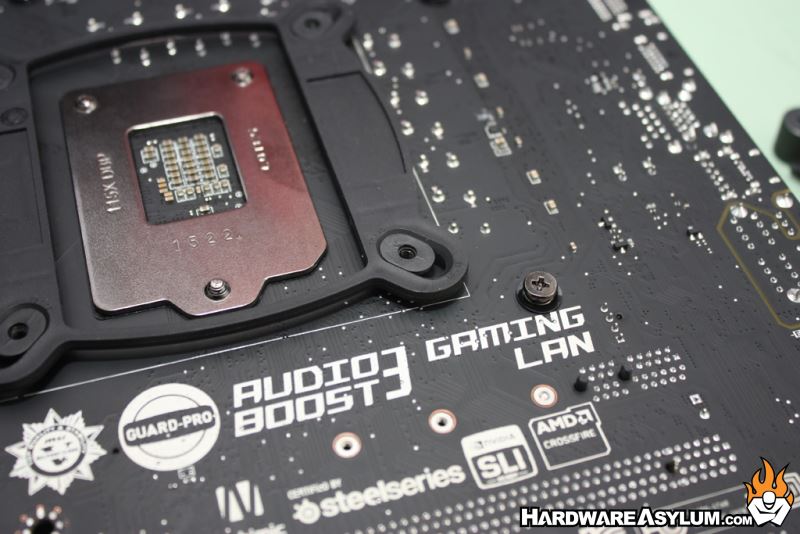
If you are using LGA115x (Sandy Bridge, Ivy Bridge, Haswell or Skylake) you must first install the back plate making sure to adjust the sliders to match your system. Next install the threaded posts using a nutdriver to secure them. Like before light pressure is all that is needed.
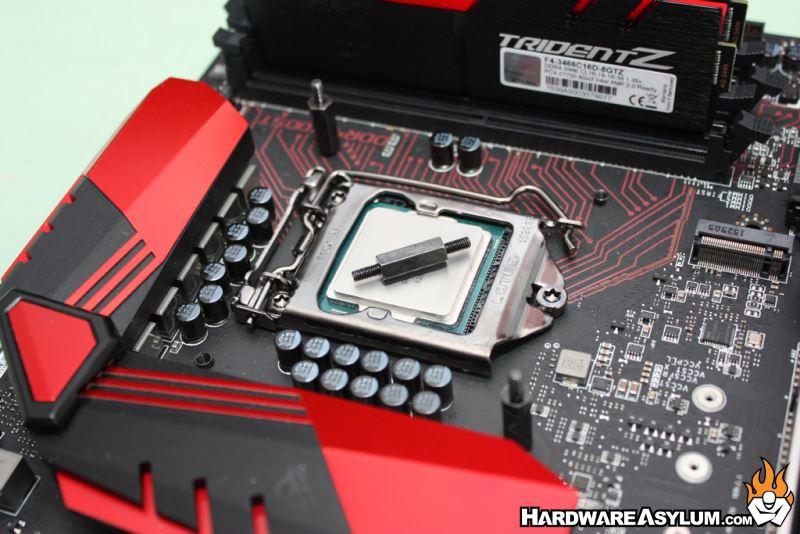
Like on LGA2011 I’m suing Noctua thermal paste in the 5 dot method. Small dots are all you need.
To install the cooler you must install the appropriate mounting plate and on Intel systems that is the square one. The plate lines up on the pump block where the two types of fingers meet. That leaves an opening for the plastic ring so to keep the plate from moving.
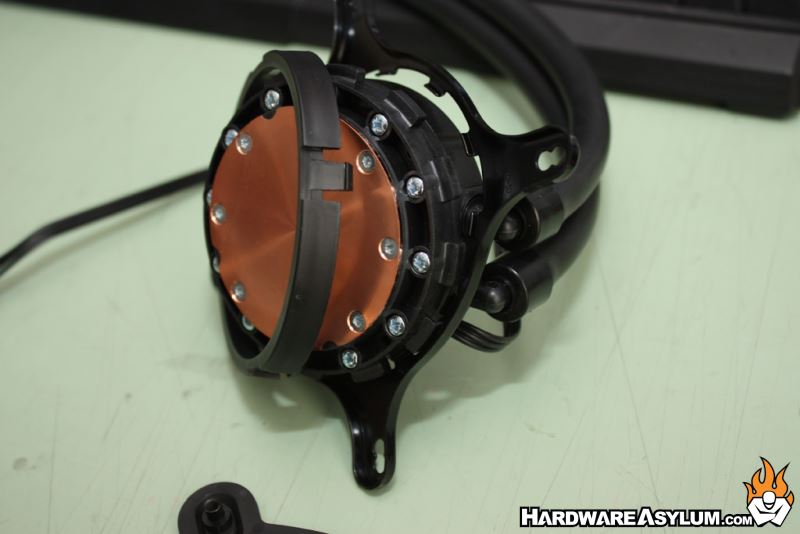
If you look carefully you can see the plastic tab near the water hoses.
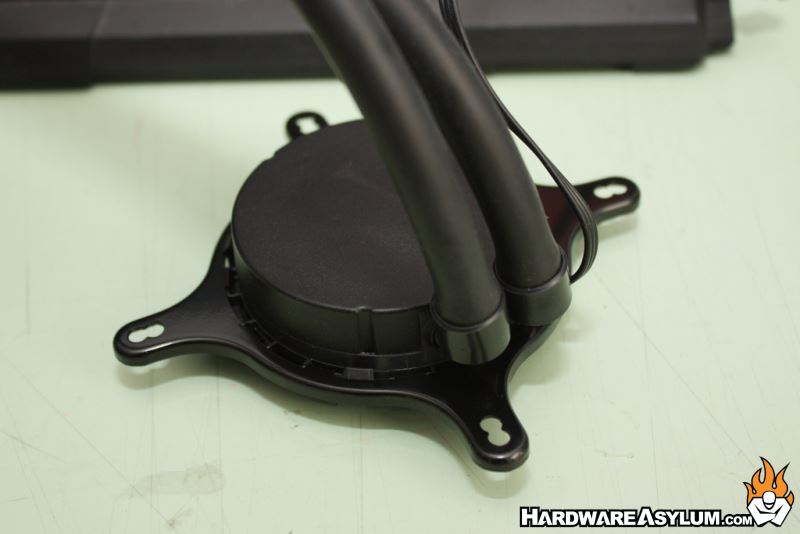
The final step is to install the pump block and secure it with the included thumb nuts. Run the nuts down until they stop in a progressive “X” pattern. I often suggest one full turn for each nut and move to the one directly across. You will continue to do this until they all stop moving.

Connect the pump and you are done.
For this review I’m using Noctua NF-F12 Focused Flow fans. These are a great high pressure fan and the focused flow fins allow them to be used in a “push” configuration. Had I been using any other fan they would be mounted in a “pull” configuration to pull air though the radiator.
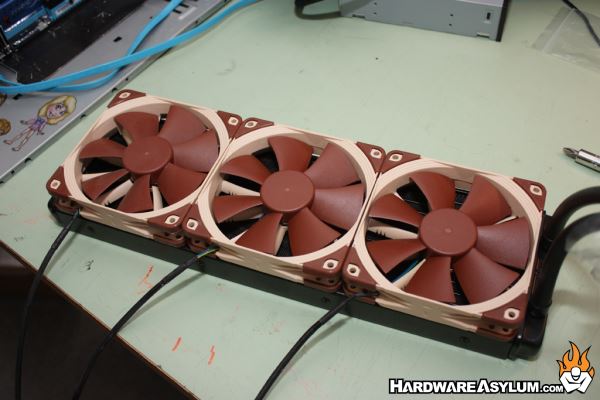
There is much debate on push vs pull and which is better. Keep in mind that fans have a natural cone shape to their airflow. Allowing fans to push into a radiator concentrates airflow only on the edges of the fan leaving a huge dead area directly under the motor and half of the fan blade profile. Flipping the fan around improves the surface area and will actually increase cooling performance.
The Noctua focused flow fans do not suffer from this and work equally well on either side of a radiator.