Cooler Master Hyper 212 Evo Heatsink Review
Author: Dennis Garcia
Published: Monday, September 26, 2011
Installation
The installation method is virtually identical to the original Hyper 212 Plus, right down to the included hardware. In the package you will find everything you need including a universal back plate and scissor style mounting clip that adjusts to match the desired processor platform. Fan mounting has been improved where you need only snap the fan in place and let the plastic tabs do the rest.
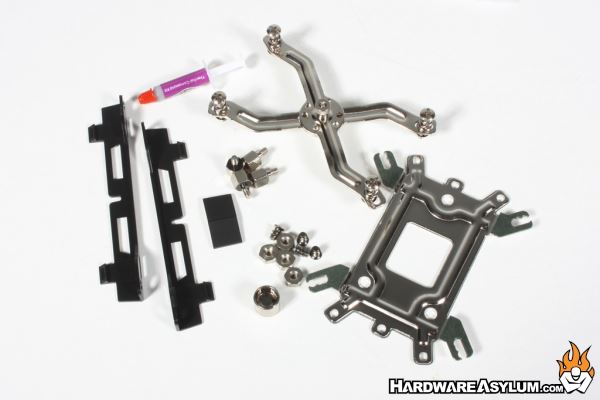
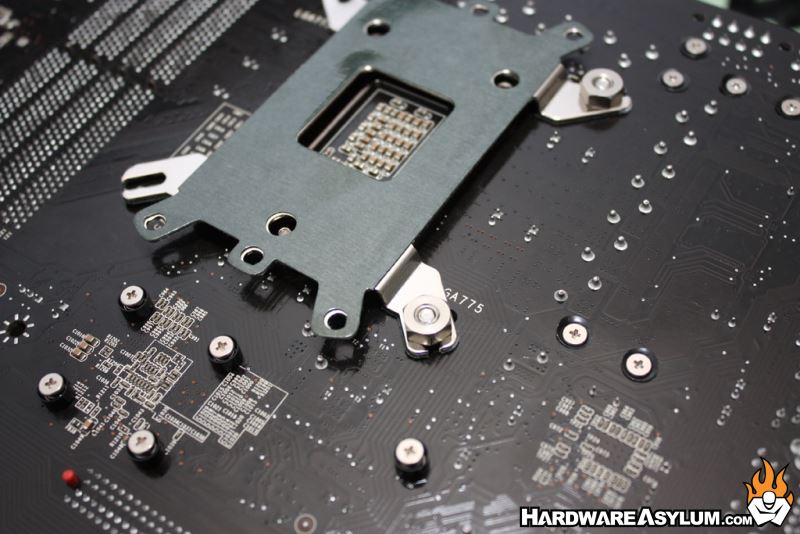
To begin you will need to first install the backplate which is held in place with four bolts that double as the heatsink standoffs. Be careful during this stage of the installation since the standoffs are individual in nature you can easily drop them if the motherboard is still installed in your case.
Tighten the nuts using the included tool and a Phillips screwdriver or socket if you so desire.
Tighten the nuts using the included tool and a Phillips screwdriver or socket if you so desire.
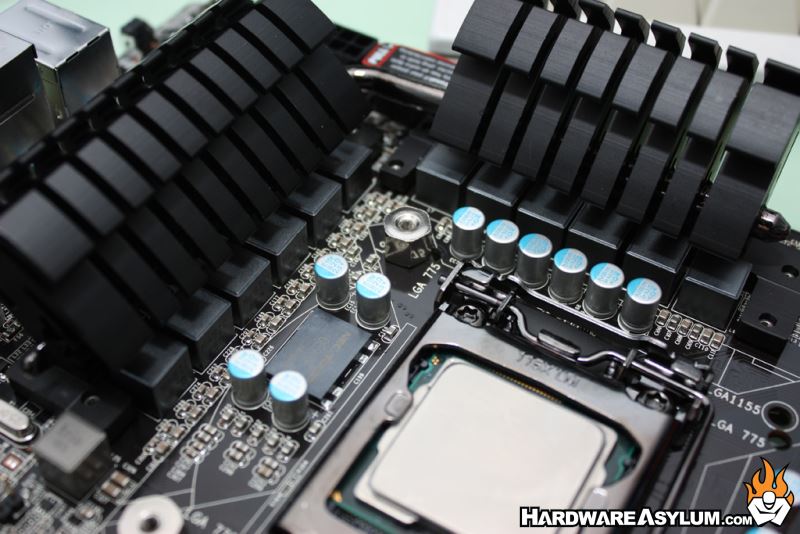
Based on experience I know that this next step can be tricky so it is always best to do a test fit before attaching the heatsink. Basically you'll need to make sure the mounting screws are in the proper position for your motherboard and that the mounting clip is opened to the right position.
There is a notch located near the center of the scissor mount that aligns to the heatsink, and has to be lined up to ensure that the heatsink is properly mounted and does not rotate on the processor.
There is a notch located near the center of the scissor mount that aligns to the heatsink, and has to be lined up to ensure that the heatsink is properly mounted and does not rotate on the processor.
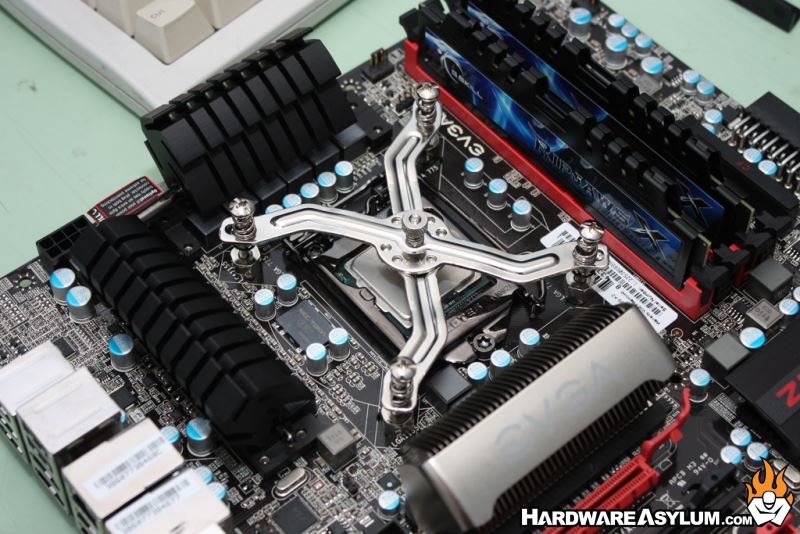
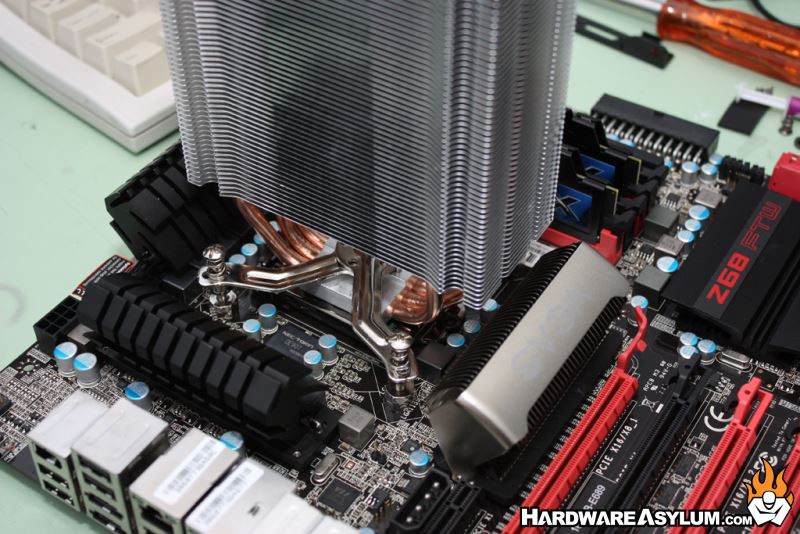
The final step is to apply some thermal compound, install the heatsink in the desired orientation and feed the scissor mount thru the base of the heatsink. At this point you can open the mounting clip to the proper position and make sure the pin on the heatsink lines up with the mounting clip. After that use a Phillips screwdriver and tighten each of the screws until they have fully seated.
We do which that Cooler Master will finally discard this mounting method as we feel it is entirely too complex for what it has to do.
We do which that Cooler Master will finally discard this mounting method as we feel it is entirely too complex for what it has to do.