ThermoLab Trinity Heatsink Review
Author: Dennis Garcia
Published: Friday, March 18, 2011
Installation
Installing the ThermoLab Trinity is actually extremely easy. The included manual has step by step instructions with associated pictures which makes finding and installing parts a breeze.
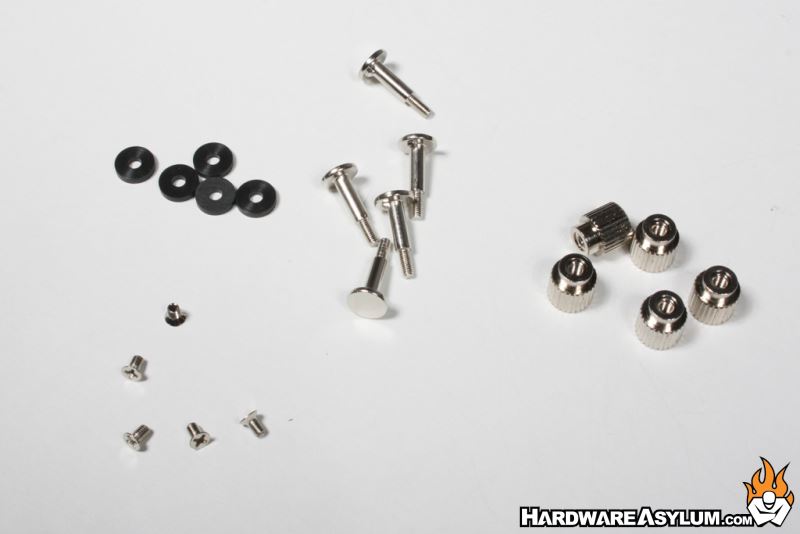
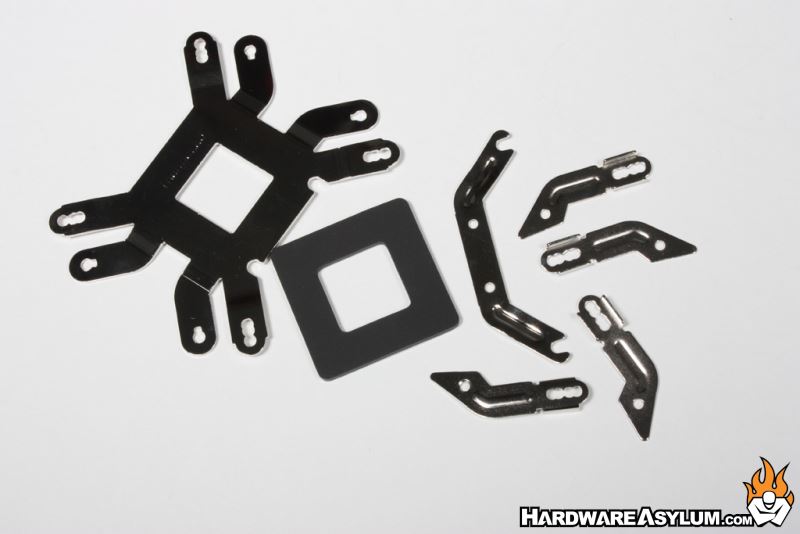
The first step is to identify your parts and install the necessary mounting hardware. We are testing this heatsink on the Sandy Bridge platform so we'll be following the 1156/1155 instructions.
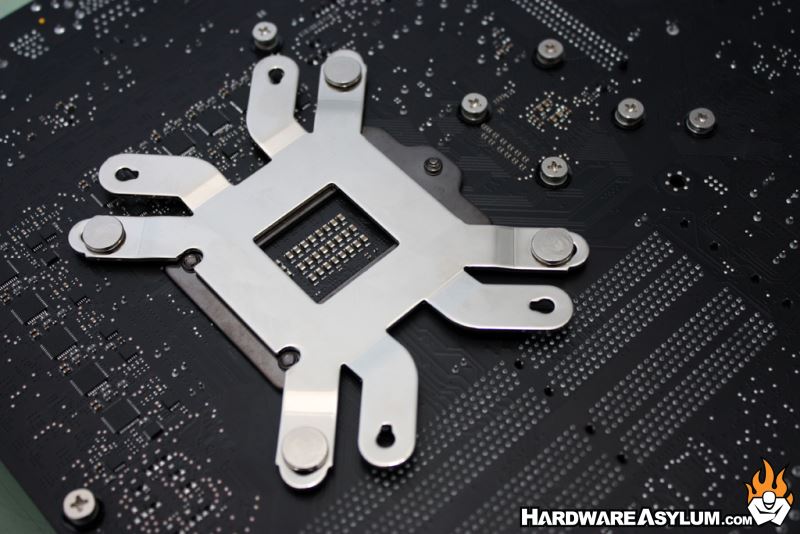
An important feature to any aftermarket heatsink is the back plate. This not only gives you a nice base to support everything but also helps to reinforce the PCB from flexing under load. When installing the back plate note the 2 notches along the side, these align with the socket screws. You will also want to make sure the lettering on the back plate is facing the PCB to ensure proper spacing.
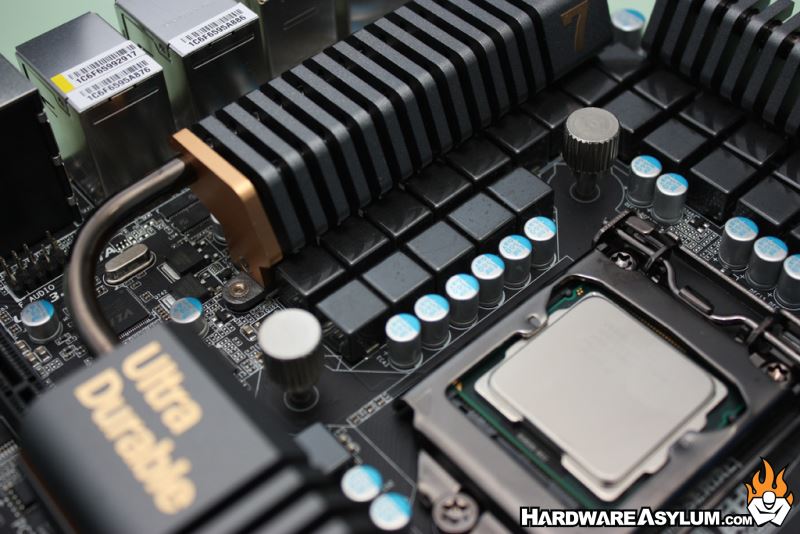

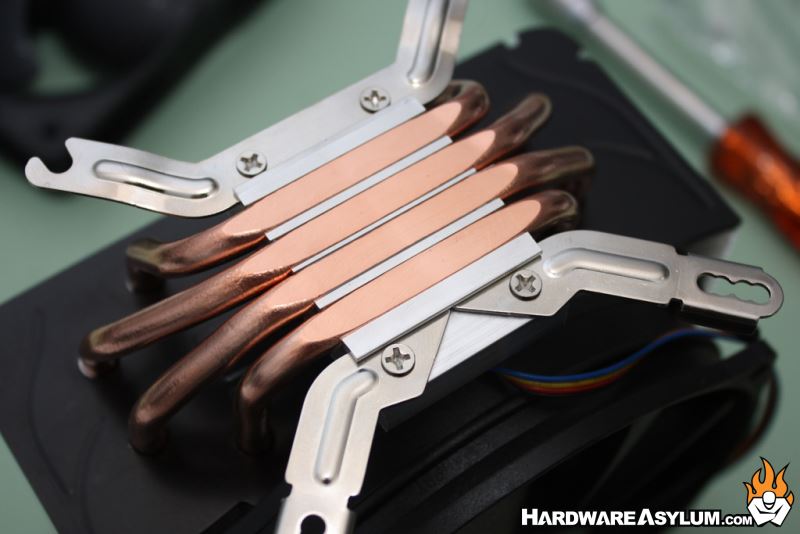
The heatsink is held in place using 4 thumbscrews and 2 of them are installed before you begin. Placement of these screws will usually be on the inaccessible part of the heatsink opposite of the fan location but can vary depending on your particular system.
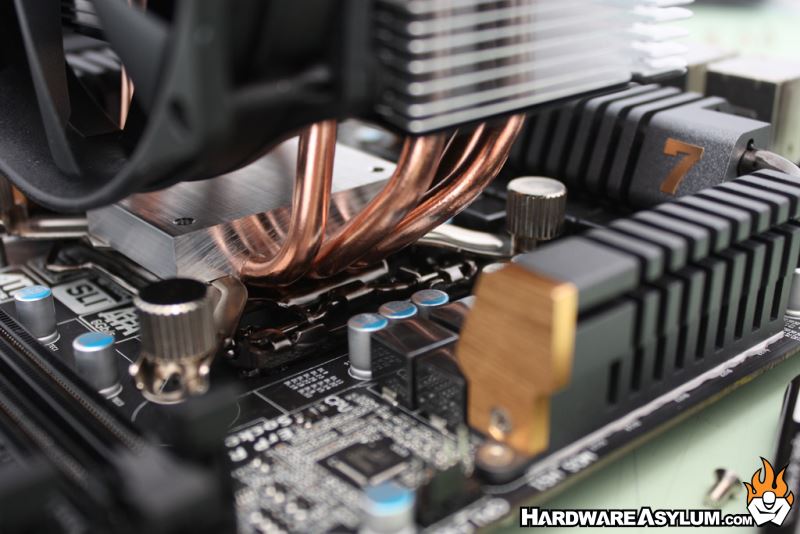
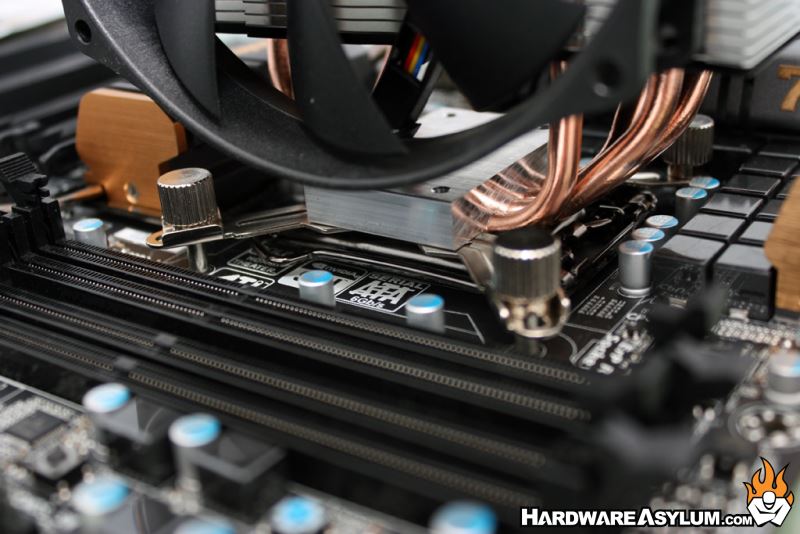
To install the heatsink simply slide the open nocks under the thumbscrews you already installed. Apply pressure to the heatsink to force the other ends down over the posts and install the remaining thumbscrews. Don't forget the thermal paste.
Connect the fan header and you're done.
Connect the fan header and you're done.