Thermaltake Pacific RL280 Radiator Review
Author: Dennis GarciaRL280 Layout and Features
One of the marketing messages accompanying the Pacific radiators is how they are constructed. Just about every radiator in existence is soldered together and is a low heat way of bonding two dissimilar metals together. The solder is easy to manipulate and mass produce but, requires flux to clean the metal and can create “hot spots” in the radiator which can decrease the water to air heat transfer.
Thermaltake has addressed this by replacing the solder process with brazing which they claim creates a uniform heat transfer. The interesting aspect of brazing is that it occurs at a higher temperature which allows them to use a filler rod with better thermal properties. According to Thermaltake their brazing process requires no filler, with I find hard to believe, but very well could be the case.
So why does brazing vs solder matter? Fin density.

The number of fins used in a radiator determines the thermal properties and how many opportunities the radiator has to exchange heat from the liquid part to the air part. On the left is the Pacific RL208 with its rounded fins while on the right is a Black Ice design with a higher fin density and accordion style fins. If the radiators were the same thickness the Thermaltake would flow better and require less air pressure (silent fans) while the black ice has the potential to cool better using higher pressure fans (Louder).
The Pacific RL280 is a dual row design and is something you can identify for yourself by looking at the top tank where the inlets and outlets are located. In the middle is a blocking plate which forces water to take a certain path and return down another. Doing this ensures the liquid has the opportunity to be cooled and is a guiding principle of any radiator. (read: they all come with this)

Speaking of ports the Pacific RL280 comes with five. Four are located at the top of the radiator and can be opened up on either side of the rad. This can create an interesting parallel style radiator loop for those of you wanting to do something extreme.
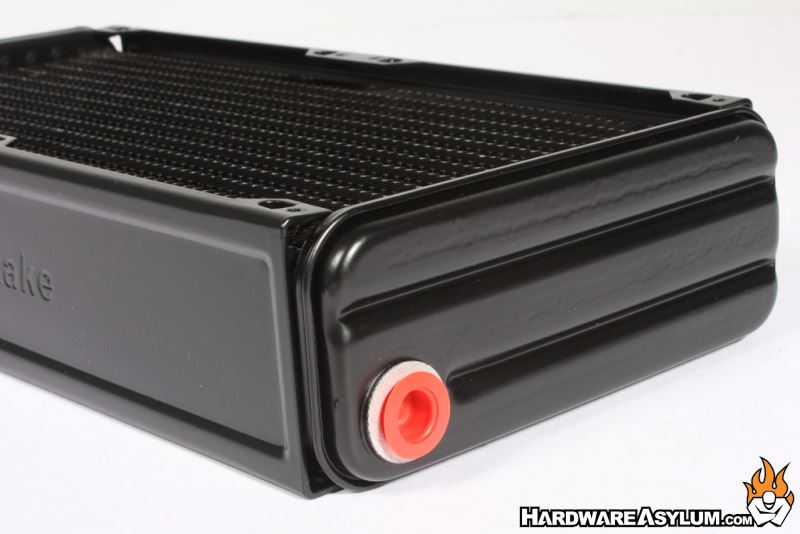
The last port is located at the bottom of the radiator and serves as a drain when the radiator is front mounted in your PC. It doesn’t work so well if the radiator is top mounted but it is a nice option to have.