Thermaltake Water 2.0 CPU Watercooler Review
Author: Dennis Garcia
Published: Friday, June 01, 2012
Installation
As we mentioned before the Water 2.0 system comes with two sets of mounting hardware. We will be testing on LGA 2011 so the majority of the gear is not needed.
We start by assembling the "legs" of the cooler which contain the mounting screws. These consist of two plastic spacers that when turned one direction will fit LGA 1366 and LGA 2011 and when turned the other way will fit LGA 1155 and LGA 1156. You will need to look on the spacer make sure the numbers for your system are facing out.
We start by assembling the "legs" of the cooler which contain the mounting screws. These consist of two plastic spacers that when turned one direction will fit LGA 1366 and LGA 2011 and when turned the other way will fit LGA 1155 and LGA 1156. You will need to look on the spacer make sure the numbers for your system are facing out.
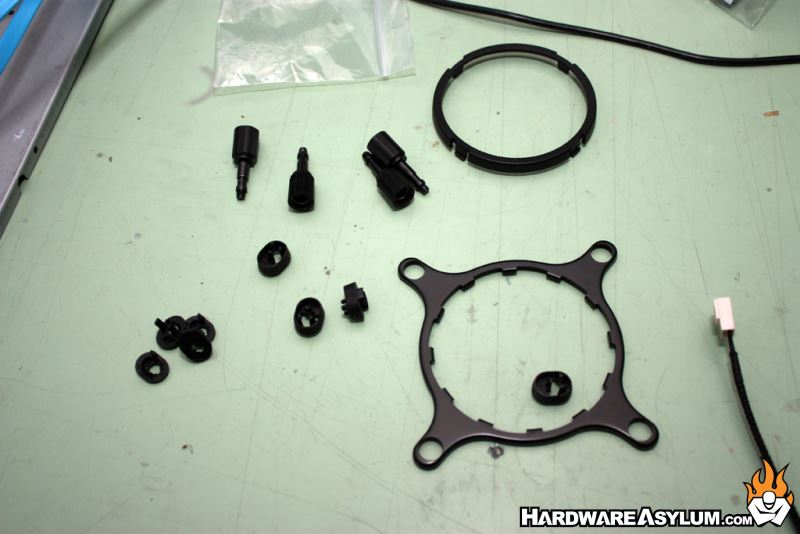
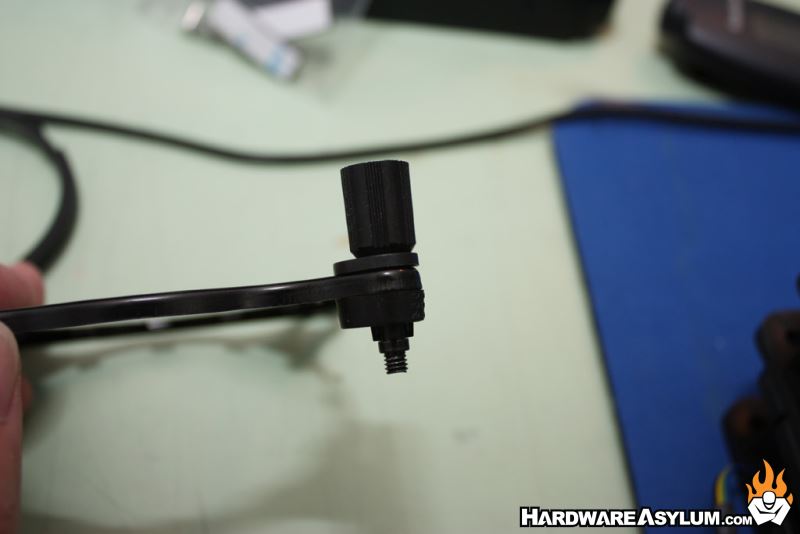
A plastic clip locks this spacer down and serves as a washer for the mounting screw that is inserted next. When you are done you'll have something that looks like the photo.
Much to our surprise there are no tension springs, just a little wiggle room in the mounting hardware so keep that in mind when installing the cooler.
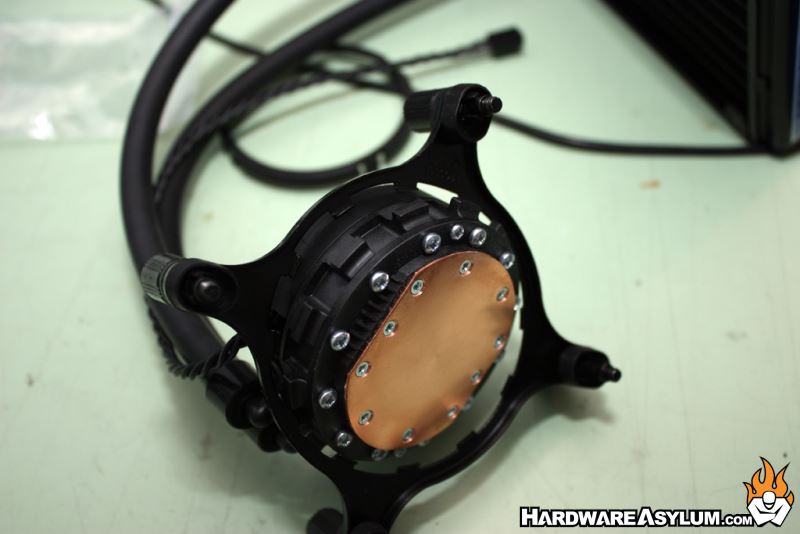
Next you will need to attach the mounting ring to the watercooling base and use a plastic washer to lock everything down. When you are finished you'll see something like the photo.
Much to our surprise there are no tension springs, just a little wiggle room in the mounting hardware so keep that in mind when installing the cooler.
Next you will need to attach the mounting ring to the watercooling base and use a plastic washer to lock everything down. When you are finished you'll see something like the photo.
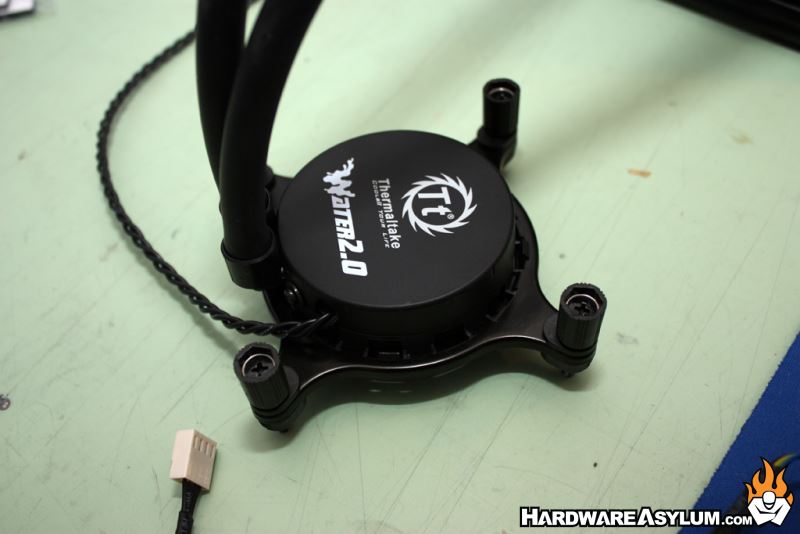
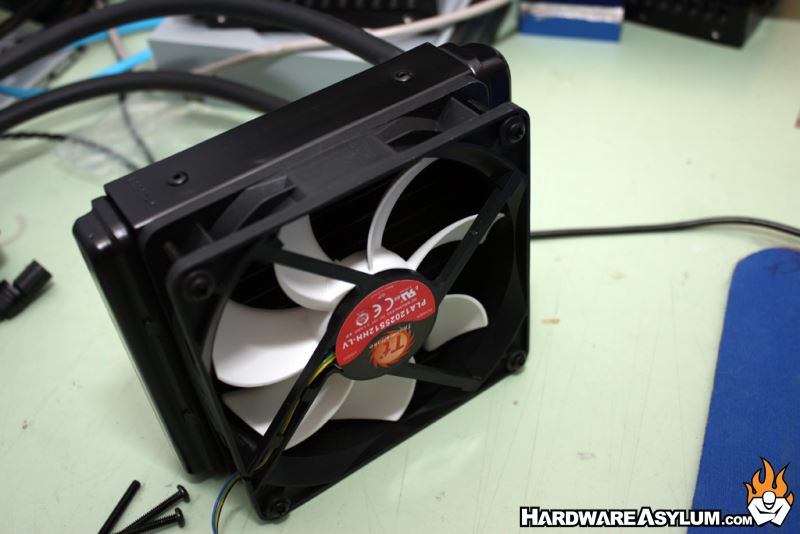
You are given two fans and you have the choice to install one or both depending on your cooling needs. For our tests we installed both fans but if you wanted to use only one it should be installed to pull air thru the radiator and maximize cooling performance.
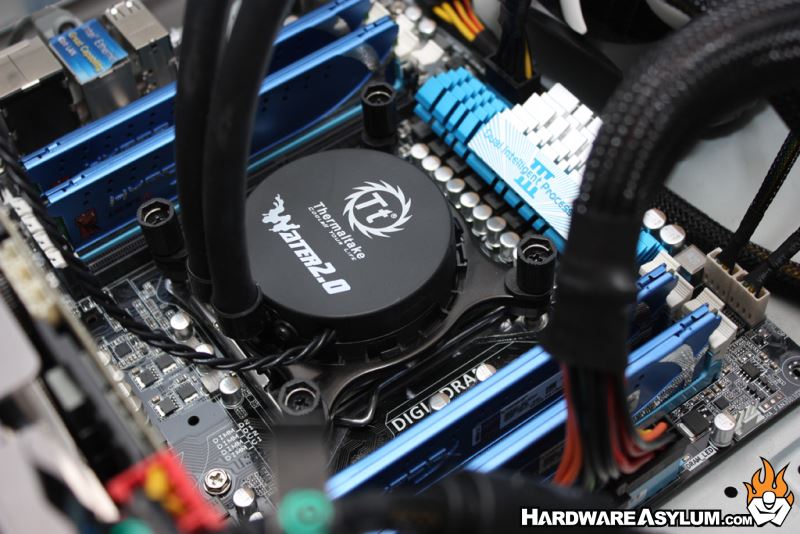
For the last step apply thermal paste to the processor and screw the cooler in place. On LGA 2011 we are using the stock threaded mounting holes, had we installed on LGA 1155 there would be a custom backplate installed that does the same thing.