How to Apply Vinyl Stickers
Author: Dennis GarciaInstallation and Conclusion
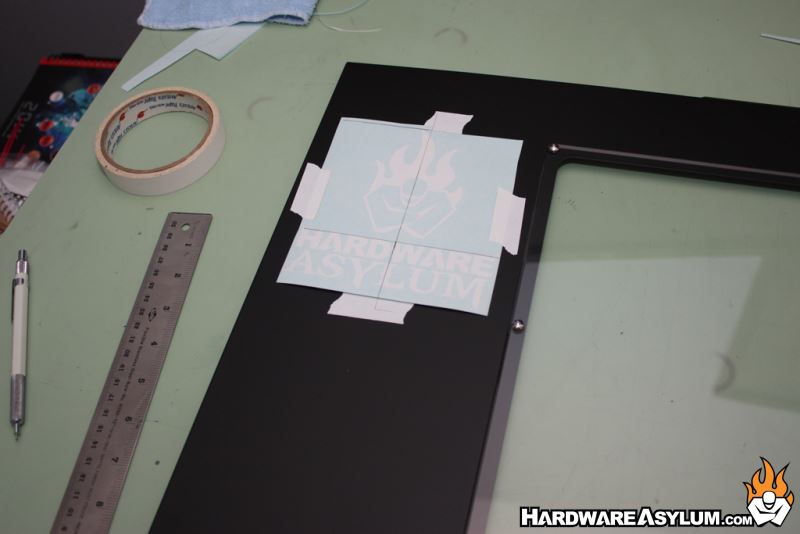
At this point I have two vertical lines that I can use those to align the decal. The horizontal line across the top will ensure the flame tips are exactly where I want them to be. To ensure the decal doesn’t move place two more pieces of tape along the side. This will lock the sticker in place and still allow you to access the backer..
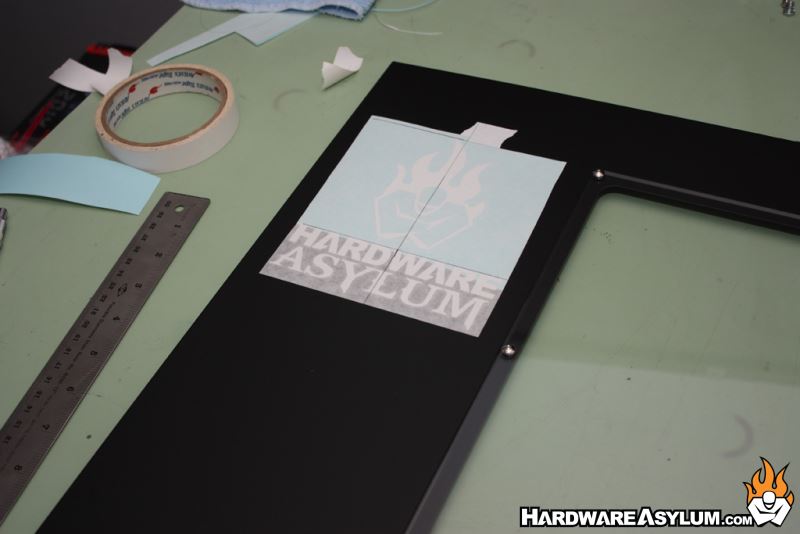
Now comes the tricky part. Remove the tape you used to align the decal and curl up one end of the decal. Then take some scissors and cut away a section of the backer paper exposing the vinyl sticker.

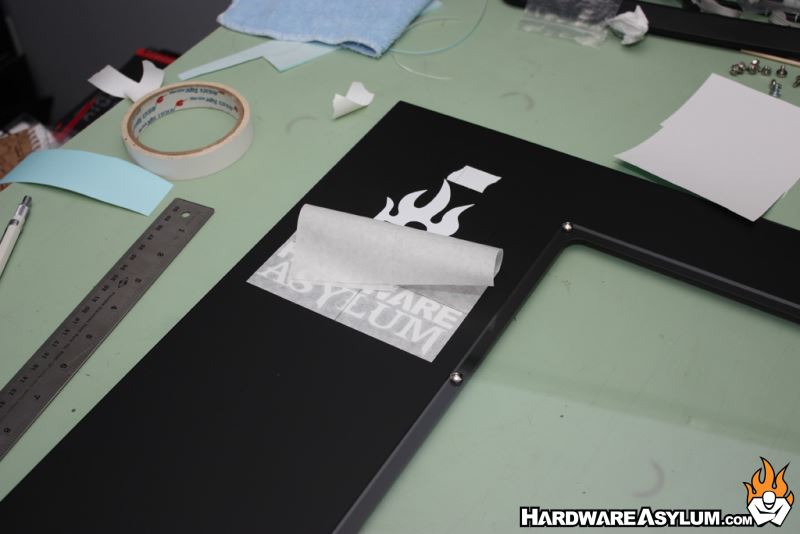
If you have a small rubber squeegee or soft edge ruler you can use the flat edge to help apply the sticker. Keep in mind that you are rolling the vinyl down so that only one part of the adhesive is in contact with the surface at any given time. This will ensure that air is forced out before it can be trapped and is where your squeegee can help.
I used my index finger and wiped the edge back and forth as the sticker was being rolled down.
At this point you will have part of your decal in place and the paper applicator is now holding the rest of the sticker where it needs to be. To finish applying the decal you’ll need to remove the tape and lift up the decal so you can remove the backer. While holding the vinyl away from the surface you can now roll the rest of the decal down using the same technique as before.
The last step is to remove the paper applicator. While the applicator does have some tact it is easily removed from the surface. Take care around sharp edges in your vinyl decal as they can pull up on occasion. The vinyl adhesive is stronger than the paper applicator so it will usually stay put.
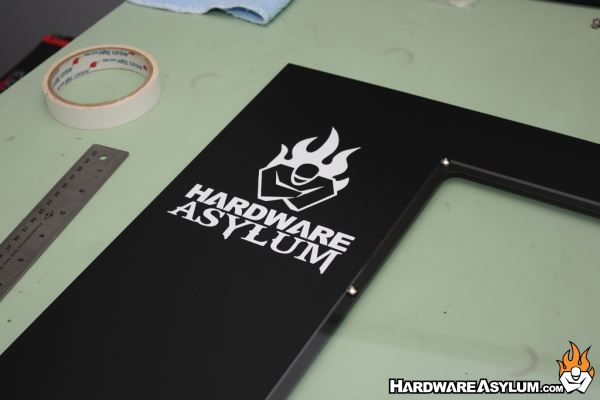
Now you can admire your work with a bubble free and accurately placed vinyl decal.