EVGA X99 Sleeper Project
Author: Dennis GarciaIntroduction
Building a PC is not all that difficult. You buy some parts, install them into a chassis (or cardboard box) configure some sort of operating system and profit. Not only does this make you the envy of your friends but it helps build strong muscles, will keep your hair healthy and might even get you laid. Bottom line you have nothing to lose and lots to gain.
Of course with all the good building a PC can bring you the real challenge comes when deciding what to buy and how much you should spend. Well, I’m here to share a little modding project that you can do that involves rebuilding an old HP Pavilion PC using modern hardware and saving you a few bux on a chassis.
I might have gone a little overboard on the hardware selection but for this project it was all stuff I had laying about the lab so, why not.

EVGA X99 Micro2 MicroATX Motherboard
Intel Core i7 5960X LGA 2011 CPU
HyperX Predator 3000Mhz DDR4 Quad Channel Memory Kit
Cooler Master Nipton 140mm AIO Watercooler
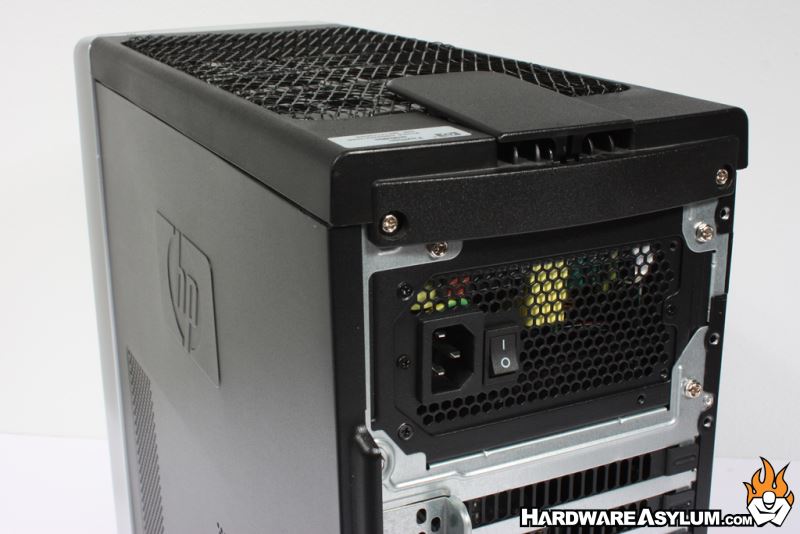
Silverstone 500w 80 Plus Gold SFX-L PSU
2x Seagate 2TB Barracuda HDDs
NZXT USB 3.0 Bay Mounted Card Reader
Now you might be thinking “Why the hell did you put 2 Grand worth of computer hardware into a trash computer case?!?
Two reasons
First is to prove you can modernize any OEM computer, some are easier than others but for the most part off the shelf components can be used to upgrade old computers.
Second was simply because I could and honestly I thought it would be fun to build a Sleeper style system similar to what hotrodders do with classic cars.
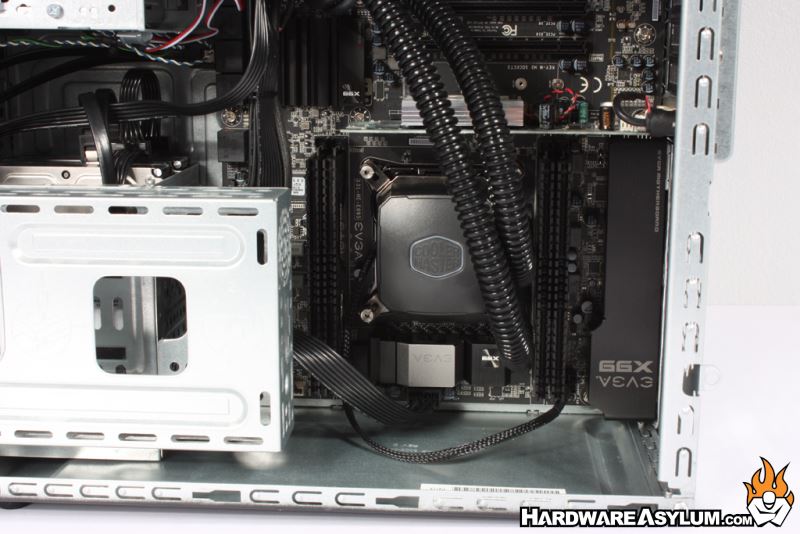
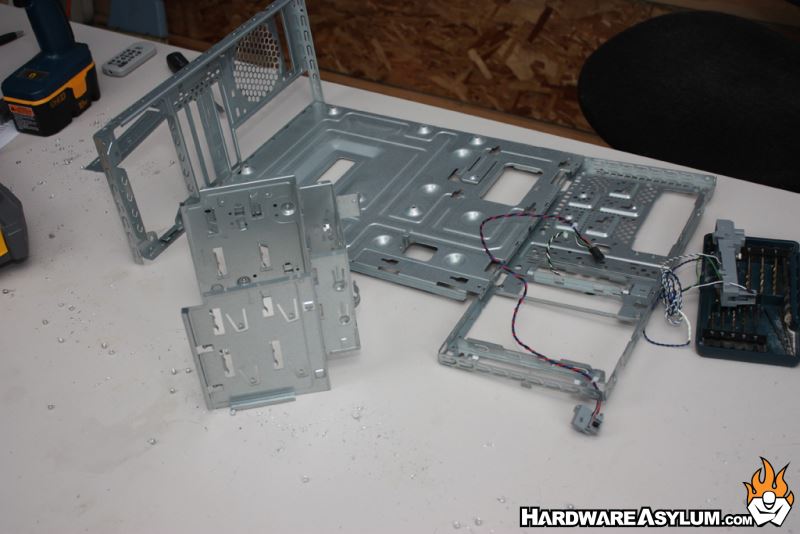
This project was divided up across two videos. This first video goes over the overall project purpose and tearing the system down, doing the basic modifications and rebuilding the chassis to accept the hardware. In terms of overall modifications I really only needed to cut a hole in the top for the 140mm fan and carve away some room for the radiator.
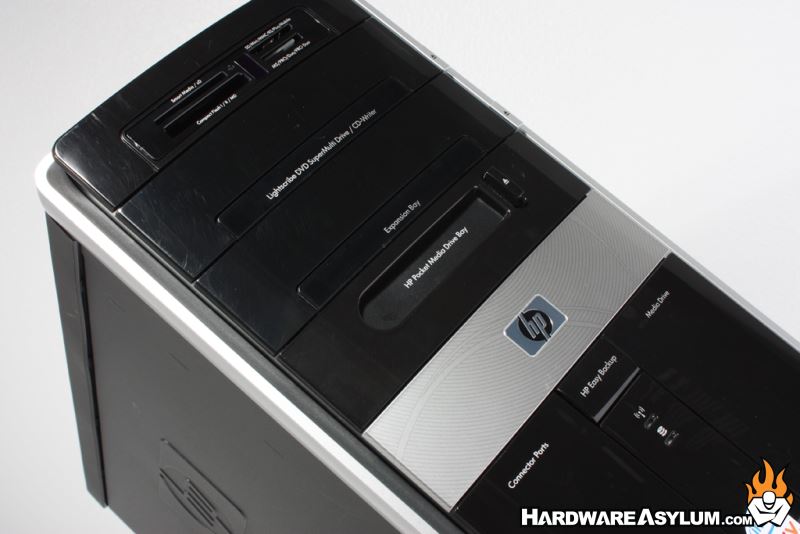
This second video is all about reassembling the system along with a few minor modifications required to complete the sleeper look I was after. I didn’t use any of the old multimedia parts but did install a USB 3.0 card reader and covered up all of the open areas on the front bezel to make the case look as stock as possible.
In the video I tried my best to explain all of the parts of the mod and why things were done. The build doesn’t address custom cables, side windows or fancy lighting because that wasn’t the purpose of the build and any effort spent would have gone against the sleeper theme. I also left several parts out of the video like soldering the front panel writing and the process of making the custom grill for the top of the case.
As you can expect this is only the start of what I have planned for the Hardware Asylum YouTube channel. Once I get some of the issues ironed out I’ll be started on a much larger project that may or may not feature the famed EVGA DG-87 chassis that I reviewed last year. The case his huge but is also a nice platform for a modding project.
Stay tuned and be sure to leave a comment on the video if you like what you see.