HBT+ Turbine 700 Case Review
Author: Dennis GarciaCase Cooling and Install
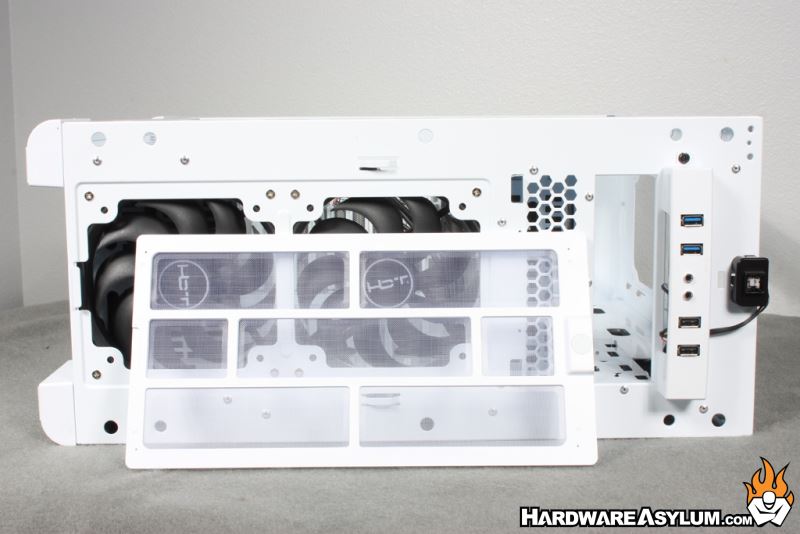
All of the plastic panels on the Turbine are removable which gives you full access to everything on the case. This can be helpful during the build process especially when doing DIY watercooling or even simply fan swaps.

As the photo shows the Turbine comes with three basic 120mm fans with open access to all of the major components. Every fan location comes with a filter including the front, top and PSU and all but the front filter is easily removed. To gain access to the front filter you need to remove the front bezel and pop the magnetic clasp.
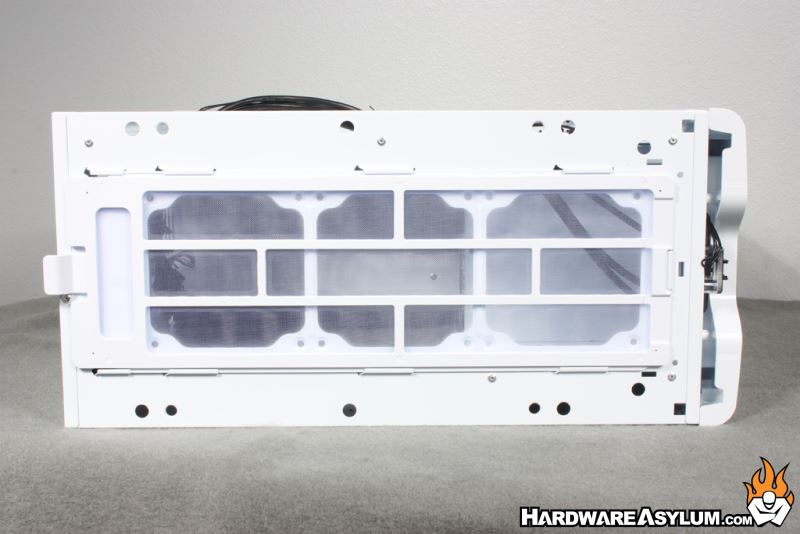
The top filter over the three 120mm fan location is accessable from the back of the case and might not be needed depending on if you set them up to be intake or exhaust.
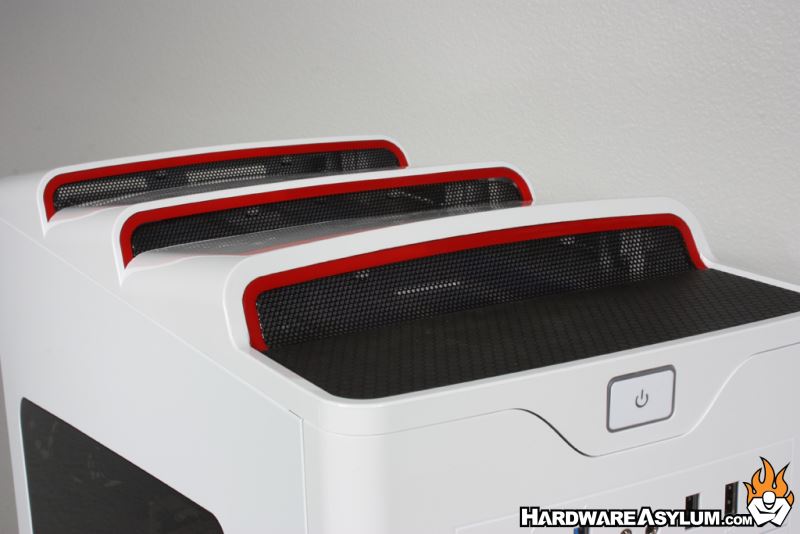
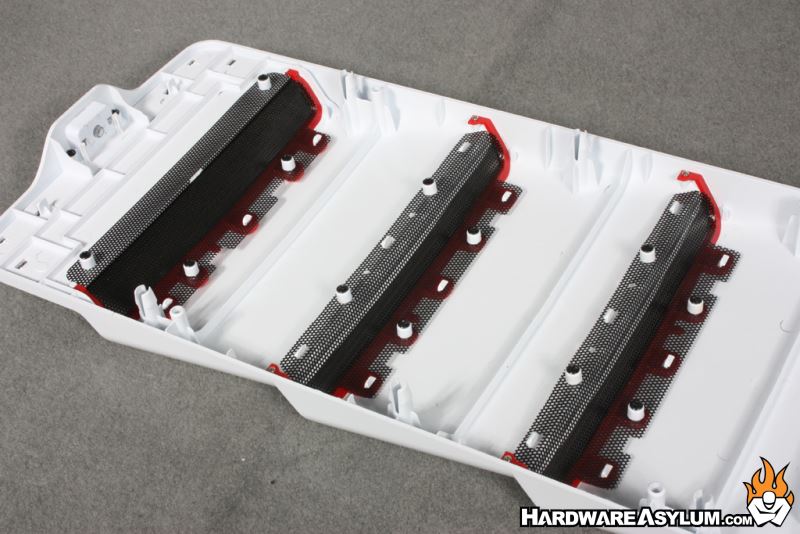
This brings up an interesting point about cooling in the Turbine. The large panel vents are designed to allow easy airflow in and out of the case and your overall cooling performance can depend largely on how you configure your fans. A good rule of thumb is 2:1 with two intake fans for every exhaust. (Positive pressure) Reverse this for negative pressure but be prepared to clean your dust filters, often.
For the install I’m using a Gigabyte Z97X SOC Force motherboard along with a generic dual tower 120mm fan. Overall the fitment is quite good with very little space below the motherboard and enough at the top for a single fan and radiator configuration.
The Turbine is very clear in that it only supports standard ATX and smaller motherboards. The larger SSI form factors will physically fit but will also cover the cable management ports and will make connecting everything a bit difficult.
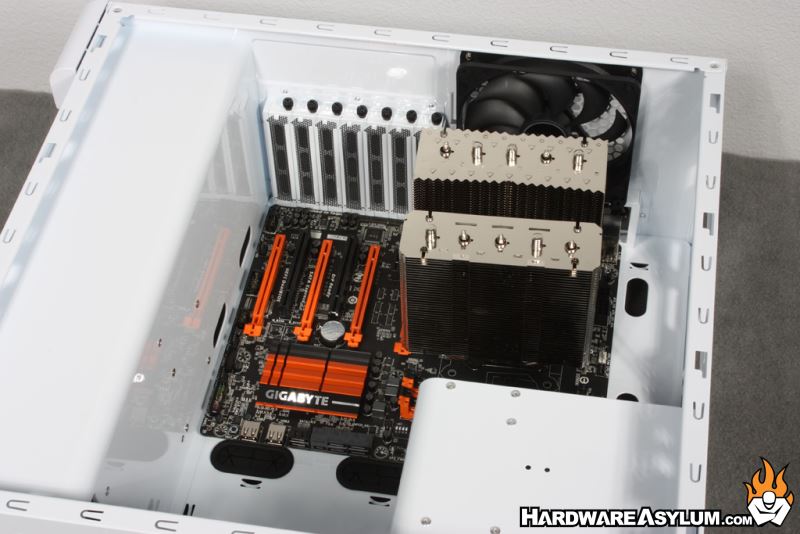
There is a good amount of room above our heatsink to accommodate 140mm coolers.
For those of you looking to watercool there is a good number of options available. The intended configuration is for AIO watercooling units as they tend to be the most compact. Single fan radiators can be installed in the normal location with dual and triple fan coolers mounting in the top.
While a dual fan radiator can be installed at the front of the case these fans are better served as simple intake fans than loaded up with a radiator. Strangely enough the large PSU cover that separates the case chambers splits the airflow from the lower fan. The intent here is to provide cooling for the hard drives but the area has no direct exhaust venting except for two cable pass through holes and the open area behind the motherboard. Because of this you will want these fans to spin freely and not be dedicated to cool anything particular.