Arctic Freezer Xtreme Rev 2 Heatsink Review
Author: Dennis Garcia
Published: Monday, May 28, 2012
Cooler Installation
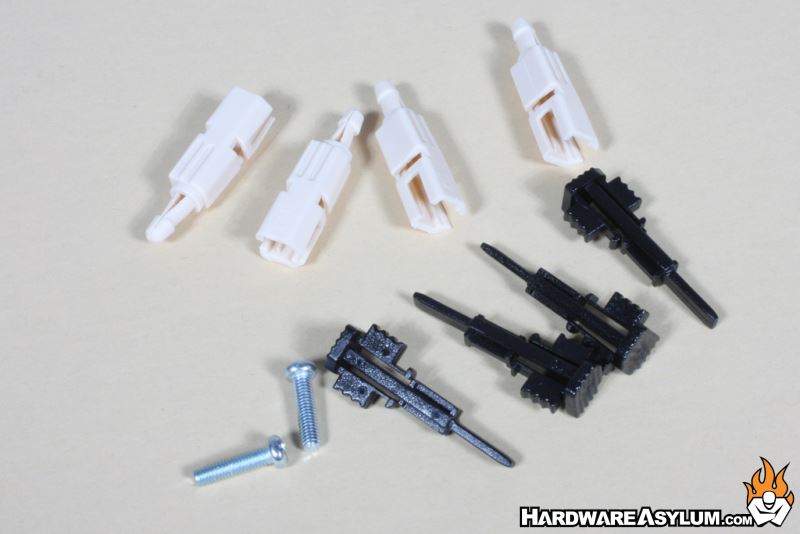
This might be one of the more complex heatsinks to install, not really from the sheer number of component parts but rather from the total steps you must take. Below are the parts that come with the Freezer Xtreme and consist of two screws, four plastic clips and four plastic pushpins (seen in black). The entire heatsink mounts to a plastic bracket that locks to the motherboard and holds the assembly in place.
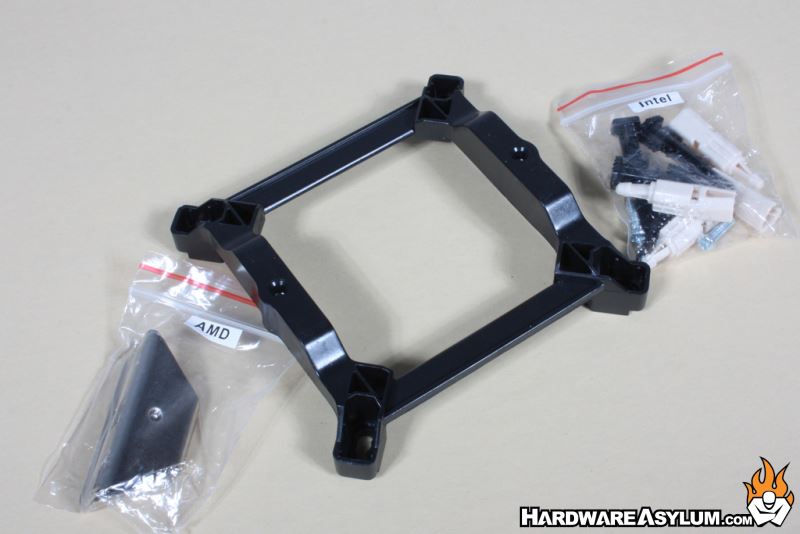
To start you place the mounting bracket on the motherboard in the orientation you want the cooler to face. We normally choose to have the fans blowing out towards the back of the case which places the screw holes in the vertical position.
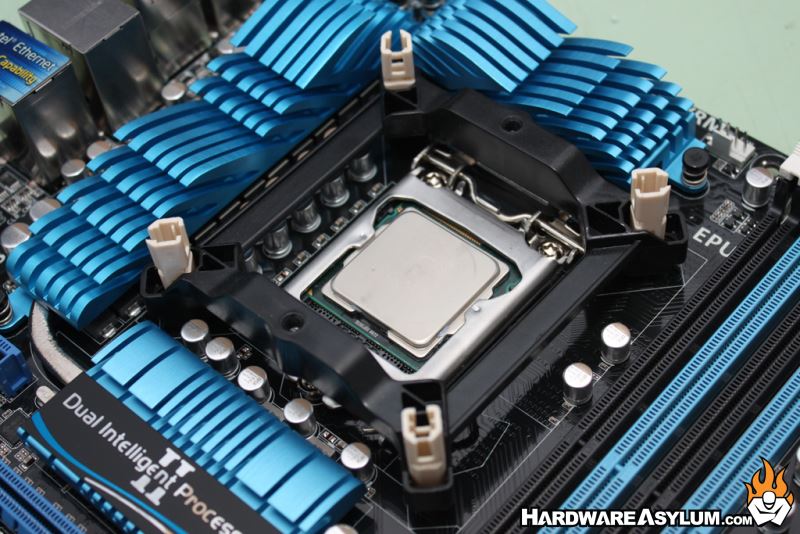
Next place the brown mounting clips in the proper holes and push them thru the back of the motherboard. We had issues getting them to stay since everything tended to shift quite easily. Keep in mind this was also in an open test bench, there is no telling how difficult this could be inside a case.
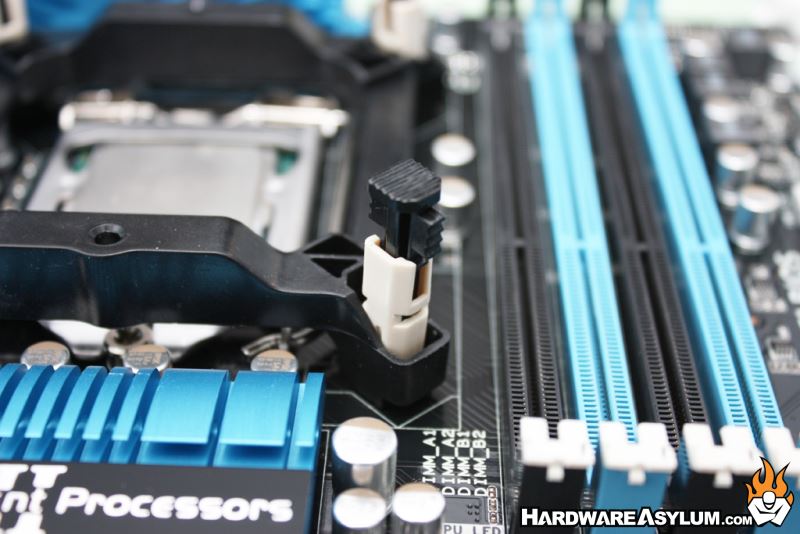
The next step is to install the locking pins and push them thru until they click into place. Of course check the back of the motherboard to make sure they installed correctly else you may be doing this again.
Finally remove the center cooling fan, apply some thermal paste and install the cooler using the two metal screws. A magnetic screwdriver comes in handy here since there is no way to access the screw once you're between the cooling towers.

Spring pressure on the mounting plate will lock the cooler down and actually does make good contact.
There are several ways to install a heatsink and in most cases you would remove the cooler the same way it was installed. That is not always the case, much to our disappointment when it came time to remove the Freezer Xtreme all but one of the plastic locking pins broke which made the install a one shot deal.
There are several ways to install a heatsink and in most cases you would remove the cooler the same way it was installed. That is not always the case, much to our disappointment when it came time to remove the Freezer Xtreme all but one of the plastic locking pins broke which made the install a one shot deal.