Cooler Master Gemin II M4 Low Profile Heatsink Review
Author: Dennis Garcia
Published: Friday, August 24, 2012
Heatsink Installation
Cooler Master is one of the few companies that has avoided using riser plates to install their heatsinks. Instead they have opted to use a series of universal brackets that attach directly to the heatsink and then directly to the motherboard. In terms of difficulty we feel this system falls into the medium category depending on your level of dexterity.
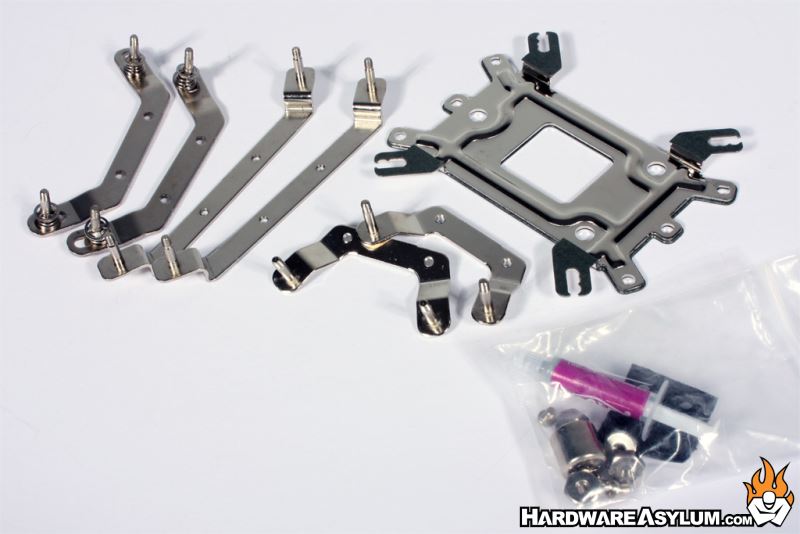
Below you will find all of the installation parts that come with the Gemin II M4. In the kit you will find three sets of mounting hardware. The individual rails fit all Intel and AMD systems including LGA775 through LGA1366 and AM3+. For those of you with the new LGA2011 platform there is a special railset that attaches the heatsink directly to the threaded socket system.
Below you will find all of the installation parts that come with the Gemin II M4. In the kit you will find three sets of mounting hardware. The individual rails fit all Intel and AMD systems including LGA775 through LGA1366 and AM3+. For those of you with the new LGA2011 platform there is a special railset that attaches the heatsink directly to the threaded socket system.

First you need to install the appropriate rail for your particular system. We will be testing on 1155 so we have to use the medium sized Intel rails. Install both sides and adjust the mounting screws to the notch that matches your system. For 1155 that would be the middle position.
Due to the size of the heatsink you should do a trial fit to determine the best way to install the cooler. Due to the height of the motherboard heatsinks and shortness of the M4 there was only one position available that cleared everything. Of course how the heatsink is rotated makes no difference in performance just so long as contact with the CPU is good.
Due to the size of the heatsink you should do a trial fit to determine the best way to install the cooler. Due to the height of the motherboard heatsinks and shortness of the M4 there was only one position available that cleared everything. Of course how the heatsink is rotated makes no difference in performance just so long as contact with the CPU is good.
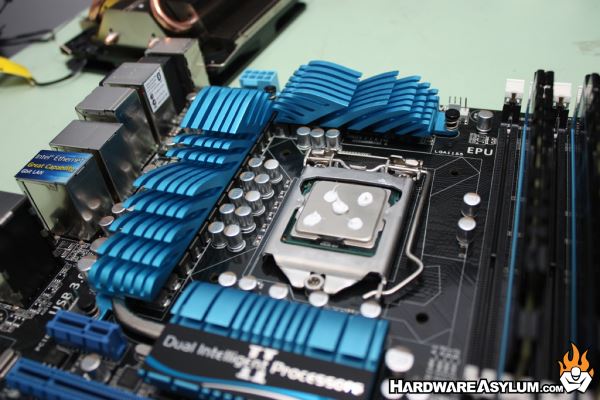
Once you have determined the heatsink orientation you are ready to install the heatsink. The first step will be to apply some thermal compound to the processor. We prefer the 5 dot method with a dab in the illustrated configuration. Keep in mind that core contact heatsink designs require a little more thermal compound to make a good adhesion to the CPU, this is due to the gaps present between the heat pipe and heatsink base.
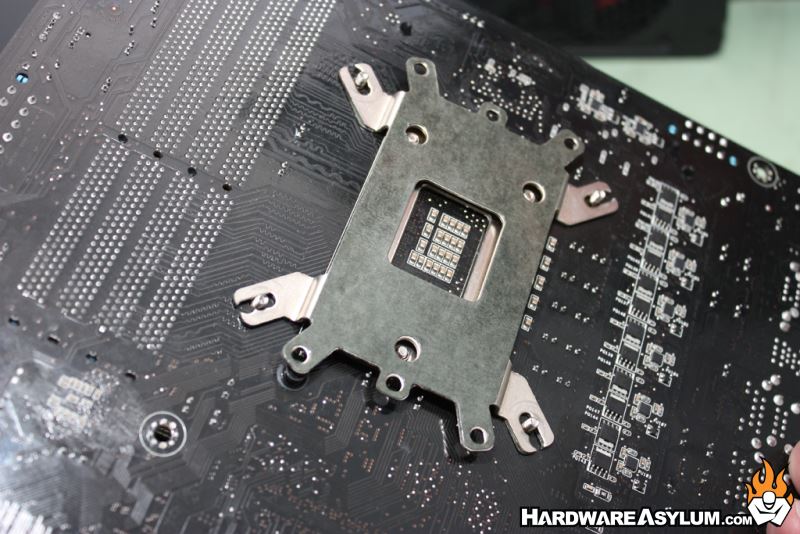
To secure the heatsink you will need to install the included metal back plate and secure the entire unit with the included nuts. The one thing we hate about this installation method is the need to balance everything while you install that first nut.
To secure the heatsink you will need to install the included metal back plate and secure the entire unit with the included nuts. The one thing we hate about this installation method is the need to balance everything while you install that first nut.
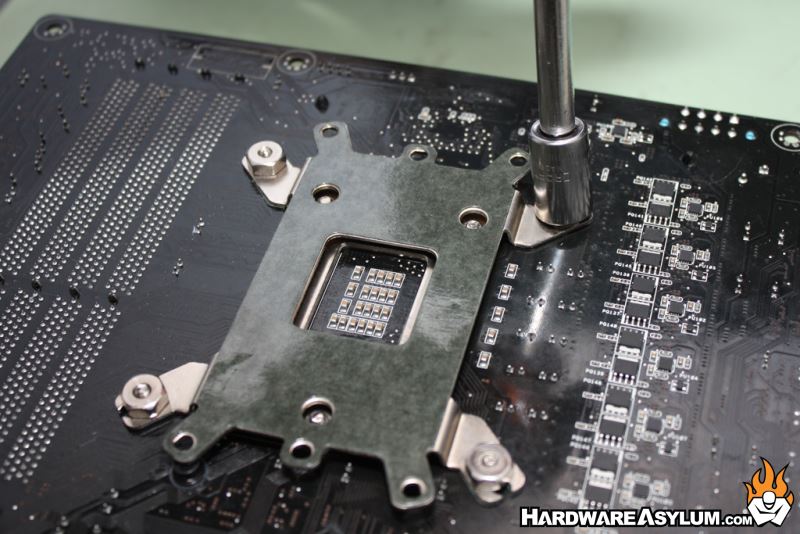
We do all of our heatsink testing outside of a chassis and were able to use the motherboard to hold everything in place. However, had this system already been installed in a case you would need to hold the heatsink in place with one hand while holding the back plate with another and then find two more hands to secure the nut in place.
When you are finished make sure to install the fan header and away you go.
When you are finished make sure to install the fan header and away you go.