Cooler Master Seidon 120 XL Watercooler Review
Author: Dennis Garcia
Published: Thursday, April 04, 2013
Installation
When an installation method is easy it shows and the Seidon system is one of the best we have seen in a long while.
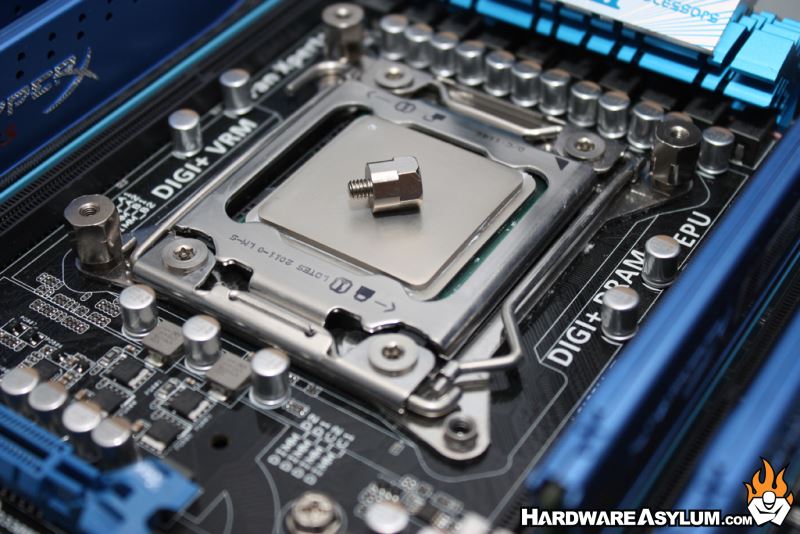
We will be testing on the LGA 2011 platform so everything you need is accessible from the top of the motherboard. To begin you first need to install the heatsink risers into the threaded mounts around the CPU socket. Using the included socket cap secure them with light force so they will stay in place. Had we been testing on LGA 1155 or AM3 you'll need to use the supplied backplate and then anchor the risers in the same manner.
We will be testing on the LGA 2011 platform so everything you need is accessible from the top of the motherboard. To begin you first need to install the heatsink risers into the threaded mounts around the CPU socket. Using the included socket cap secure them with light force so they will stay in place. Had we been testing on LGA 1155 or AM3 you'll need to use the supplied backplate and then anchor the risers in the same manner.
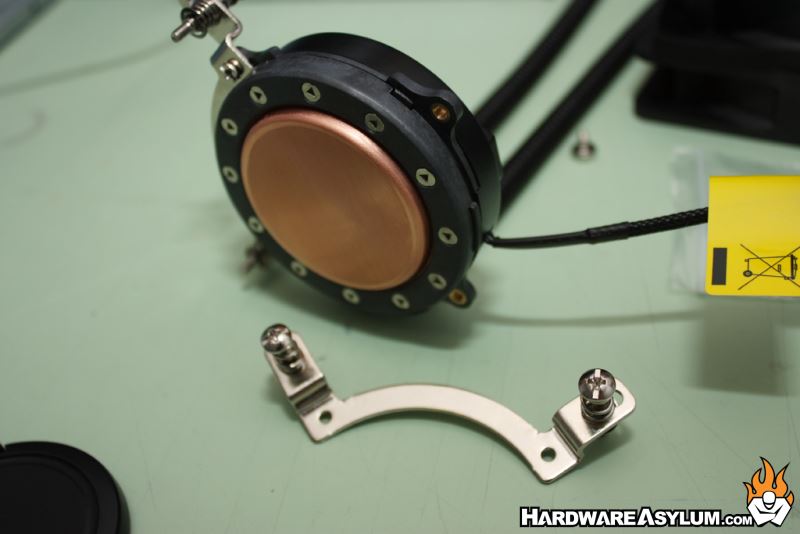
The next step is to attach the appropriate mounting rails to the waterblock using the included screws. The rails attach from the bottom of the waterblock so that you neither see the majority of the mounting rail or fastening screws.
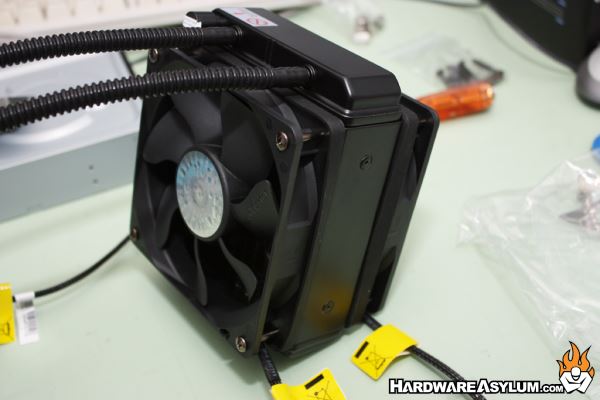
Next attach the cooling fans using the included hardware. We will be using both fans for our tests. Using both fans isn't a requirement. However, if you choose to run only a single fan be sure to configure it to "pull" air thru the radiator for the best performance.
Like any good enthusiast we always apply our own thermal paste and have found the five dot method to give us the best results on all modern CPUs. Do not attempt to spread the paste, touch it with your finger or use more than a quick dab from the tube. Doing so will most certainly cause air bubbles to form and not give you a good thermal connection.
Like any good enthusiast we always apply our own thermal paste and have found the five dot method to give us the best results on all modern CPUs. Do not attempt to spread the paste, touch it with your finger or use more than a quick dab from the tube. Doing so will most certainly cause air bubbles to form and not give you a good thermal connection.

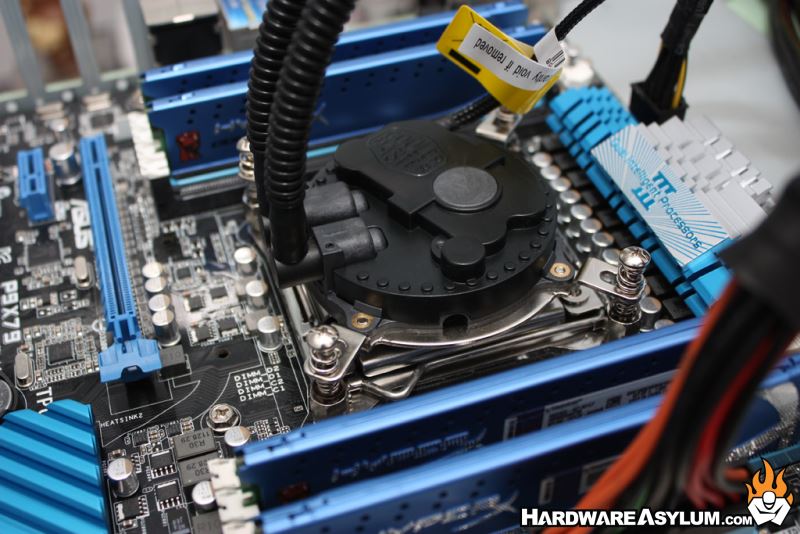
Finally apply the waterblock and tighten everything down by progressively using an X configuration. Three turns with each screw seems to work well and repeat the pattern until all of the screws have been seated.
Attach the fans and pump power and you'll be ready to go.
Attach the fans and pump power and you'll be ready to go.