bequiet! Dark Rock Pro 3 Heatsink Review
Author: Dennis GarciaHeatsink Installation
In the package you will find everything you need to install the Dark Rock Pro 3 including mounting rails for all of the major processor platforms, a universal back plate and thermal paste.
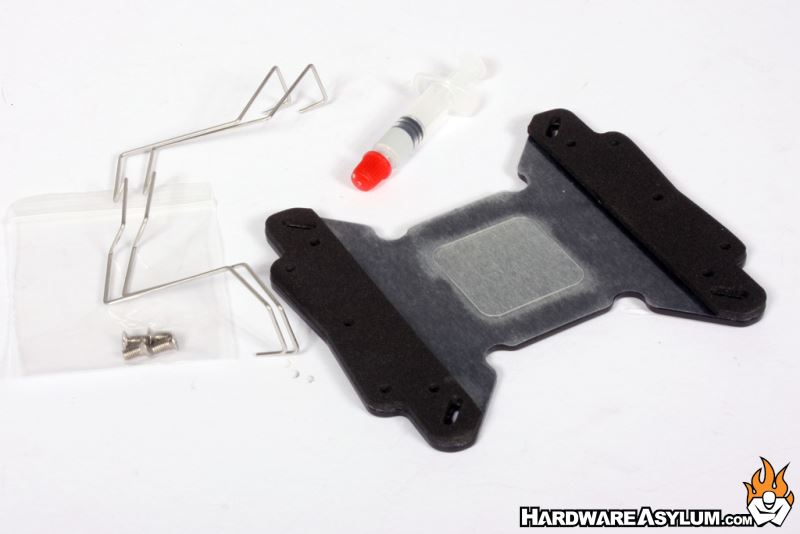
We'll be using the X79 LGA2011 system for our tests so some of the hardware such as the backplate and spacers will not be used. For specific installation instructions for your platform please consult the included users' guide.
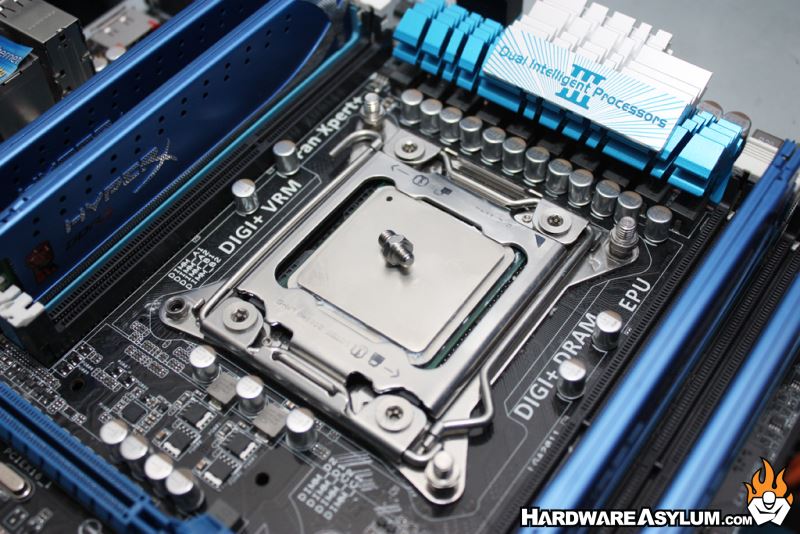
The first step will be to locate the threaded risers and install them into the heatsink mounting holes around the CPU socket. These are 4mm threaded holes so be sure to match up the proper end.
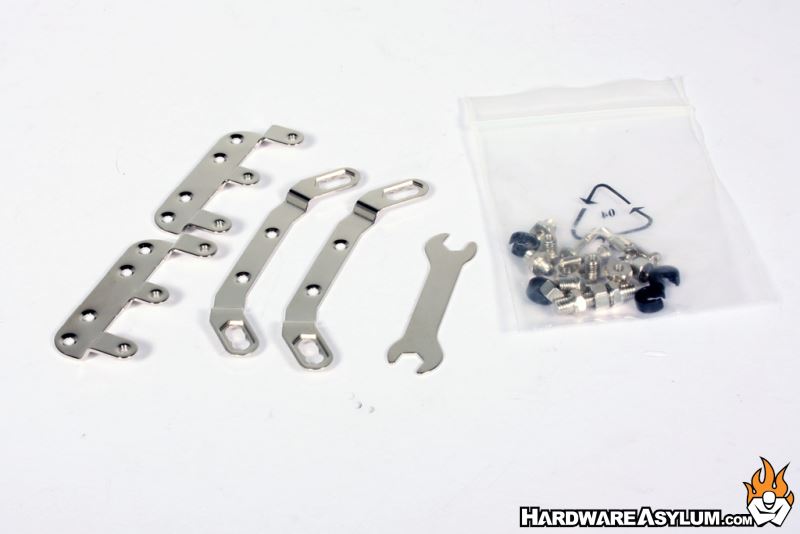
Mounting rails is next. Previous Dark Rock designs featured platform specific rails and we are happy to see they have gone with universal versions with this product. Once the mounting rails have been installed you can apply some thermal paste to the processor and secure the heatsink. We prefer the 5-dot method with dabs evenly spaced in an X configuration.
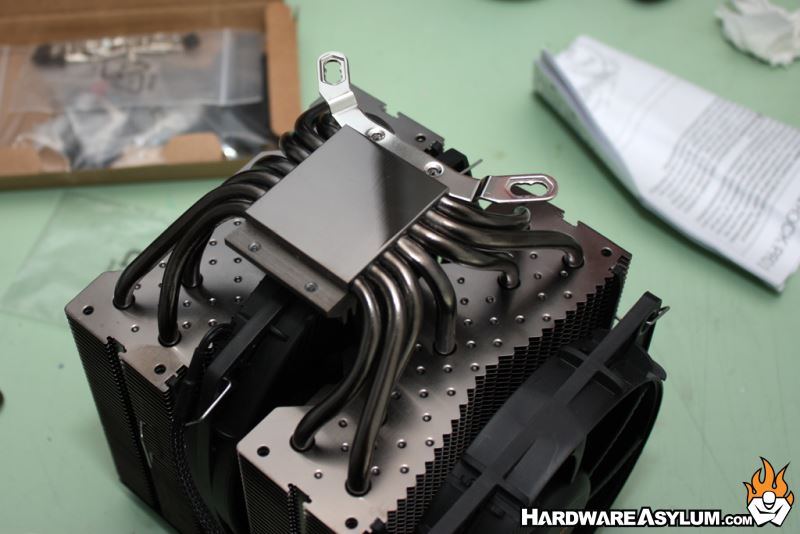
To secure the heatsink first line up the mounting rails with the posts you threaded into the CPU socket. Fan orientation is personal preference but we prefer to exhaust our heatsinks towards the back of the case.


Now comes the tricky part, to lock the heatsink in place you must install four nuts and secure them using the included wrench. We suggest progressively screwing each nut down until they stop to ensure an even spread of thermal paste.
We found the process to be rather cumbersome and timing consuming since it required the removal of the memory modules. However, once the nuts were started the process went rather quick.
It should be noted that we did the installation outside of a real chassis. In-place installs would be next to impossible so if you happen to get a Dark Rock Pro 3 for your birthday block out some time to tear the system down and remove the motherboard so it can be installed.