SilenX EFZ-120HA5 Heatsink Review
Author: Dennis Garcia
Published: Wednesday, February 29, 2012
Installation
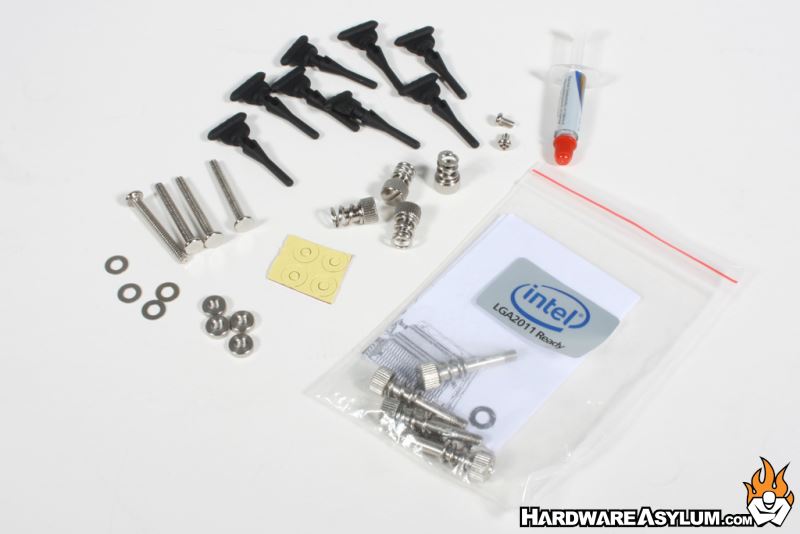
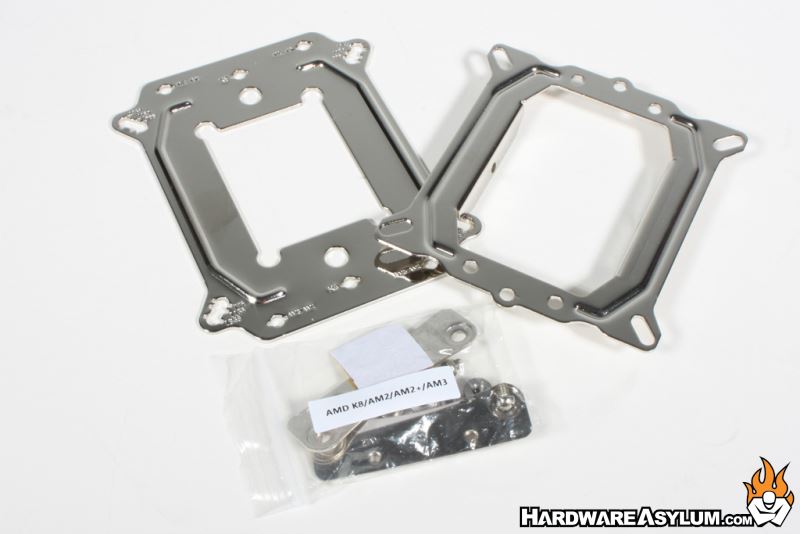
Installing the SilenX is a little different in that it uses two stamped metal plates to hold everything in place. The rest of the mounting hardware is designed so that you won't need to access the back of the motherboard except to install the backplate.
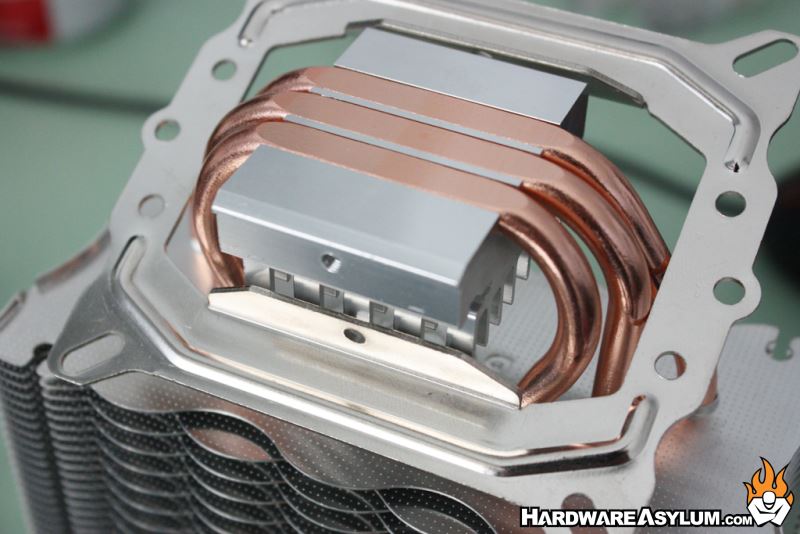
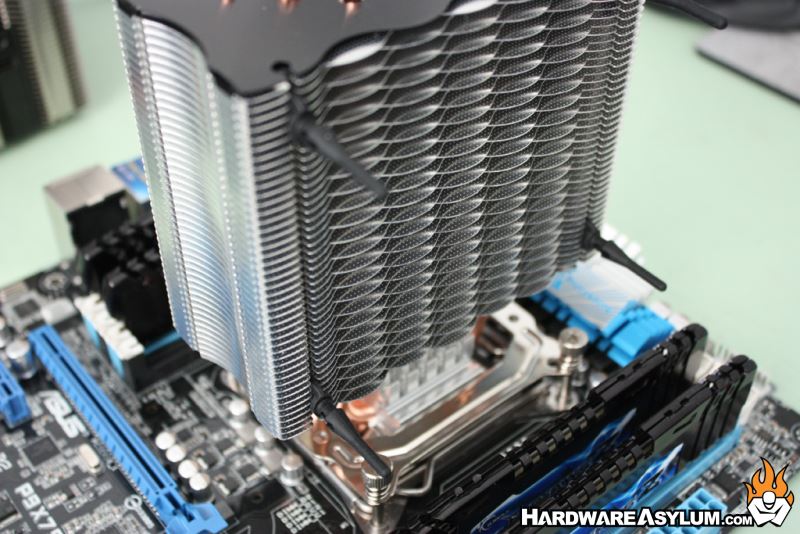
We will be testing the EFZ-120HA5 on the new LGA2011 platform which does simplify the installation process slightly. The first step will be to install the top mounting plate by maneuvering it past the heatpipes and lining up the two holes shown in the photo. Two screws hold the plate in position while a lip on the aluminum baseplate provides the mounting pressure.
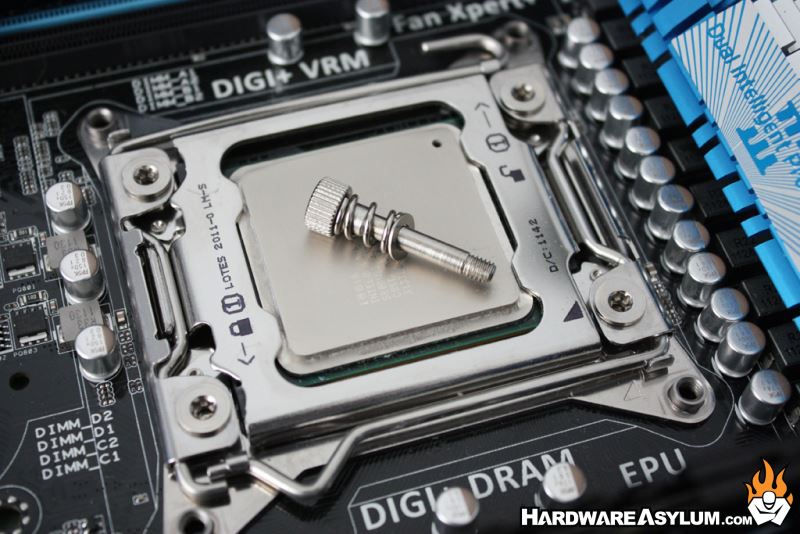
Four spring screw hold the heatsink in place and attach to the threaded screw holes that come with every LGA2011 CPU socket. After you have applied thermal paste progressively tighten these in an X pattern until they they bottom out.
The fan is installed using four rubber plugs that slide into a channel cut into the heatsink radiator. You must first slide the plugs in place and then pull them thru the fan until they are seated past the shoulder on the plug shafts.
The fan is installed using four rubber plugs that slide into a channel cut into the heatsink radiator. You must first slide the plugs in place and then pull them thru the fan until they are seated past the shoulder on the plug shafts.
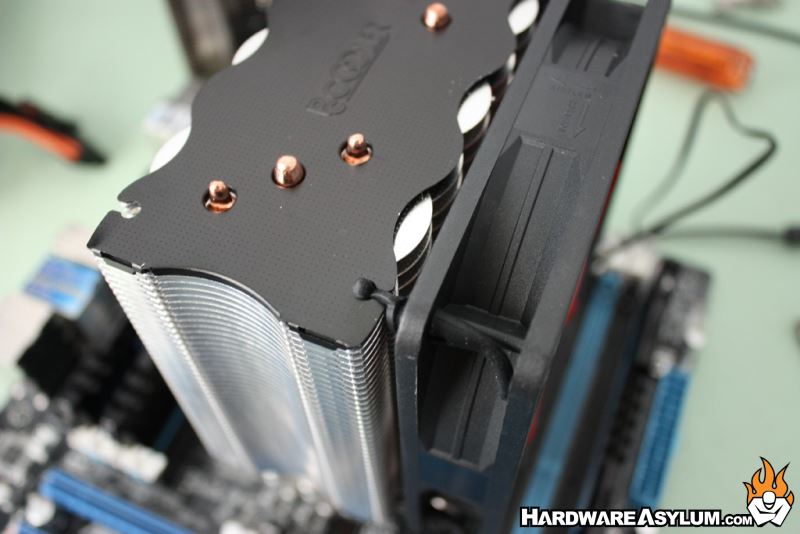
While this method does sound isolate the fan from the heatsink it doesn't allow the fan to make good contact with the heatsink. In fact the gap does allow a good amount of air to escape and is generally not something we look for in a heatsink. This could have been avoided had SilenX included the traditional wires in lieu of or in addition to the rubber plugs this gap could have been avoided.