Raijintek Morpheus VGA Cooler Review
Author: Dennis GarciaCooler Installation
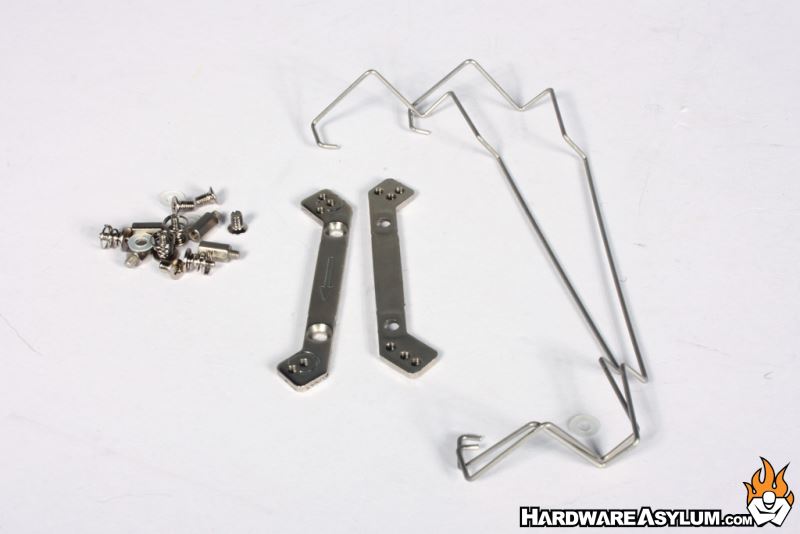
Installing the Raijintek Morpheus is pretty straight forward and is not unlike the OEM cooler you will be removing. In the package you will get all the mounting hardware required including mounting rails that support both NVIDIA and AMD GPUs, appropriate screws for mounting the rails and securing the cooler and finally a set of fan clips. There should be four though it seems we have misplaced two of them. You also get a VRM cooler (not pictured) that should fit most reference design video cards.
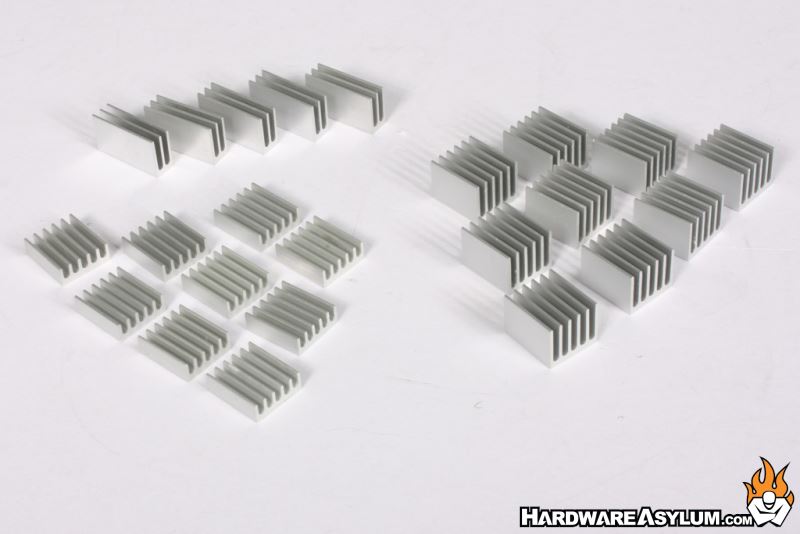
Also in the box you get a full set of aluminum heatsinks for the memory and remote VRM Mosfets. These heatsinks are held in place with double stick thermal tape which is also included. We found that the tape stuck extremely well and didn’t release even after the heatsinks were heated under overclocking. We have used thermal tape in the past and the stickiness has always been an overriding concern. Just make sure to clean the chips with rubbing alcohol before installing the tape.
The first step is to remove the existing heatsink. Some modern video cards come with a heat spreader that covers the memory and VRM. If your video card has a factory heatspreader then leave it installed so to keep the rest of the PCB nice and cool.
The card we are using for the Morpheus installation is the MSI GTX 780 Ti Lighting MOA Edition. This card is a special edition designed specifically for MOA 2014 competition and is configured for LN2 style overclocking. As a result it didn’t come with a factory heatsink aside from a VRM cooler and while we can push this card as hard as we want it isn’t really setup for 24/7 use unless you can keep it cool.
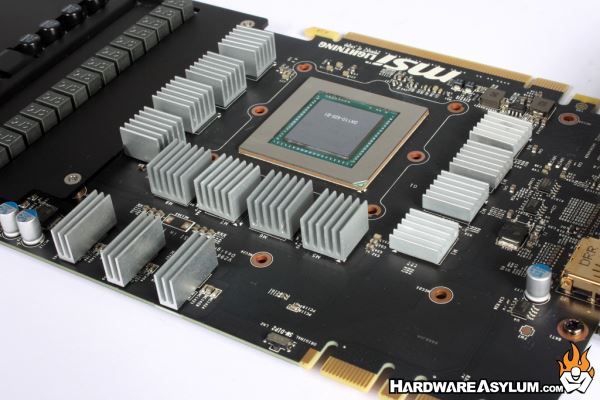
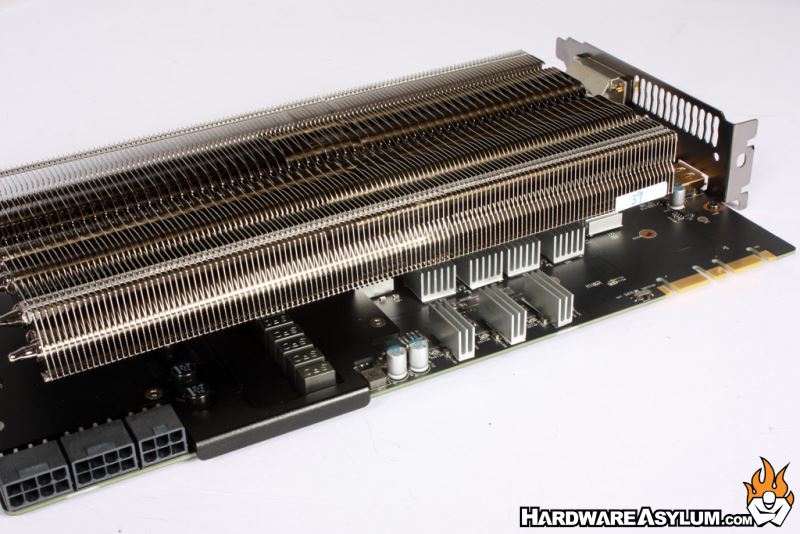
We started the installation by placing the aluminum heatsinks over the memory chips using the provided double sided thermal tape. Most of the VRM is covered by the heatspreader however there are three Mosfets across the top of the card which got the longer style heatsinks.
The thermal tape is quite good and even after several hours of stress testing the heatsinks stayed in place and did their job quite well.
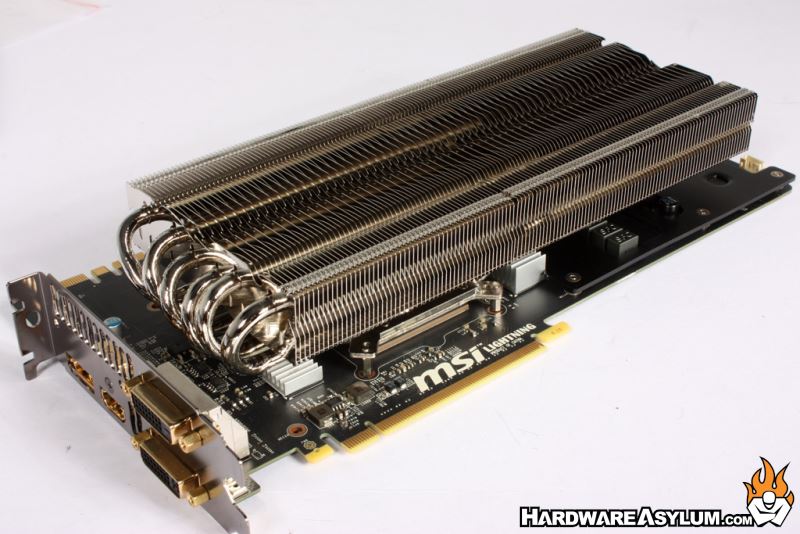
To wrap up the installation you need to mount the rails to the heatsink making sure that the holes line up with your particular video card. As the photos show the Morpheus sits well above the PCB giving plenty of room for the aluminum heatsinks and maybe a slim fan if your build is of the silent variety.
The Raijintek Morpheus doesn’t come with cooling fans so you are free to use any 120mm fan you like or you can buy two of the Raijintek Aeolus slim fans and save space in your chassis. We opted to go the performance route and picked two generic 120mm fans we had on the shelf and used speed limiters to test capacity and cooling.