I put a Microscience HH-1060 in my Retro 386
Author: Dennis GarciaIntroduction
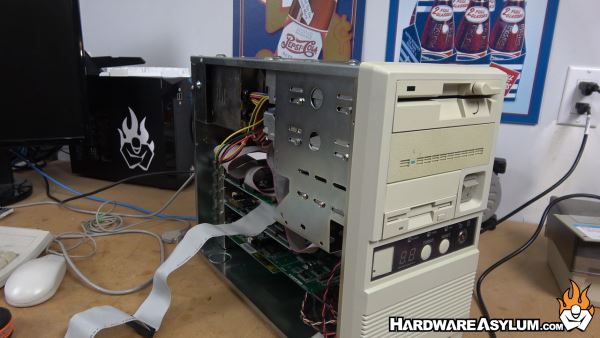
This is the final video in the Classic case Rebuild and Refurbish project. I decided to go with the 386/40Mhz out of the Scam Case as it was in better shape, came with a 487DLC Math Co-Processor, a socket for a 486DLC Processor upgrade and didn’t have paint overspray on the expansion slots preventing certain cards from working.
I also ditched the two IDE drives that came with the chassis along with the two floppy drives. The 3.5” floppy was the wrong color and I didn’t like the 5.25” floppy drive, even thought it might be a better design.
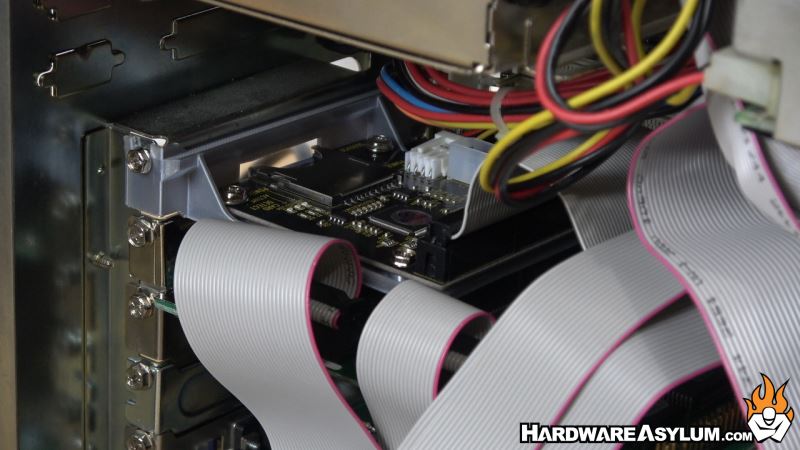
In place of the removed IDE drives I am using an SD to IDE card adapter that is mounted on a custom 3D Printed bracket and the famous Microscience HH-1060 RLL 5.25” half height RLL hard drive. This drive will be controlled by a Seagate ST22 with the floppy controller disabled.
The process for getting this unique drive combination working is pretty straight forward but does take some planning to get everything right.
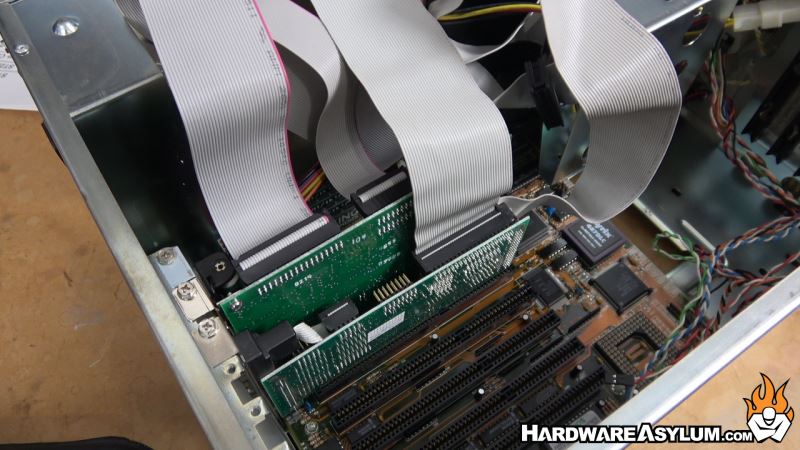
You will want an MFM/RLL controller that has an onboard BIOS for this to work correctly. The process will install the drive as a secondary device in your computer much like a SCSI or CDROM.
- First is to understand the jumper settings on your MFM/RLL controller. On a 386 the drive will eventually be a secondary device but, for the initial setup it needs to be the primary device with the correct jumper settings.
- If your system has two IDE channels, you can simply disable the secondary channel and jumper the MFM/RLL controller as the secondary device.
- First install the MFM/RLL controller into the PC without the IDE controller. If your motherboard has an onboard IDE controller you will want to disable it in the BIOS or with a motherboard jumper.
- Make sure the drive assignments have been cleared in the motherboard BIOS.
- Connect the MFM/RLL hard drive to the controller and proceed to pair the drive and do a Low-Level format. I have found that you need to do this first on systems with only a single IDE channel as the BIOS address doesn’t seem to allocate correctly.
- Complete the FDISK and Initial High-Level format. Run Scandisk or whatever surface scanning software you want to use.
- Remove the MFM/RLL controller and set the jumpers to the secondary address.
- Install your I/O IDE controller and connect your drives.
- Install your MFM/RLL controller and connect your drives.
- Boot the computer and set the IDE drives in the BIOS.
- When the system reboots you should see that the MFM/RLL drive is detected outside of the motherboard BIOS and given a drive letter. This letter will change based on what you have configured on the IDE side.
Sadly, MFM/RLL drives have several major limitations. They are slower than IDE drives, heavy, noisy and most of all, have limited space. For this build I was able to run the Microscience HH-1060 as my primary drive and used my floppy drives to install DOS and Windows 3.11. It worked flawless however took up enough space that I couldn’t install much else.
Also, most 386 motherboard BIOS’s will assume that the drives you are configuring are on an IDE controller. That is how their “Auto Detect” process works and also makes it difficult to run both IDE and MFM/RLL drives in the same system if you want the MFM/RLL drive to be the primary C:\
Please check out the other videos in this project series and consider subscribing if you like my content and want to see more. If you have questions or comments you can leave them in the YouTube comments section of email me directly.