How to Apply Vinyl Stickers
Author: Dennis GarciaIntroduction
One of the fastest ways to get custom graphics on anything is with vinyl decals. These decals can range from a small graphic, like the ones you can buy at the local fair or shopping mall to large wraps that can be applied to cars, busses and even the sides of buildings. In either instance the desired result is to have a custom graphic applied as an economical alternative to custom paint and airbrushing.
One of the hardest parts of installing a vinyl sticker is making sure the graphic is smooth and free of air bubbles. Small graphics are actually quite easy to apply since you can manipulate the entire graphic. However, larger graphics like the Hardware Asylum logos require a different technique. I found out the hard way that you have very little control when applying the large graphics and after a few failed attempts applying the Hardware Asylum logo freehand I decided to employ an old sign maker technique.
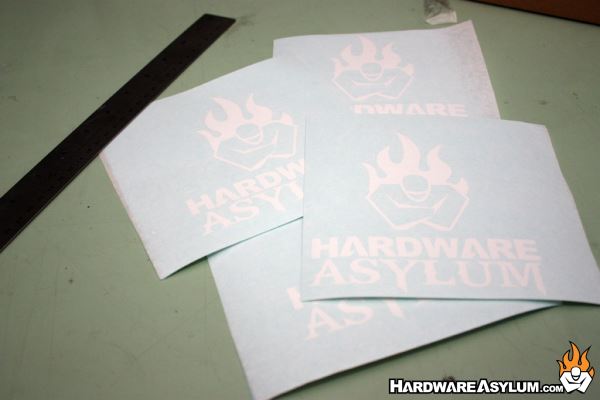
Most vinyl decals will come prepared with a paper applicator over the coated backer that protects the vinyl adhesive. I had a local sign shop cut the Hardware Asylum decals for me and this is how they were presented.
The sign shop didn’t bother making the edges square so using the paper to line the sicker up wasn’t a viable solution. Instead I decided to measure out the corners and create some guidelines on the application paper that I can use later.
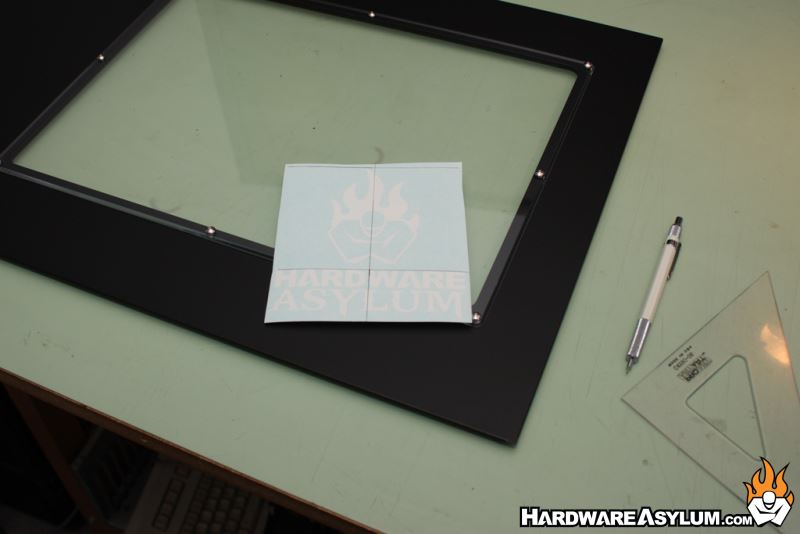
This particular decal was going to be applied to the side panel of a Raven 2 and I wanted to make sure the tip of the flame was lined up with the top of the window and that the graphic was centered in the available space.
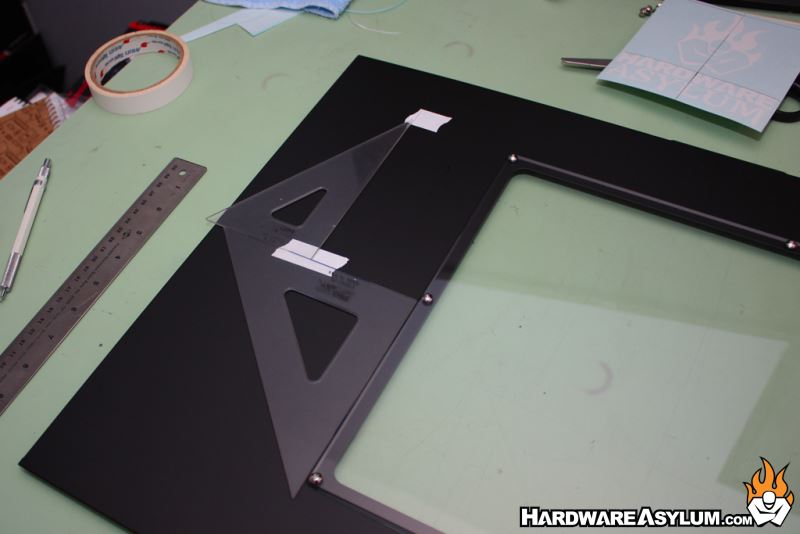
To do this I took some white drafting tape and placed a small piece on the side panel around where I knew the two centers would intersect. I then used some drafting triangles and scale to locate the vertical and horizontal positions and marked them with a pencil.
Lucky for me I had two straight edges to pull lines from, if you run into a situation where a square edge isn't near buy you can simply use more tape and create one.