Repairing a Battery Damaged 386 Motherboard
Author: Dennis GarciaIntroduction
In the early days of Personal Computers you would need to input the current date and time when the system booted. This is how you configured the real time clock along with setting date stamps on files. When you turned your PC off the date and time information was lost. To retain the date information, you had two basic options.
- leave the computer running
- install a real time card that contained a small rechargeable battery.
The battery was a permanent fixture and soldered to the PCB and would recharge itself when the computer was running. It was thought to be safe however, if the battery failed your PC was often sent in for repairs.
Later computers started to integrate a real time clock on the motherboard and with that it gave you the option to add an external battery if the permanent battery had failed.
During the service life of these computers there were reports of batteries exploding and/or leaking, sometimes they would destroy the motherboard and other times they just stopped keeping time. Either way it was an acceptable risk and usually when the board or battery failed it was time to upgrade anyway.
With the rise of the RetroPC movement we have hardware collectors looking for old computer components and often having to deal with exploded and leaking batteries. If you are super lucky your retro system will not have a problem or, if you are super unlucky not only will you find that the onboard battery leaked but, the AA batteries the owner used when the onboard battery failed have also leaked.
The damage can range from corrosion on the copper traces to actual removal of the metal completely.
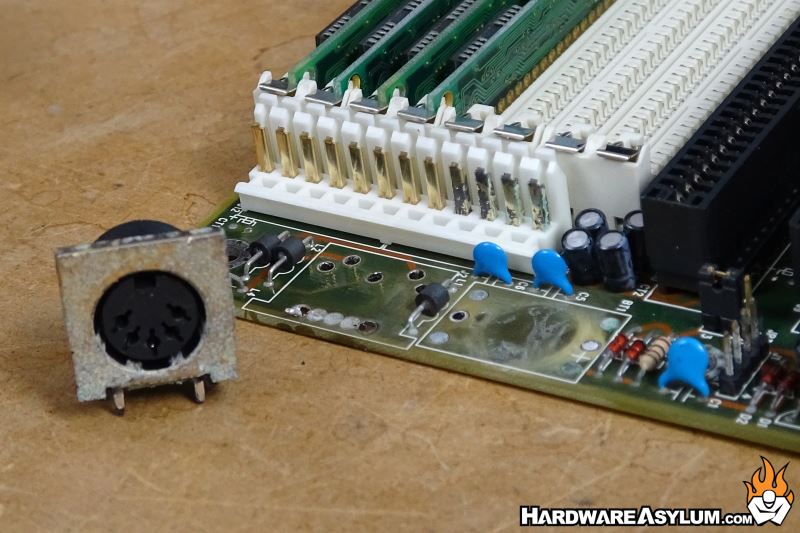
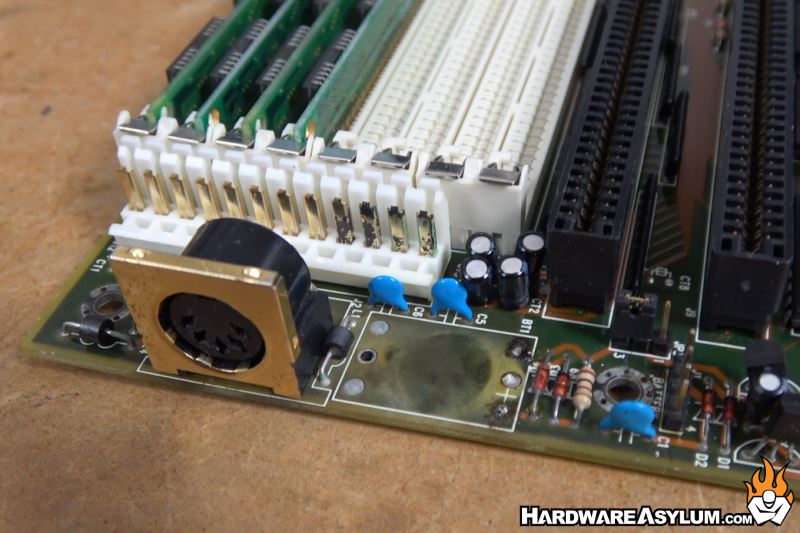
In this segment of my “Scam Case” project I’m addressing the issue of the leaky CMOS battery. These are often called “Barrel Batteries” due to the shape and put out 3.6v to maintain the CMOS settings. I have already gone through the process of replacing these batteries with the popular CR2032 however, for this build I am focused on cleaning up the damage and replacing some of the tarnished components with fresh replacements including the DIN Style Keyboard connector, some header pins and also building a 1/2AA battery pack to replace the failed CMOS battery.