MSI X99A Gaming 7 Motherboard Review
Author: Dennis GarciaBoard Layout and Features Continued
While we are on the subject of CPU I would like to direct your attention to the CPU socket, namely the heatsink mounting holes. I have seen two types of CPU sockets over the years. The first is the recommended Intel design that has the screw holes surface mounted to the top side of the motherboard. The better design, like the one used on the MSI X99 Gaming 7, has these screw holes passing thru the backside of the motherboard and attach to an extremely sturdy CPU backplate.
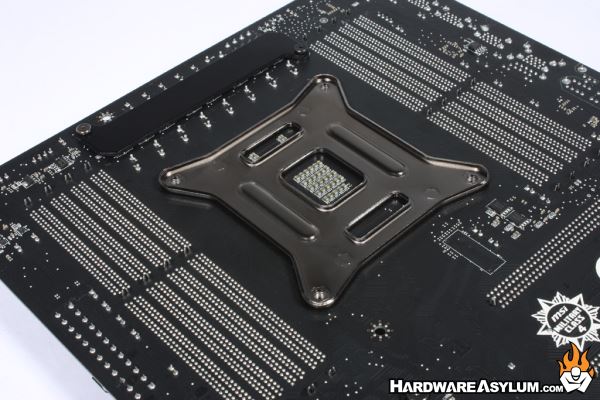
Not only is the area around the CPU socket cleaner but ensures that the motherboard will not flex under heatsink pressure. The added strength is also beneficial for heavier heatsinks, waterblocks and LN2 containers making it travel resistant for those times when you cart your system around to LAN parties or in and out of the dorm room. Inevitably something will get shook loose or bent but with the stronger blackplate it won’t be the CPU socket.
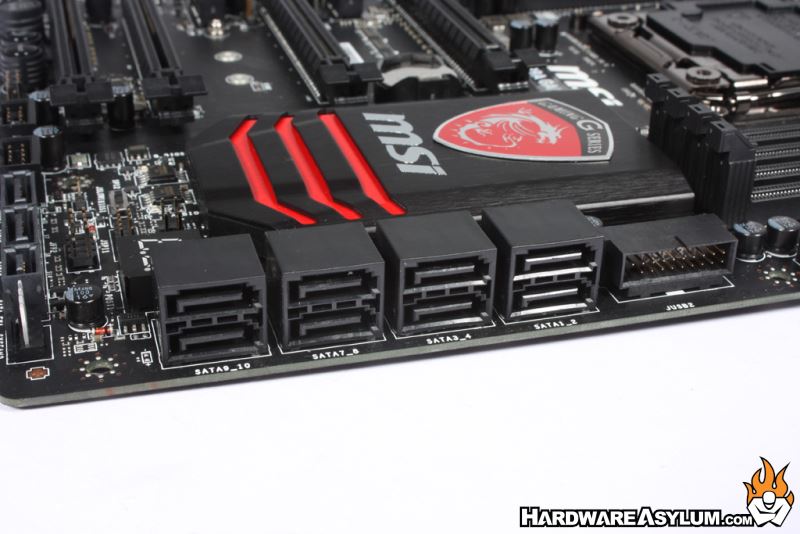
Internal SATA connections number eight and follow the new SATA6 connection standard direct from the chipset. SATA Express is also available but located at the bottom of the motherboard and perpendicular to the PCB.
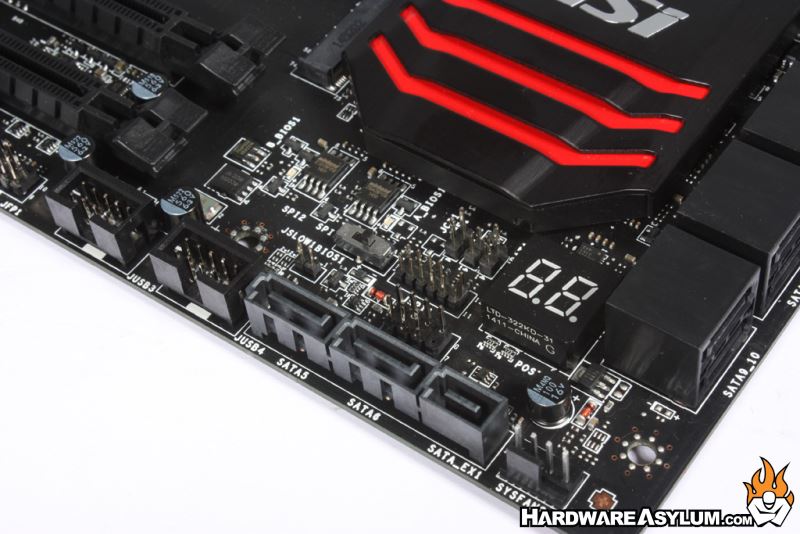
Nearby you will also find the DEBUG LED which reads the current CPU temperature after the system has booted. Next to that are the front panel connectors, BIOS switch, slow mode jumper and CMOS reset.
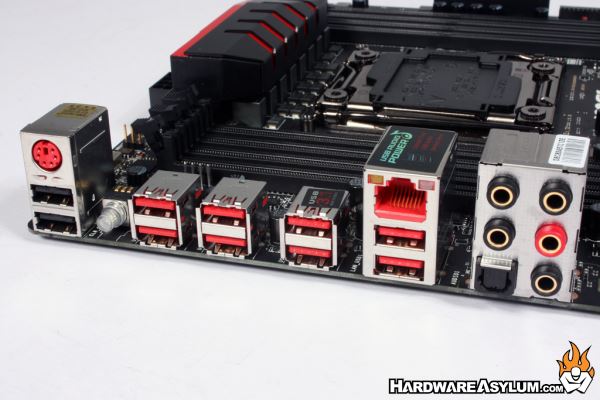
The I/O panel is rather self explanatory and quite sparse for a gaming motherboard. Staring at the left you will find a PS/2 connector for keyboard and mouse followed by two USB 2.0 connectors for low speed devices. Next to that is a CMOS reset button and six USB 3.0 connectors along with two USB 3.1 connectors near the Killer E2205 Ethernet keystone. Gold plated analog audio jacks compliment the 8 channel audio offering with digital connections over optical.