Cooler Master HAF Stacker Casemod
Author: Dennis GarciaCase Assembly and Touch Up
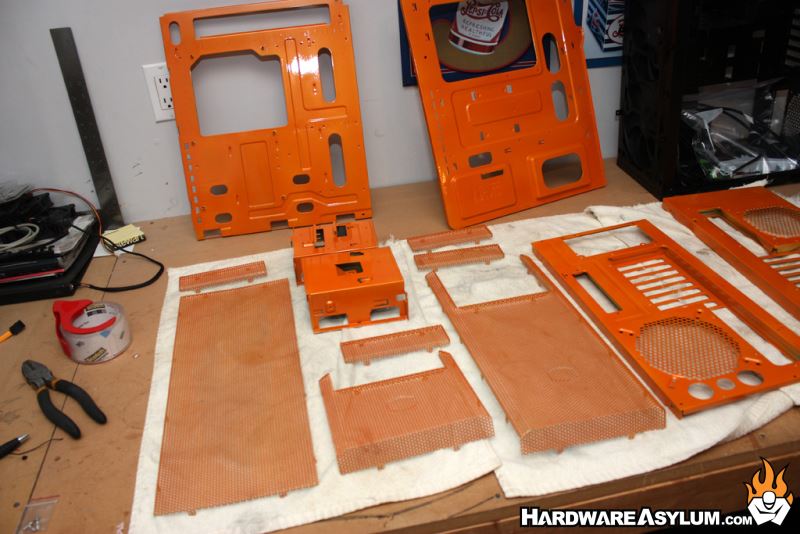
The fastest way to do selective painting is to remove the parts from the larger chassis. I did this by drilling out the rivets and now it was time to put everything back together.
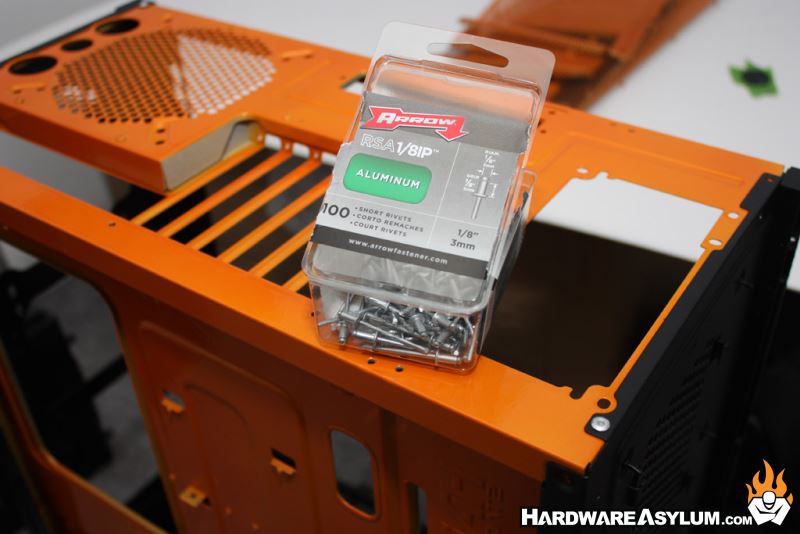
1/8th aluminum rivets is all you need and I usually buy them with a 1/8th grip. This is pretty close to what the factory uses but not exactly.
You may also notice in the above photo some white paint showing through. It would seem during the painting process that I missed a spot with my color coat and I noticed it while spraying the clear.
Never fear, this was an easy fix and was done after the reassembly process. I knew my expensive camel hair brushes would come in handy someday. ![]()
Doing this takes a steady hand and care needs to be taken to protect the paint from the rivet gun recoil. Normally the head of the rivet is between the paint and the case but that isn’t always the situation. For this I use some green masking tape on the rivet gun to protect the parts.
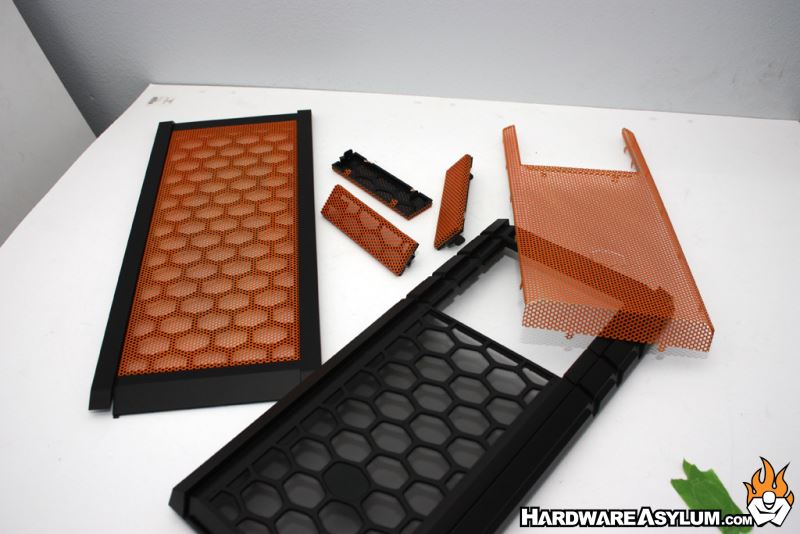
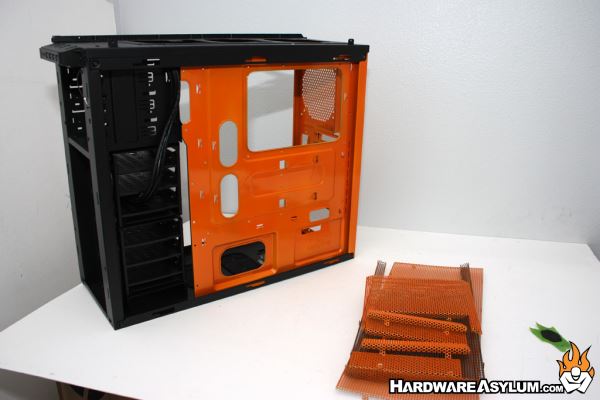
Once the case has been assembled I moved on to the metal mesh. This is the most stressful part for me given that so much can go wrong from tabs breaking off to paint flaking. Lucky for me I was able to complete this step without incident.
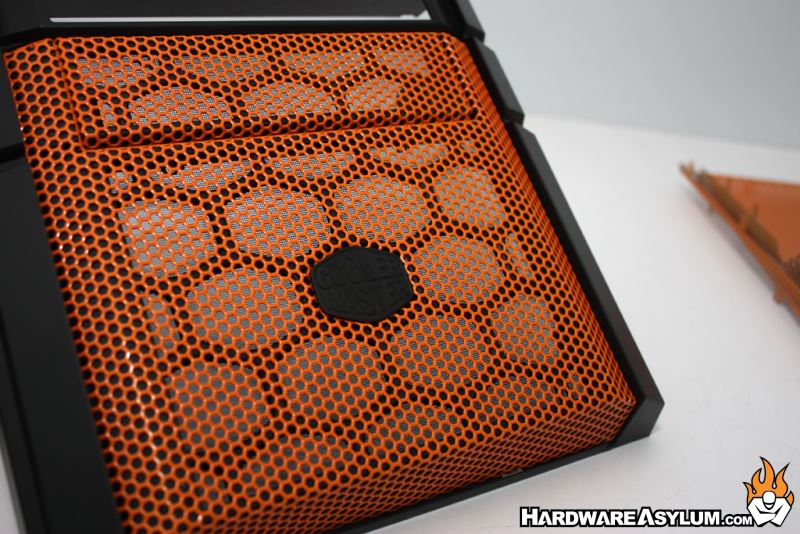
I really do like the orange on black effect where certain parts of the case show through while others are obscured. Lighted fans would help to amplify this.