Silverstone Raven 2 Casemod
Author: Dennis GarciaLaying Down Some Color
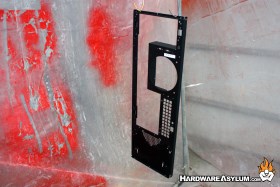
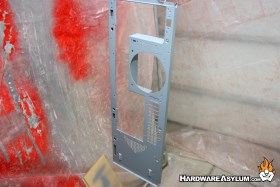
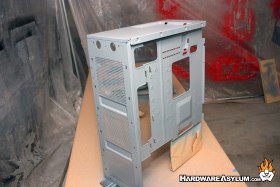
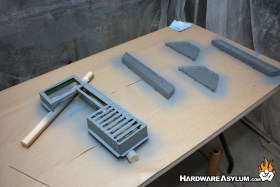
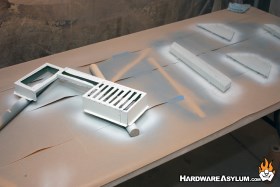
The first paint coat was a sealer primer that would cover the existing paint and give the new color something to stick to. This is a very important step as any errors at this stage will only amplify as more coats get applied. As I had mentioned before the outside temperature was close to freezing which increased the chances that the paint would run and slows down the flash time (the time needed for the paint to setup).
I made it thru this stage without incident.
As you can see the sealer is a traditional grey and goes on as thick as it needs to be. Dry time was extended to 2 hours given the drop in temperature even though it flashed rather quickly.
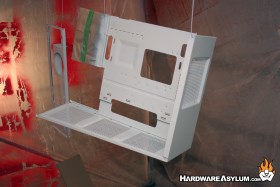
The next color is a white basecoat and the first part of the tri stage paint. Most pearl paint finishes use a white basecoat so that light will reflect back thru the pearl layer but that isn’t always the case and usually left up to the painter to determine.
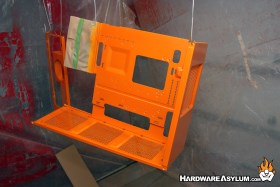
The midcoat is the main orange and pearl mix followed by the clear coat. You often hear of painters mixing their own pearls and putting the particles in the clear or applying them over top of the midcoat. This adds depth to the paint but really isn’t needed. Even cars from the factory have their pearls mixed with the color.
At this point you can begin to see the color change occurring as light bounces off of the pearl. Up until now none of the coats have introduced any catalyst (hardener) and simply cured in the air. I mention this because once you add catalyst the paint it becomes extremely sticky and will grab things from the air and cause your clothes and hair to become magnets for dirt and dust.
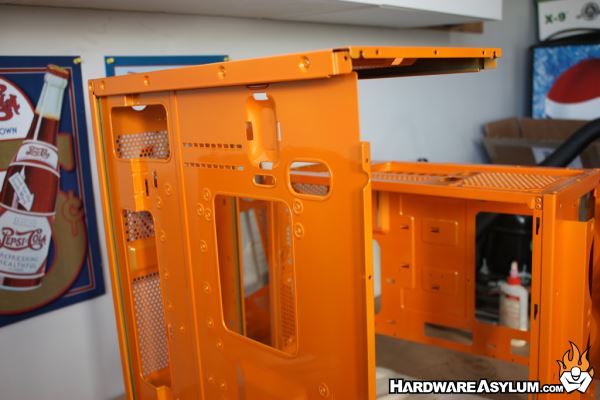
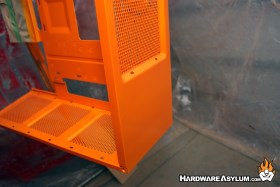
Of the coats the clear is the most nerve racking too because the paint has no color so you must rely on how the paint reflects to know if you have enough down. Experienced painters can often paint by feel but I found myself struggling to get enough clear down per pass which left many sections rough. I blame muscle memory given that I learned to paint with larger guns that flowed more paint per trigger pull. Not a huge deal, just difficult to find the right speed.
About an hour later the clear coat has set and the parts could be moved out of the booth to "rest".
Start to finish the painting part of this project took two days. I started setting up the paint booth around 9am and had parts ready to paint by noon. Given the colder temperatures the paint took longer to cure so instead of applying a coat every hour it was more like 2.5 hours. Needless to say by the time I was applying basecoat I had lost the majority of my sunlight and did the rest with the garage door closed using halogen shoplights.
My decision to spray clear the following day was what made this project work. By then the sun was out so I could watch the clear gloss up and it gave me more time to allow the parts to cure before I took the booth down.

