Silverstone Raven 2 Casemod
Author: Dennis GarciaAssembly Prep and USB3 Upgrade
I decided to let the paint cure for four days before starting the final assembly. This was mostly a time decision since I had painted two cases and wanted to give myself time to finish one before starting another.
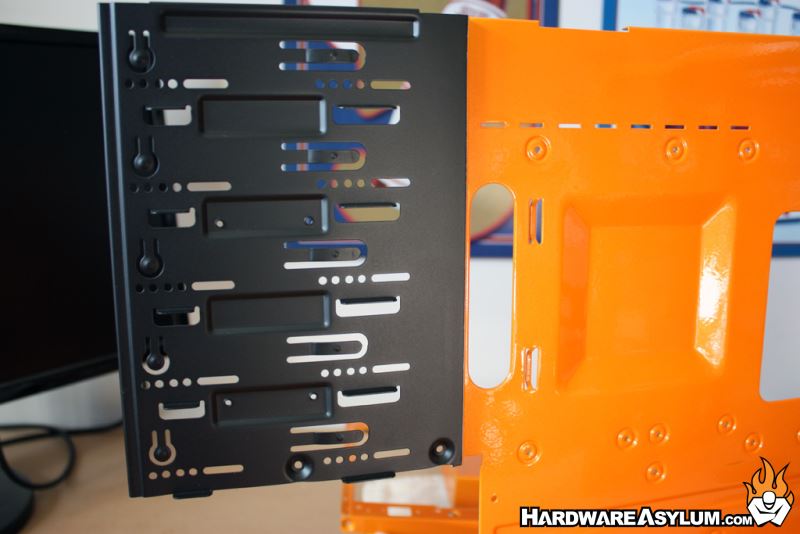
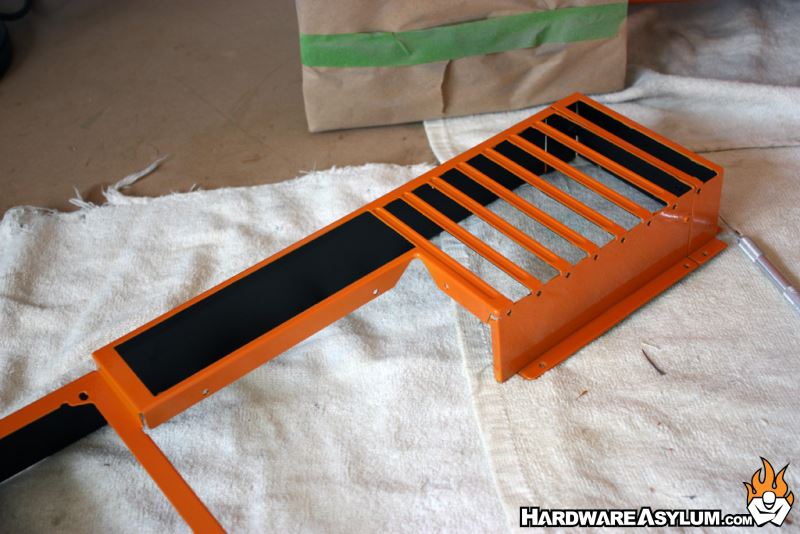
To achieve the look I was after I needed to mask off a couple sections including one side of the I/O panel and part of the motherboard tray. The paint on the motherboard tray was done with a vinyl tape and actually turned out looking really good.
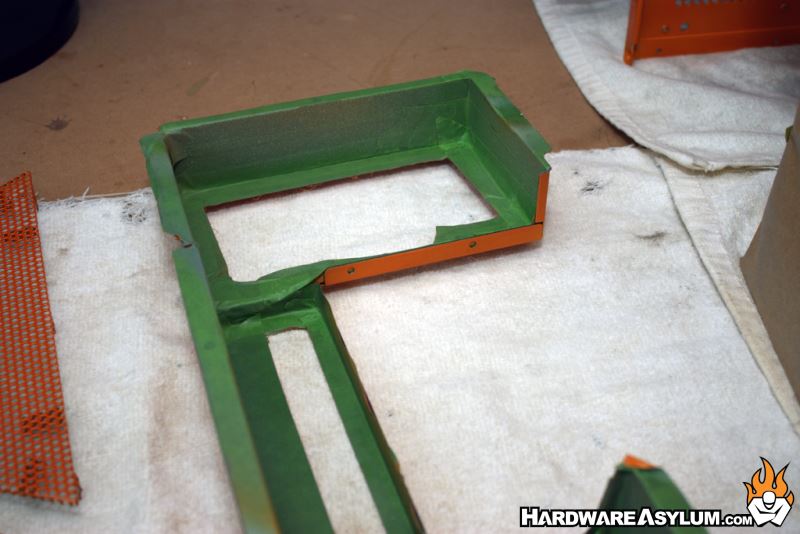
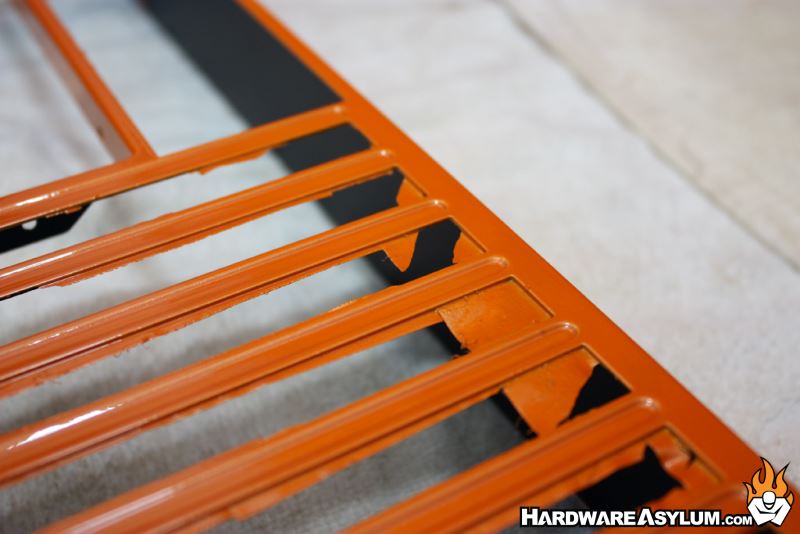
The I/O panel, on the other hand, required a little cleanup. It might be a little difficult to see but as I removed the masking tape some of the overspray separated and remained stuck to the part. I didn’t want to risk any pealing so I proceeded to cut the excess paint away using an X-Acto knife and razor blade.
Part of the final assembly process is also an upgrade. Some of you may know this already but Silverstone doesn’t retire case designs and will continue to build them long after the initial release. The company also reuses certain components making it easy to upgrade older designs.
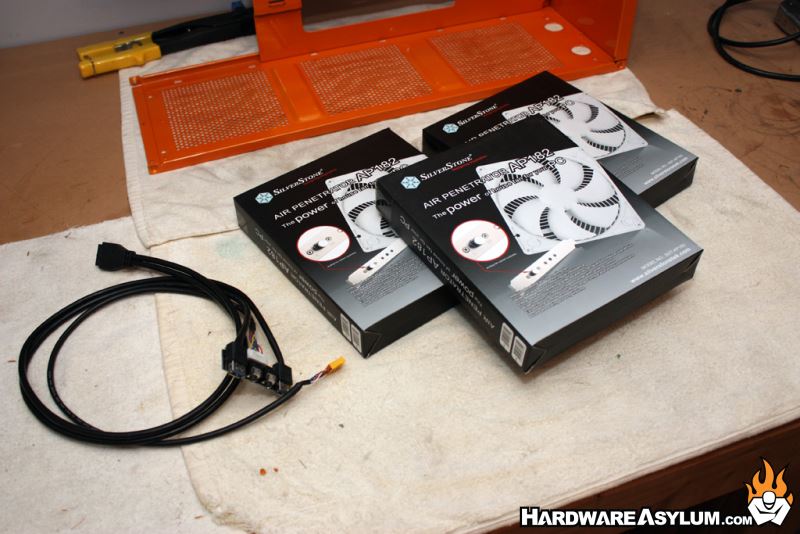
When I talked to Silverstone about this casemodding project they offered to send over a USB 3.0 module for the Raven 2 along with three AP182 180mm case fans. These are variable speed fans with Air Penetrator fins and will be an excellent upgrade over the stock fans that came with the Raven 2.
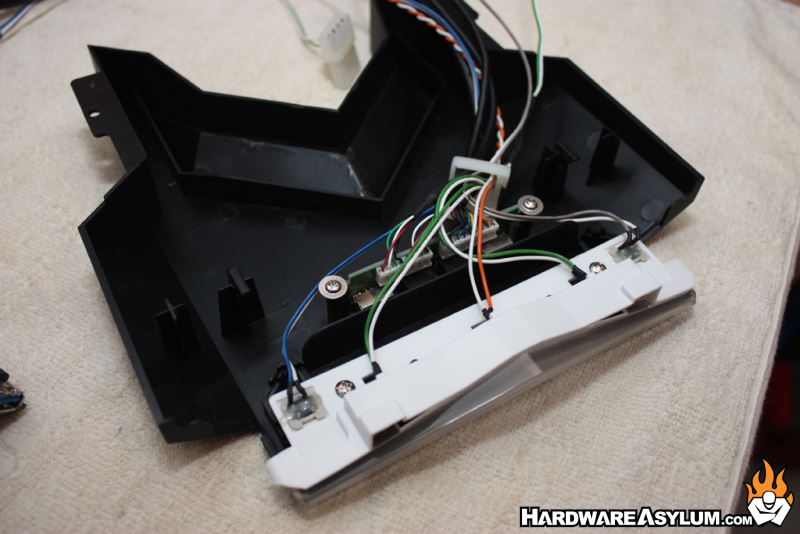
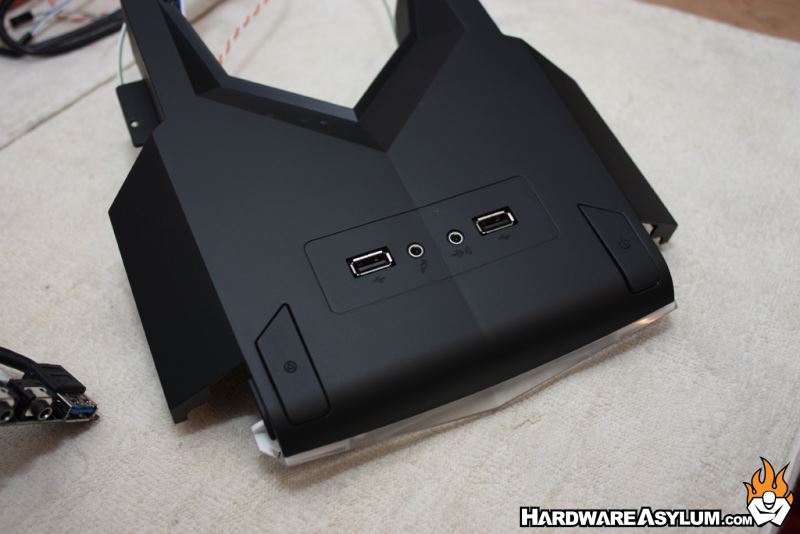
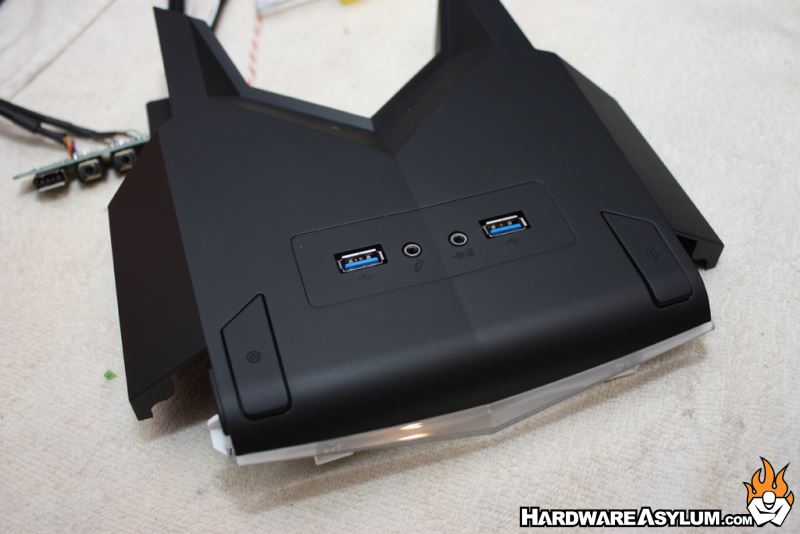
Upgrading the USB ports requires removing the top panel and unscrewing the old USB 2.0 module. You then replace it with the USB 3.0 part and reverse the process. Keep in mind that the USB 3.0 shielding is considerably thicker and will require a little effort to make fit.