Hardline Watercooling Loop Install using Pacific Cooling Gear
Author: Dennis GarciaIntroduction
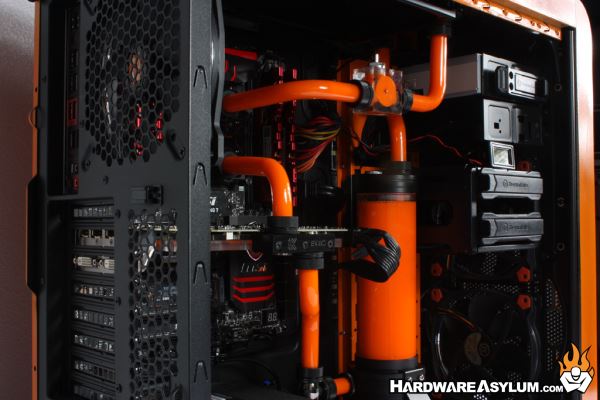
One of the pinnacles of enthusiast cooling performance is the DIY watercooling loop. Not only can it offer the best ambient level cooling performance but when done correctly looks amazing. There are several different ways to watercool your PC with the main differentiators being the size and type of tubing used. AIO coolers typically have small diameter tubing and limited expandability. DIY kits use larger tubing either 3/8” ID or 1/2” ID and can be either flexible or rigid. Finally there is immersive cooling and regardless of what some YouTube channels may tell you dunking your PC in a tank of cooling solution neither practical nor efficient.
In a previous article I discussed Custom Painting a Thermaltake Core V51. In that casemodding article the system was finished off with a temporary aircooling configuration. Well, now it is time to rip out the old and start cooling with liquid.
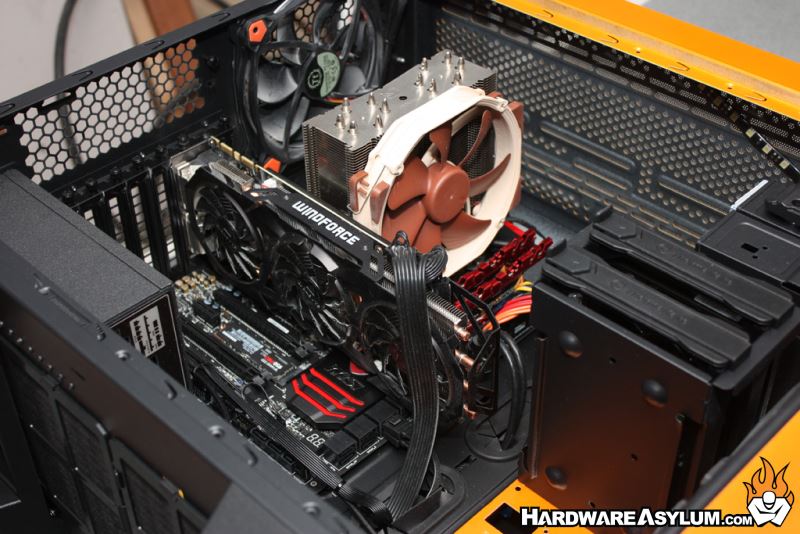
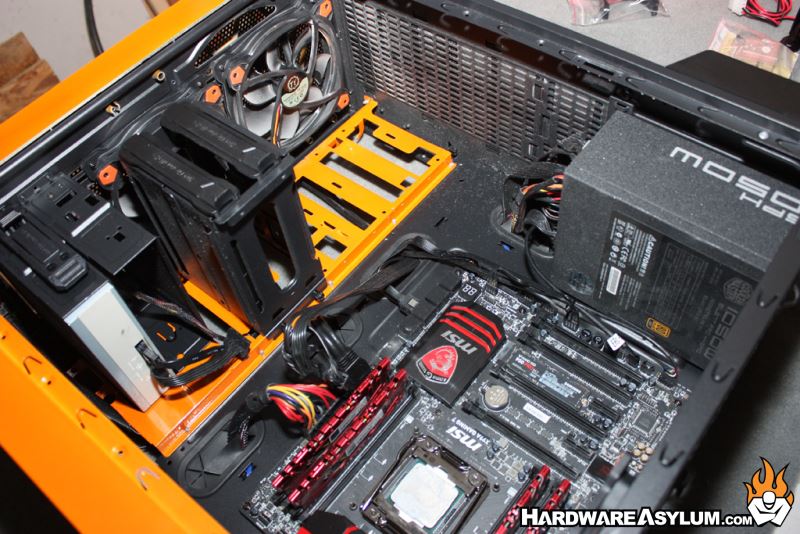
Below are some photos of the existing system. It features a MSI X99 motherboard, Gigabyte GTX 970, GSKill memory and Noctua U14S. Overall the system ran extremely well but just doesn’t have that visual appeal any of us are after.
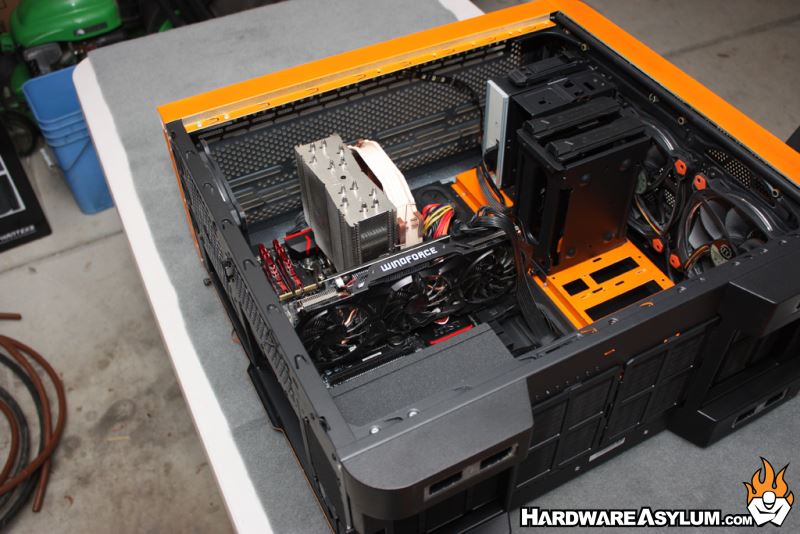
The first step is to strip the computer down enough so that the waterblocks can be installed. You’ll want to leave all of the power connections as they will dictate areas where you can’t install any watercooling gear.
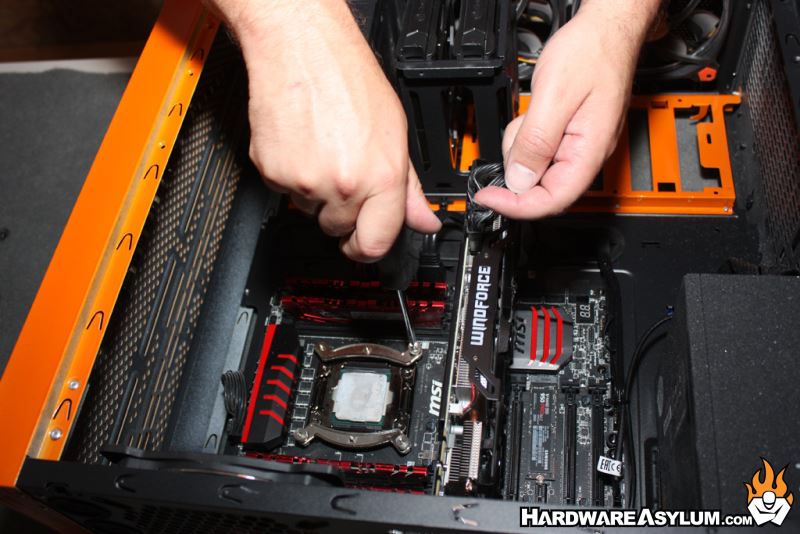
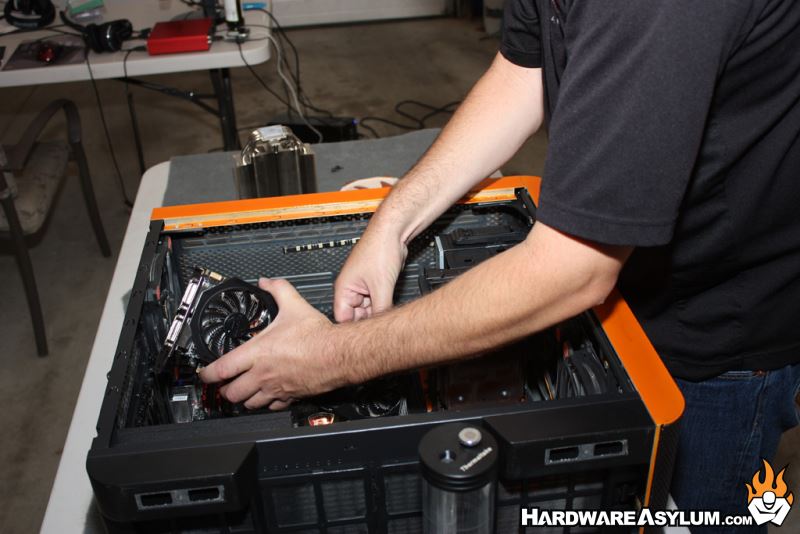
For the Core V51, the CPU heatsink, and video card were removed.