BitFenix Neos Chassis Review
Author: Warren YoungCase Interior and Cooling
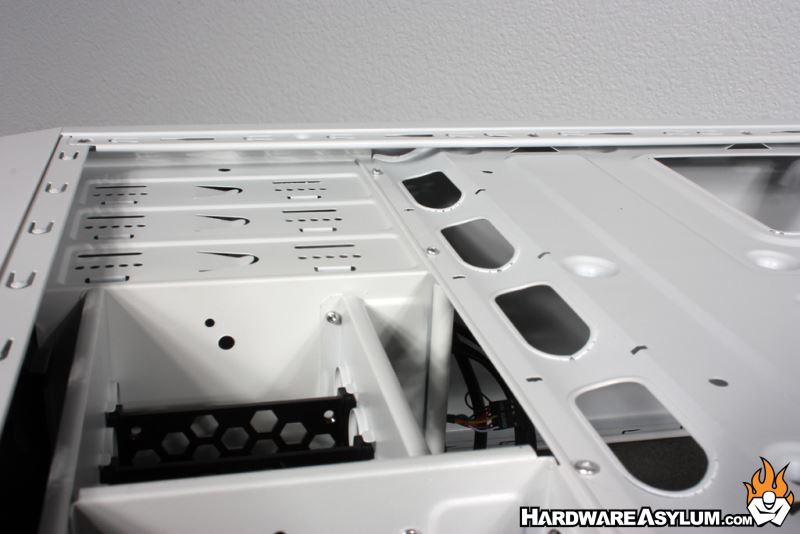
Now that we’ve spent some time looking at the features on the outside, let’s open the doors and start pulling it apart to see what’s underneath. Opening up the main door gives you a good sense of the layout. There are also six internal drive bays, three for 3.5” SATA trays, and three 2.5” SSD trays. The centermost bay will shrink to support 2.5” trays and gives you extra room for longer video cards up to 30cm in length. The 3.5” trays are also tapped for 2.5” drive mounts giving you plenty of drive flexibility.
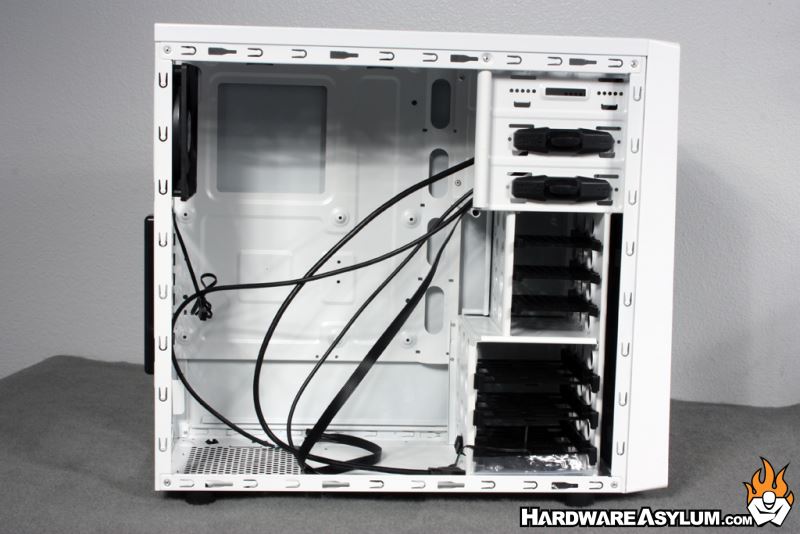

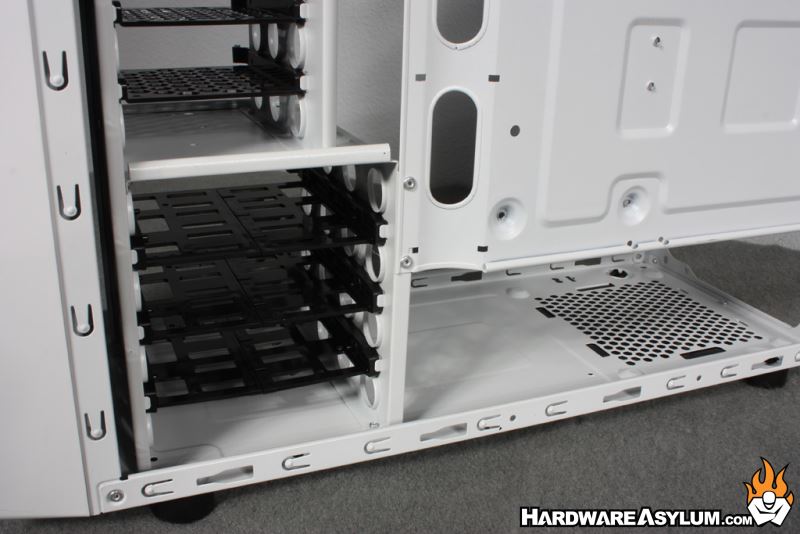
The internal drive cages themselves are riveted onto the frame, and are not removable to help assist with airflow. BitFenix has however, provided extra large holes cut out of the sides to help air move through from the intakes. Taking a closer examination of the trays themselves, they are plastic, wrap-around, clip-in trays, and we see this as a popular solution with many manufacturers.
There is one thing I wish BitFenix would have splurged a tiny bit on though. I don’t see any rubber shock absorbers/bumpers on the sides of the SATA trays to reduce vibration in the drives, and none appear to be included in the parts bag. This is a bit disappointing, as it's something simple that does help improve the lives of anyone using the product given that rotational drives are still the most popular internal storage option.
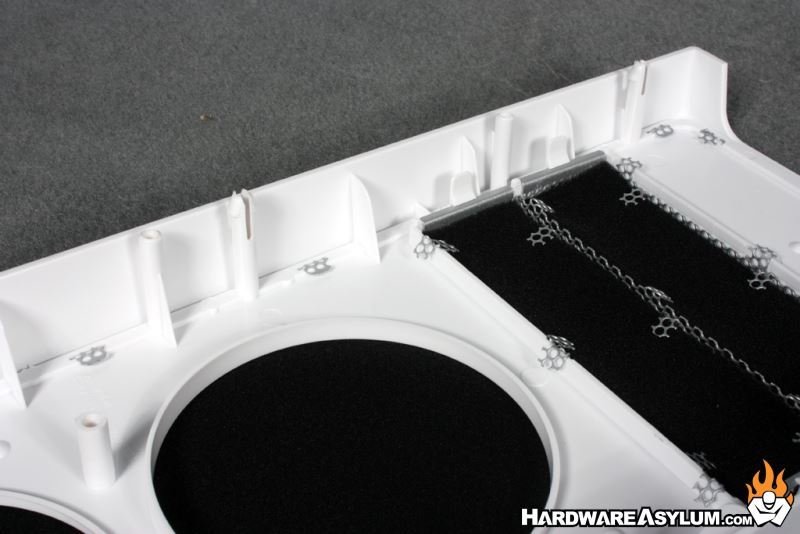
Moving around to the front of the case, the front of the grill is removed easily with a tug from the bottom, allowing access to the external drive bay trays and the intake fans. The finish is a bit rough around the edges as you can see, with folded metal tabs holding everything in place. What they do hold down is a primary layer of dust filtration/sound insulating foam, helping reduce the sound from the intake fans, as well as keeping them from ingesting dirt and debris.
You’ll also see these on the 5.25” panels so, while not in use they will be working to keep contaminants out. The two panels for the external drives are held in place with pressure clips, so removal and reinstallation is a breeze.
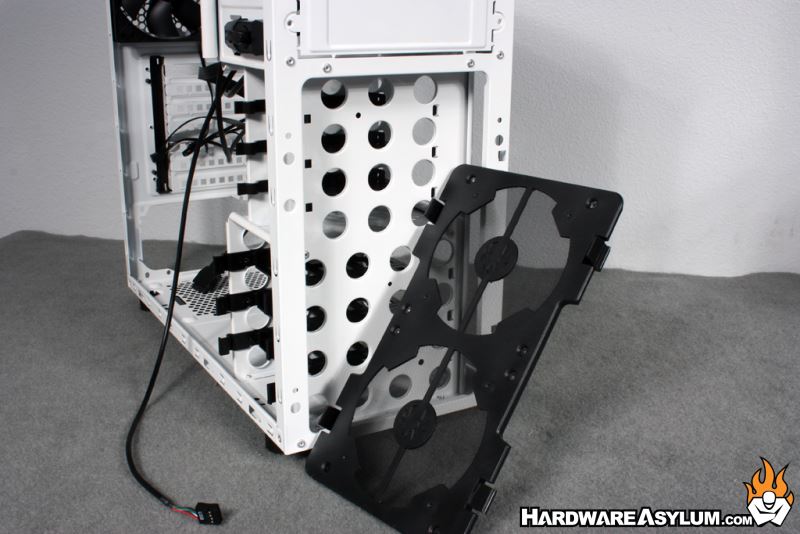
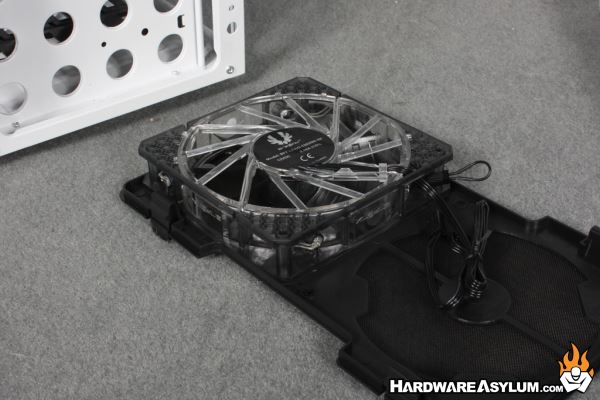
Quick note about the front intake fans... there aren't any. It doesn't come with any installed so make sure to add a pair of 120mm's to your shopping cart before you checkout. While the Neos does come with a single exhaust fan the intake fan dilemma was overlooked unless you upgrade to the Neos Window model. Only then do you get something on the intake side.
When those fans arrive, and you go to install them, you'll notice the secondary dust filter just past foam insulation. This is an interesting design to me, as the intake fans attach directly to the filter instead of the frame. Once attached, the whole filter/fan assembly clips into the front of the chassis. This does makes cleaning it a bit easier, since you can easily unclip the entire assembly and blow it out directly.
Moving to the back of the chassis we explore the hidden world behind the motherboard where all the SATA and Molex cables live. Without any embossment on the side door, your cable management skills will be tested a bit as you won’t have much space to work with (about 5/16”). It does opens up a bit more along the spine with the pull-throughs and behind the drive cages to about 3/4".
As for tie-down locations, there are only four tiny rectangular cutouts to run zip-ties, and they are all located along the center spine where the pass-throughs are located. BitFenix does provide you with four zipties that will fit, but they are incredibly thin.
However, as an introductory mod project, you could pretty easily dremel them a little wider to help run slightly sturdier ties.