Noctua NH-L12 Low Profile Heatsink Review
Author: Dennis Garcia
Published: Monday, March 26, 2012
Cooler Installation
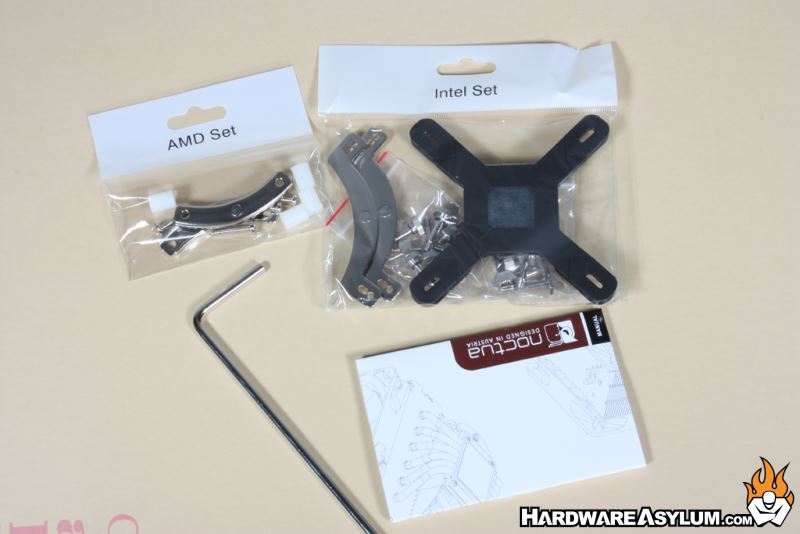
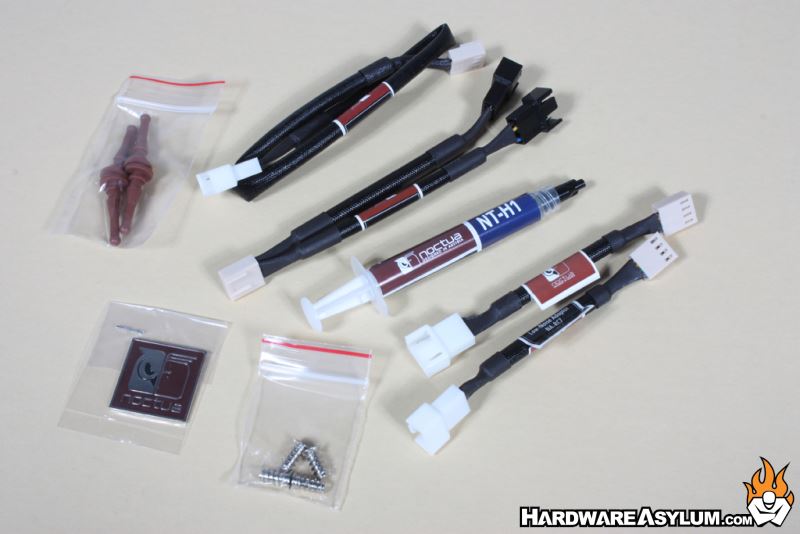
Installing the Noctua NH-L12 is pretty straight forward, the accessory box comes with everything you will need including the reinforced back plate, fan tail accessories (to control fan RPM), screw driver, mounting plates for both A64 and Intel processors (including LGA2011) and the popular NT-H1 thermal compound.
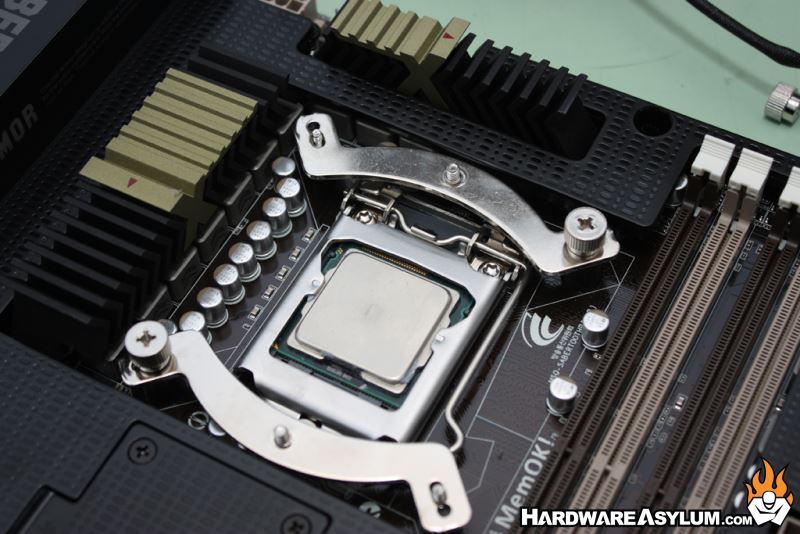
You start by installing the back plate and placing the included spacers over the exposed threaded posts.
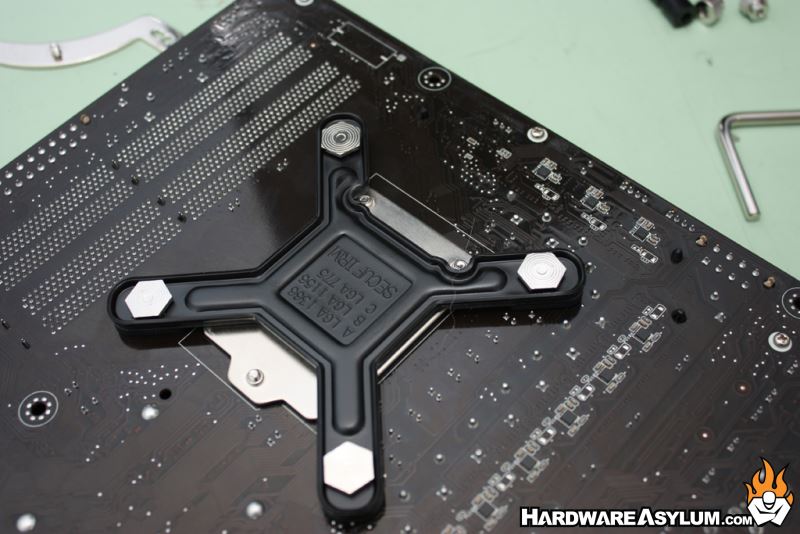
Next you secure the mounting plates to those posts using the included screw caps. These simply lock down without any sort of spring pressure.
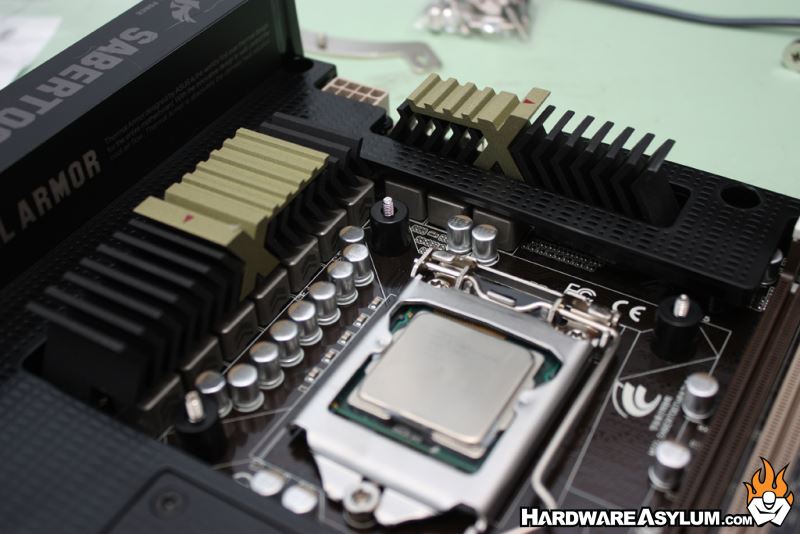
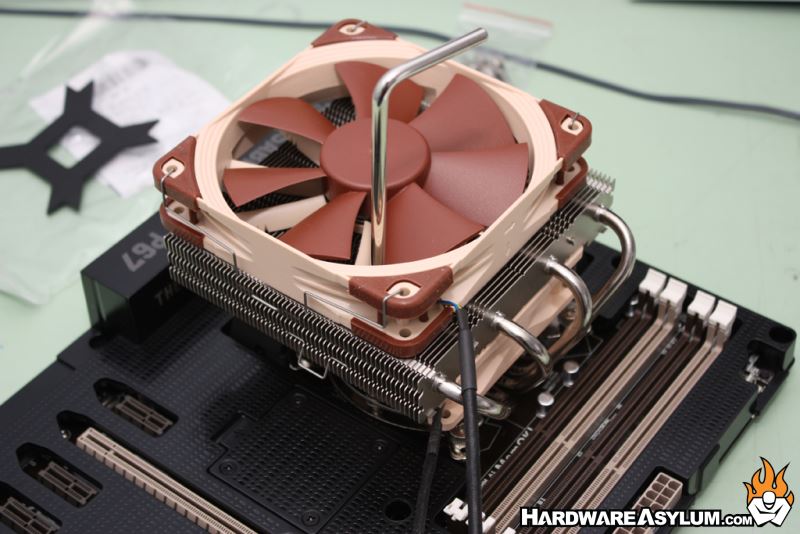
Due to the size of the heatsink you should do a trial fit to determine the best way to install the cooler, we choose to face the heatsink so the heatpipes are near the memory modules. This allows for the fans to blow down on the PWM coolers and kept the cooler contained within our system confines.
Due to the size of the heatsink you should do a trial fit to determine the best way to install the cooler, we choose to face the heatsink so the heatpipes are near the memory modules. This allows for the fans to blow down on the PWM coolers and kept the cooler contained within our system confines.
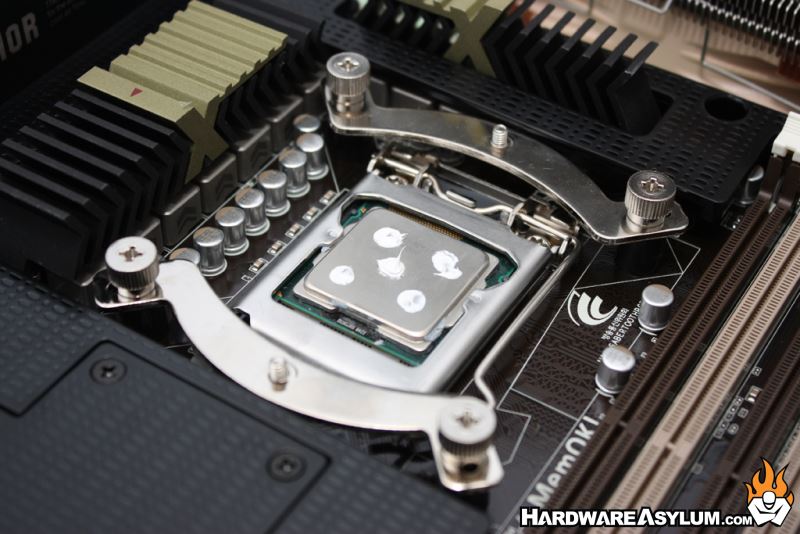
Once you have determined the heatsink orientation you can install the mounting plates with the included screwcaps and apply some thermal compound. We prefer the 5 dot method with daba in the illustrated configuration.
To secure the heatsink you need to use the included screwdriver since to access the mounting screws you must pass thru the heatsink.
To secure the heatsink you need to use the included screwdriver since to access the mounting screws you must pass thru the heatsink.
When you are done plug in the fan headers and away you go.
We are rather pleased to see that there were no memory clearance issues with the NH-L12 and If you are using standard height memory modules there should be no issues populating all four slots.
We are rather pleased to see that there were no memory clearance issues with the NH-L12 and If you are using standard height memory modules there should be no issues populating all four slots.