Silverstone HE01 Performance Heatsink Review
Author: Dennis Garcia
Published: Wednesday, October 24, 2012
Installation
Installing the Silverstone HE01 is pretty straight forward. The accessory box comes with everything you will need including the reinforced back plate, and all the mounting parts for A64 and Intel processors.
We will be testing on the LGA 2011 and to begin you first install the LGA 2011 riser bolts into the threaded heatsink mounting holes. Finger tight is enough to hold these in place.
We will be testing on the LGA 2011 and to begin you first install the LGA 2011 riser bolts into the threaded heatsink mounting holes. Finger tight is enough to hold these in place.
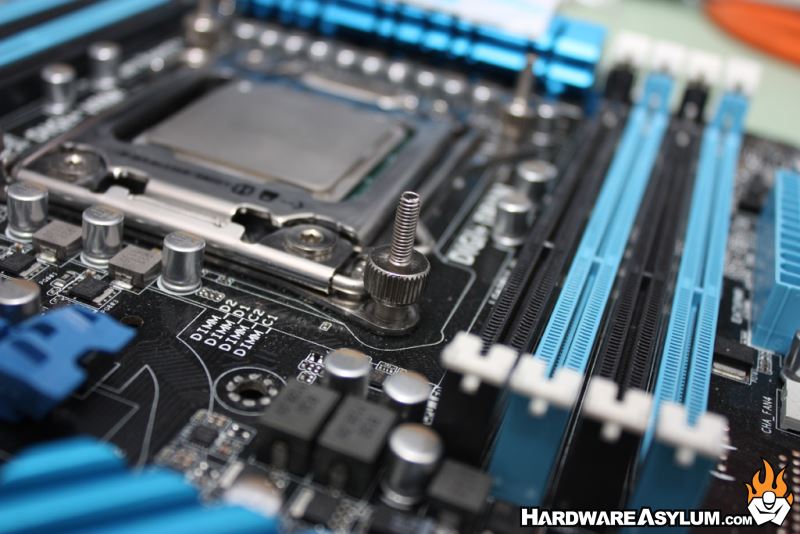
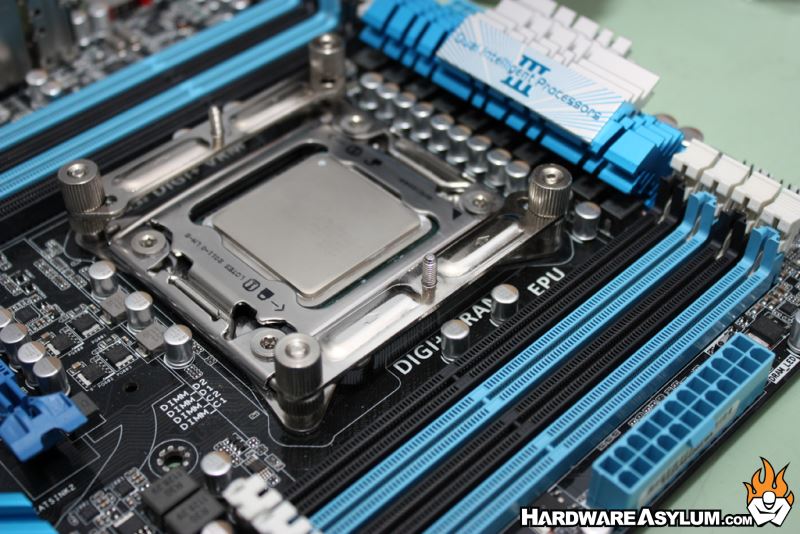
The riser bolts create a shoulder for the mounting plates to rest on. These plates are held in place with 4 thumb nuts and need to be secured finger tight. The location of the mounting plates will dictate the orientation of the heatsink so be sure to test fit everything for proper compatibility.
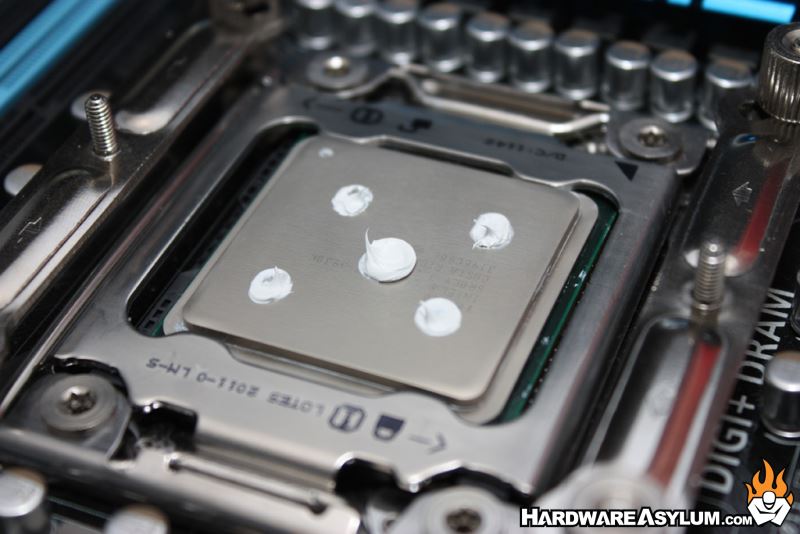
Thermal paste is a must when dealing with large processors like the LGA2011. We prefer the 5 dot method as it affords us bubble free installations and good coverage over the entire heat spreader.
Thermal paste is a must when dealing with large processors like the LGA2011. We prefer the 5 dot method as it affords us bubble free installations and good coverage over the entire heat spreader.
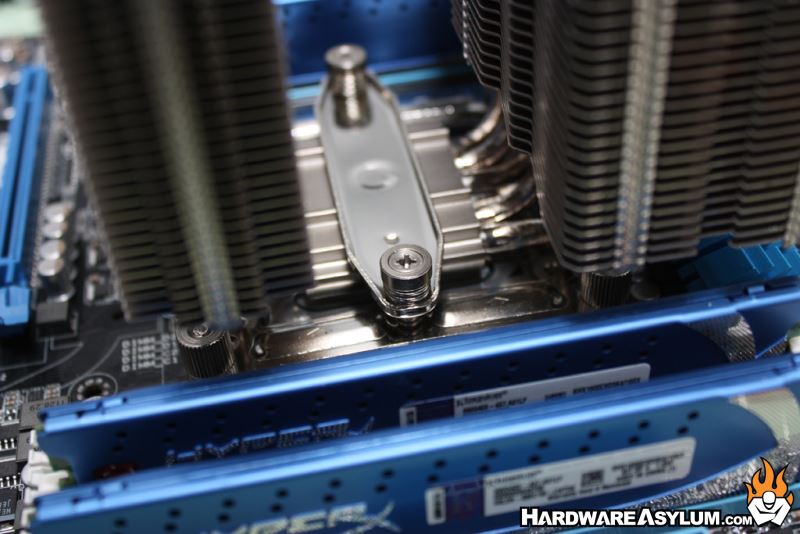
A single cross brace is used to hold the heatsink in place. Grooves will help you align the brace and the two screws will clamp everything down. This installation method does allow the heatsink to twist on the base but only a few millimeters in each direction.
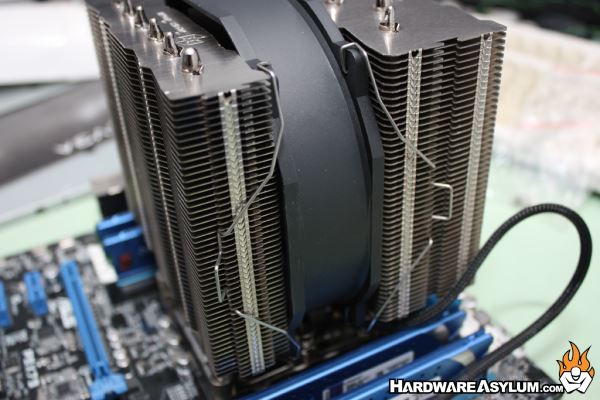
The final step will be to install the cooling fan. As we mentioned before you can install up to three fans on the HE01 or use the included 38mm fan and clip it to both towers. This won't increase performance but does keep vibrations down at high RPMs.