
Noblechairs Hero Black Gaming Chair Review
Author: Dennis Garcia
Hero Squishy Part Assembly
Once the base of the chair has been assembled, I turned my attention to the chair bottom. This required two items to be installed.
First is the missing chair arm. The arm is rather advanced with 4D motion allowing you to raise and lower the arms and position the tops in almost any location forward, back or side to side.
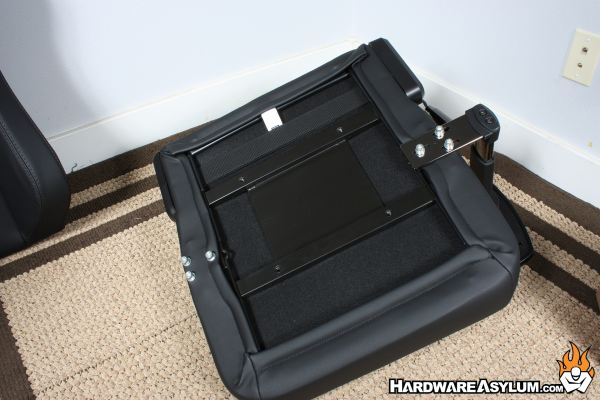
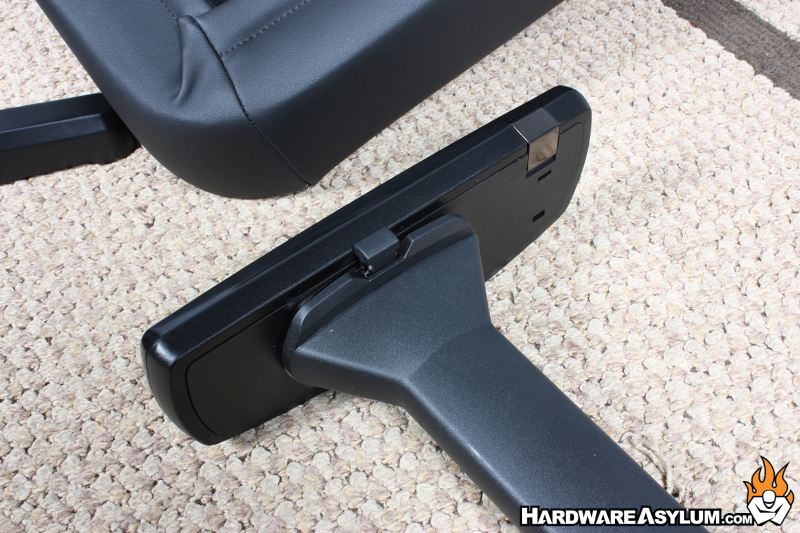
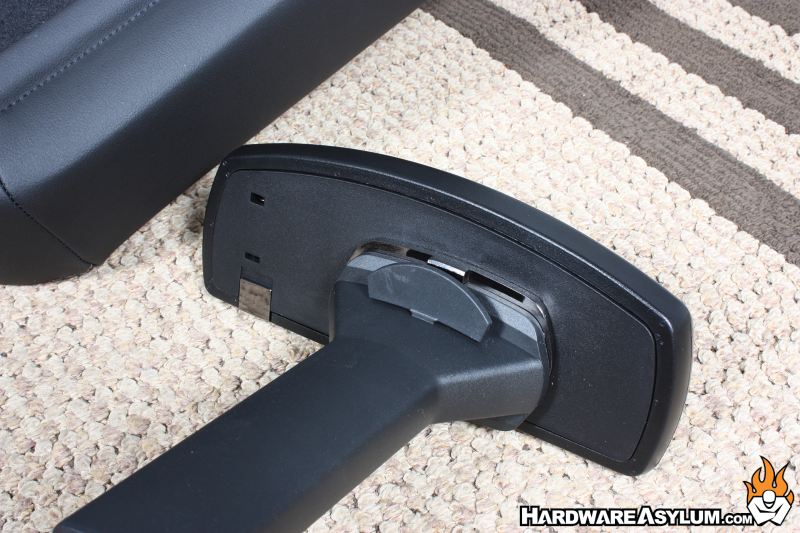
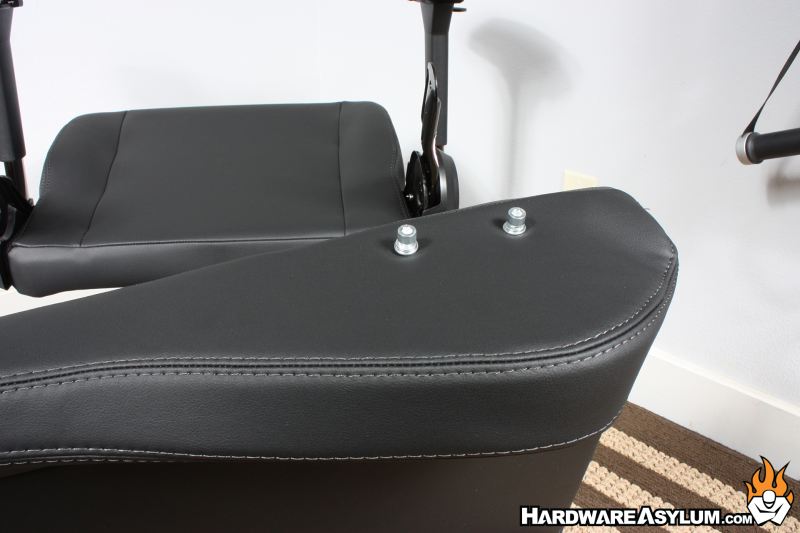
To attach the arm, locate three screws and attach it to the chair bottom. The holes are slotted so you can move the ams in our out depending on your size requirements.
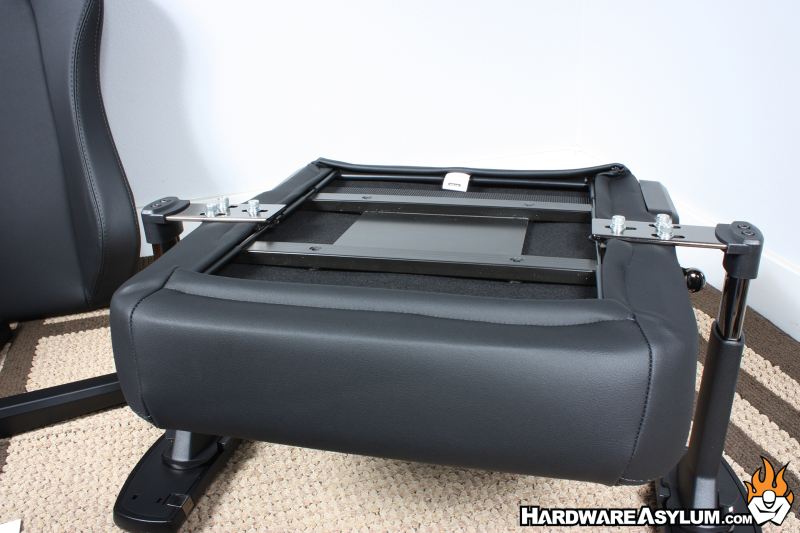
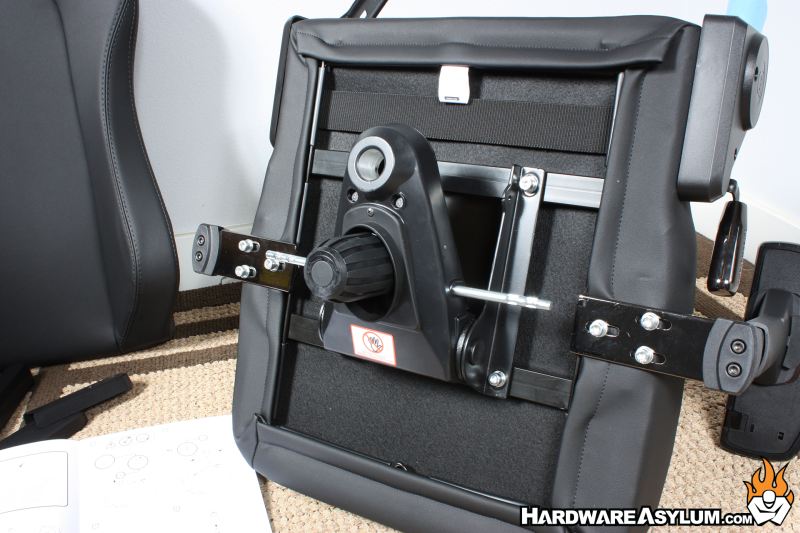
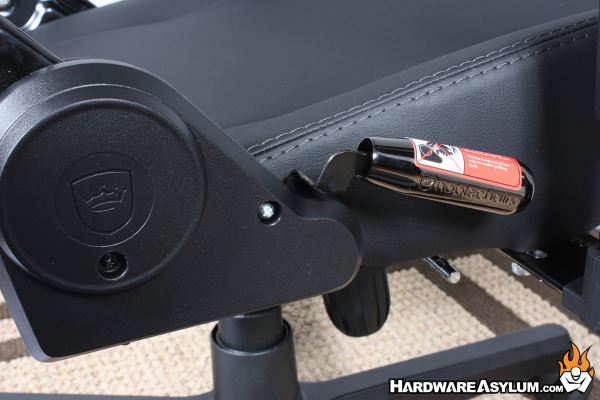
Once the arm is attached you can connect the finger chopper to the chair bottom using another four screws. This item does not get any adjustments and installs with the post hole to the back and tension adjustment knob to the front.
Final step here is to install the chair base to the chair bottom by inserting the gas piston up and down support swivel thing into the machined hole in the finger chopper. The instructions will tell you to do with the chair base on the floor but. I find it a million times easier to prop the chair base up vertically and bring the chair base up to it.
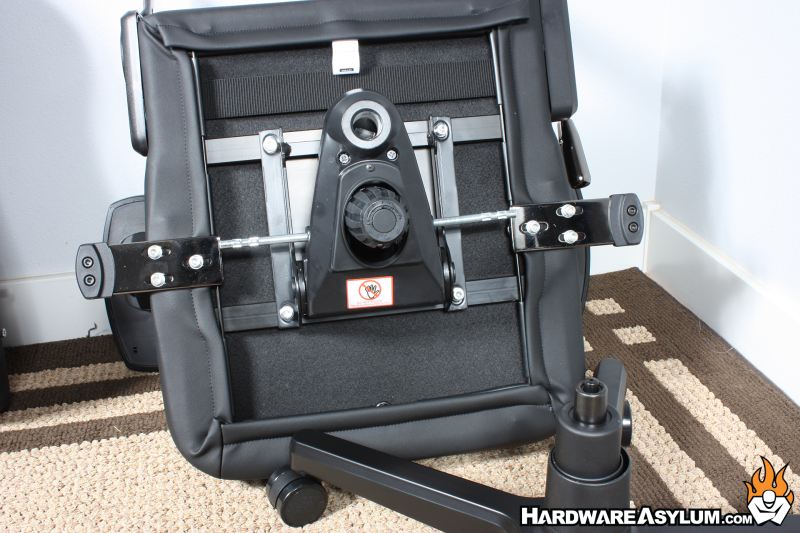
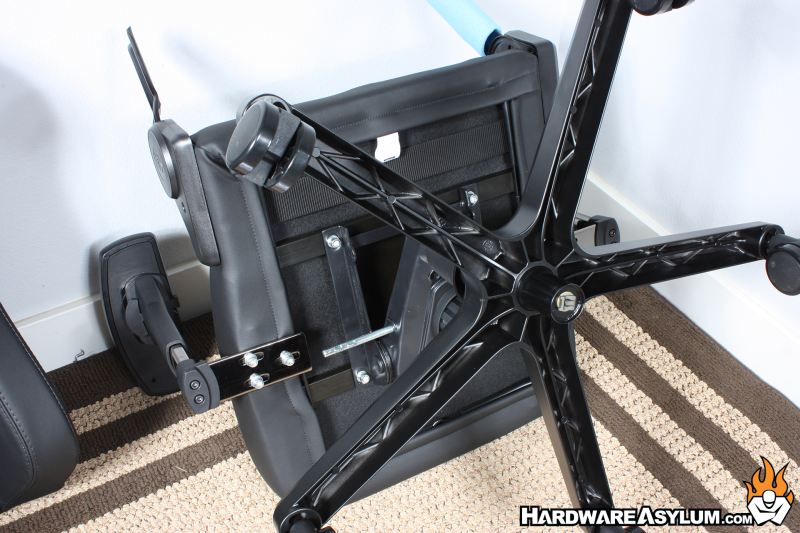
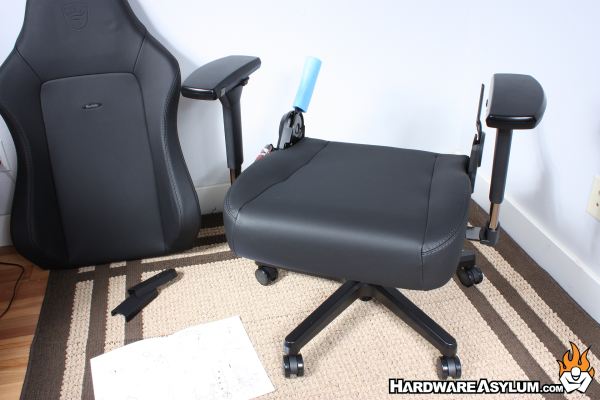
When you are done you will have something like this.
The instructions will tell you that this little sliver screw needs to be removed before the next step. This screw locks the recline feature in place preventing it from acting like a catapult and breaking fleshy parts on your body.
To attach the chair back to the newly completed chair bottom you will need to remove the installed screws and line up the holes with the vertical posts attached to the chair bottom. This is not impossible to do on your own but… can be made easier with a second set of hands or conveniently placed wall.
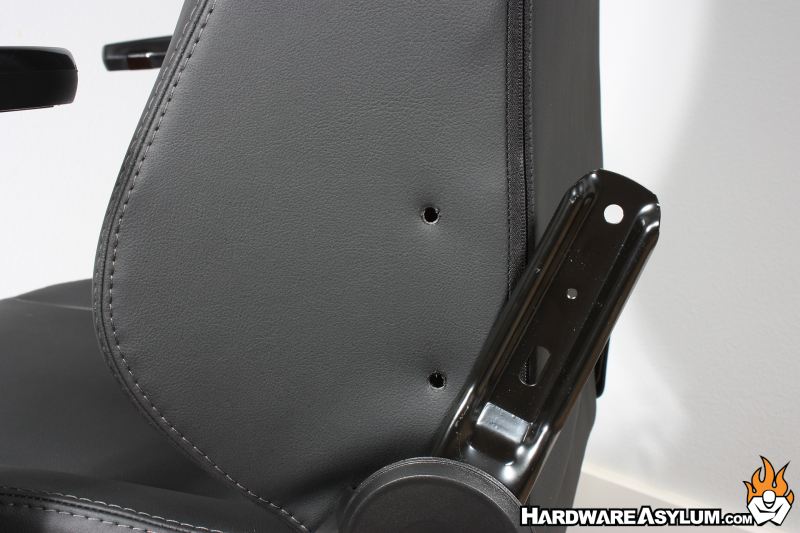
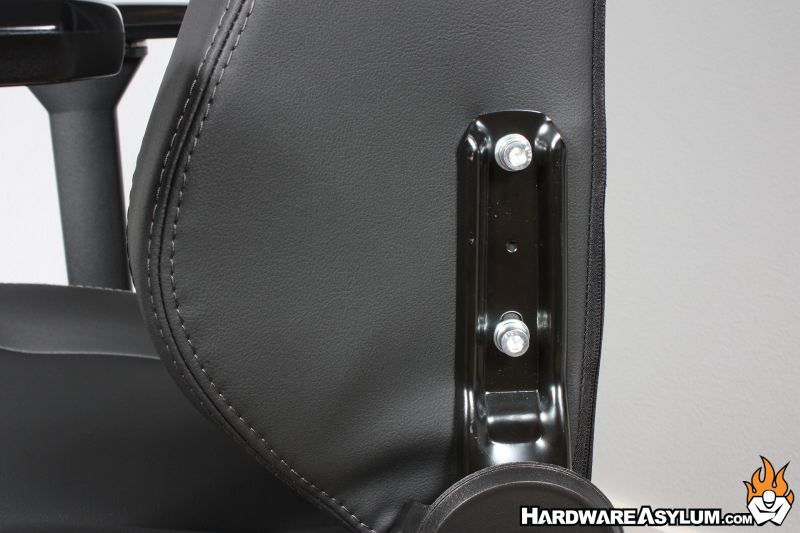
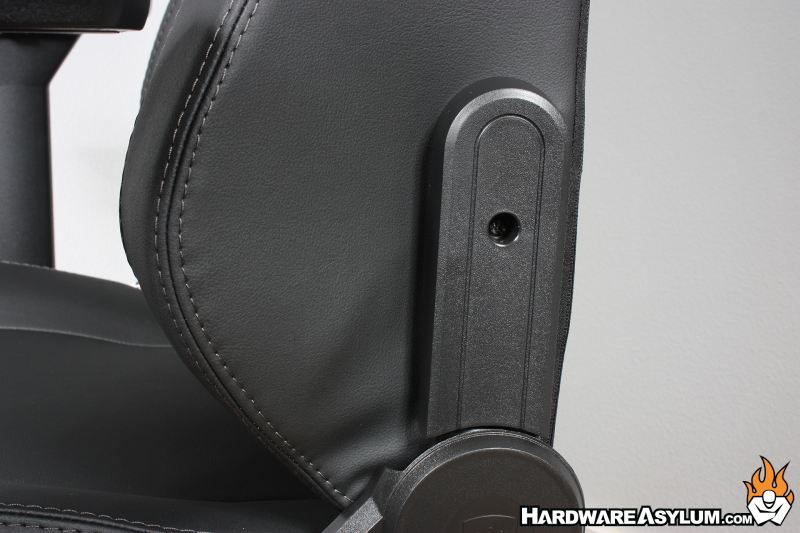
Do this to both sides and then attach the decorative plastic covers to create an aura of mystery around how the chair is actually assembled.