Inside a HP Proliant DL360 G5 Motherboard Swap
Author: Dennis Garcia
Published: Sunday, March 04, 2012
Tear Down Continued
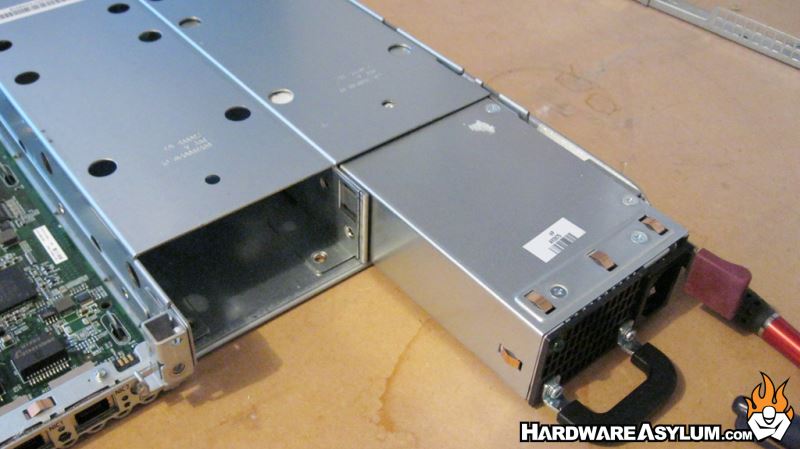
My DL360 G5 came with dual PSU units that are held in place with a single metal clip. These will need to be removed, just be sure to unplug the power and give them time to power down before pulling them out.

You wouldn't think that a 1U server would have room for an expansion slot but the HP Proliant DL360 G5 comes with two. To access the expansion slots (and motherboard) you must remove the riser card and bracket using the included Torx key. Two of the screws are located on the back of the machine while the other two can be found inside.
Once the screws have been removed lift out the riser card bracket and set it aside.
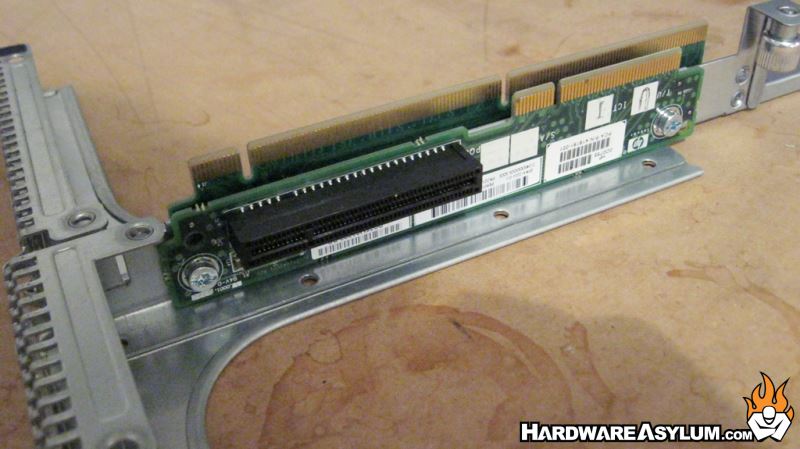
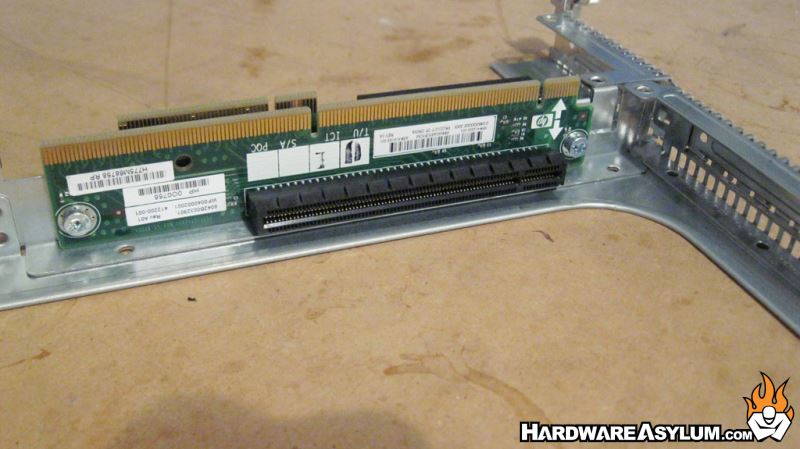
The riser card features two expansion slots with one side supporting full height cards and the other being limited to half height cards. The half height side comes with a single PCI Express 8x slot, perfect for low profile RAID cards while the full height side comes with a single 16x PCI Express slot but can be configured to support PCI-X with a different module.
The riser card features two expansion slots with one side supporting full height cards and the other being limited to half height cards. The half height side comes with a single PCI Express 8x slot, perfect for low profile RAID cards while the full height side comes with a single 16x PCI Express slot but can be configured to support PCI-X with a different module.
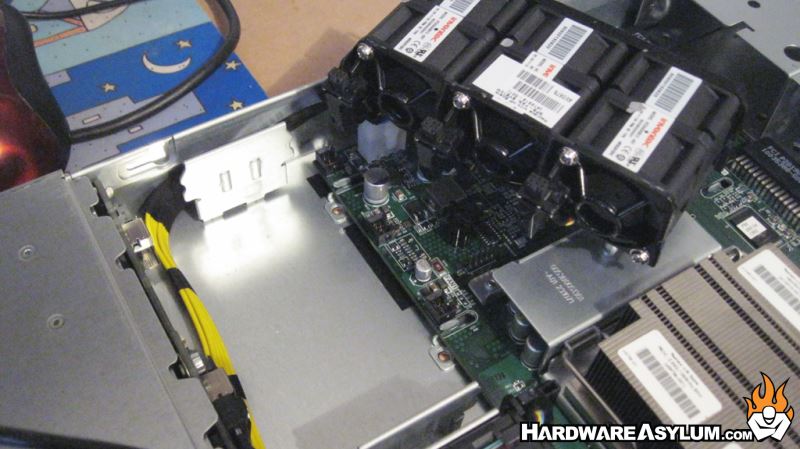

Fan modules are next, you'll find three separate fan modules in the DL360 G5 and each module features two banks of three fans each. That way every fan has a redundant spare. Removing these fan modules is extremely easy. There are two metal pressure clips holding the modules in place simply grab the fan module and lift them out. Pin sockets on the motherboard provide power and RPM monitoring so there is nothing to disconnect, just lift and go.