Enermax iVektor Casemod
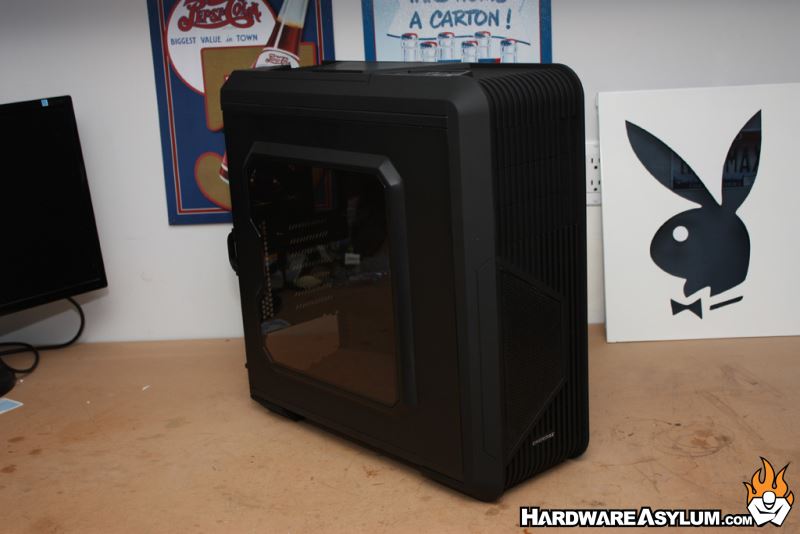
Author: Dennis GarciaThe Enermax iVektor
My plans for this case are rather straight forward and involve painting select metal bits to create a nice contrast between the black panels and new painted parts. The first step will be to tear the case down and separate the parts I need to paint from the rest of the chassis.
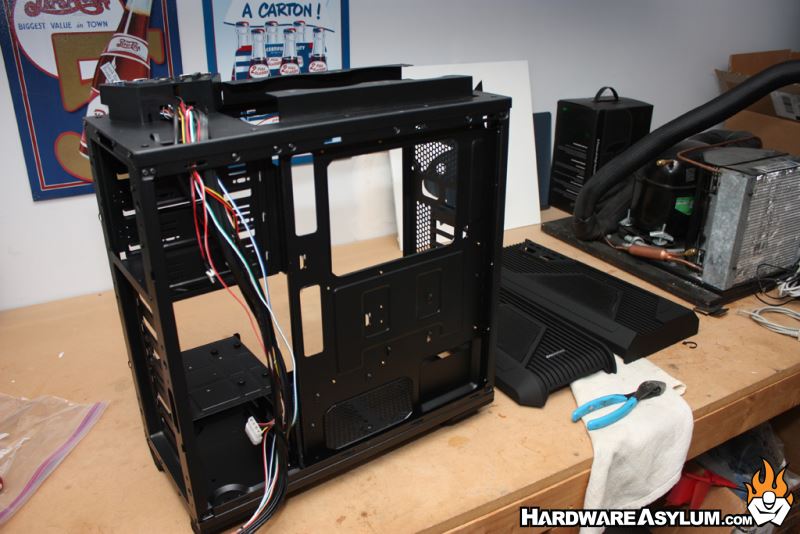
The side panels are held in place with thumbscrews and the plastic panels on the front and top snap in place with friction clips. With everything removed you can see how bare the case really is.
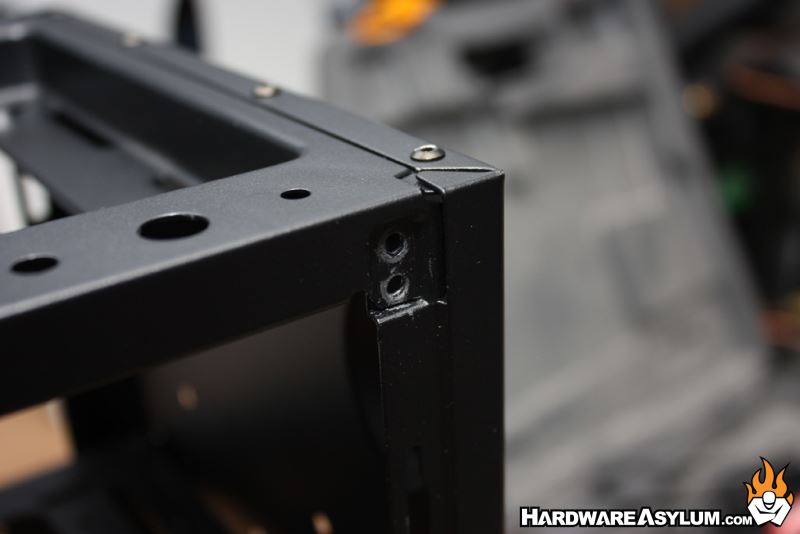
Modern cases are held together with aluminum pop rivets and to remove them you need a steady hand and a 1/8th inch drill bit. Find the head of the rivet and simply drill out the center.
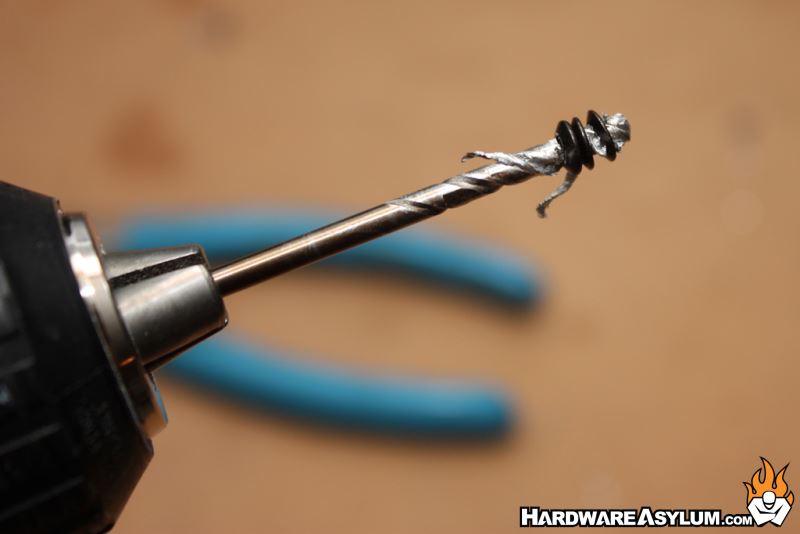
Keep in mind that this will clear the hole but often leave the rivet head stuck on the drill bit. Most of the time you can twist these off with your fingers. If not pliers do the trick every time.
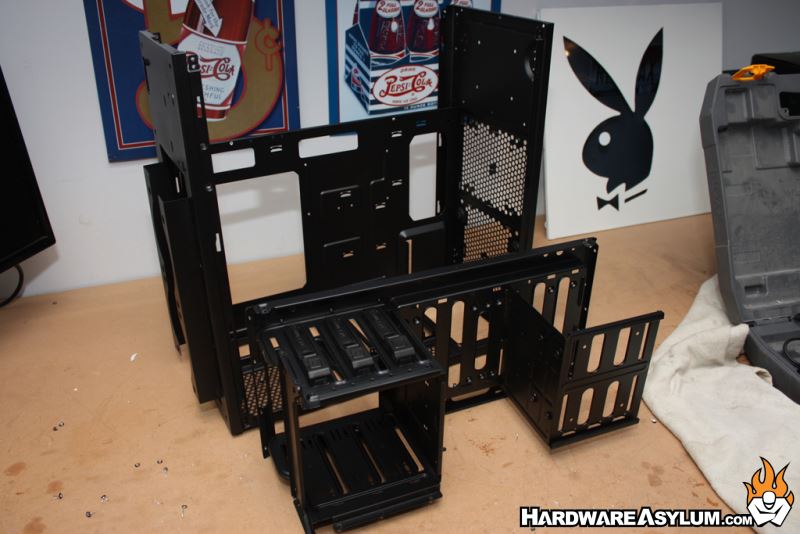
When you are done you’ll get something like this. (See photo)
I decided to leave the drive cages black for this mod as that would provide the most contrast and also makes painting the case a little easier. There are little over 20 rivets holding the drive cage to the main chassis and as I would later discover the construction didn’t allow for the drive cages to be removed without also removing an upper or lower panel.
But, I found ways around that.
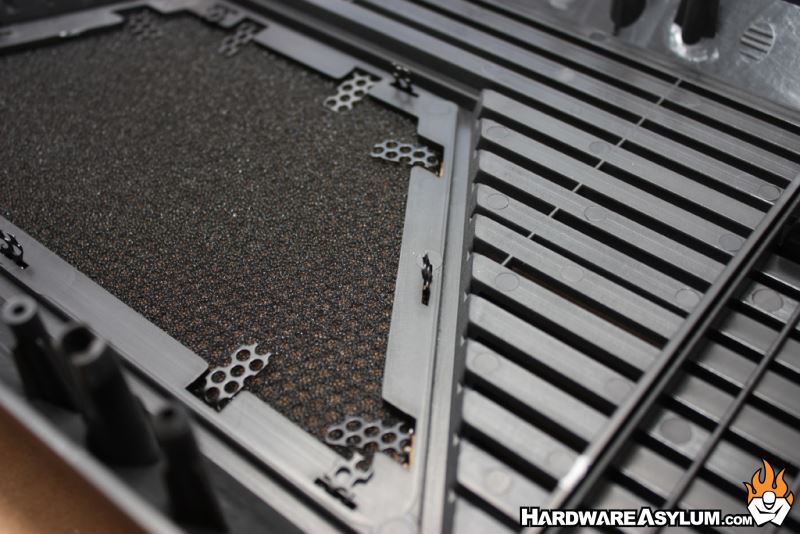
There are two fan grills on the iVektor, one on each panel. Removing these grills requires bending the metal tabs passing thru the plastic and dropping the grill out of the panel. The larger tabs you see in the photo hold the foam style air filter in place.
At this point we are ready to paint.