SilverStone SETA A1 Case Review
Author: Dennis GarciaCase Interior and Storage
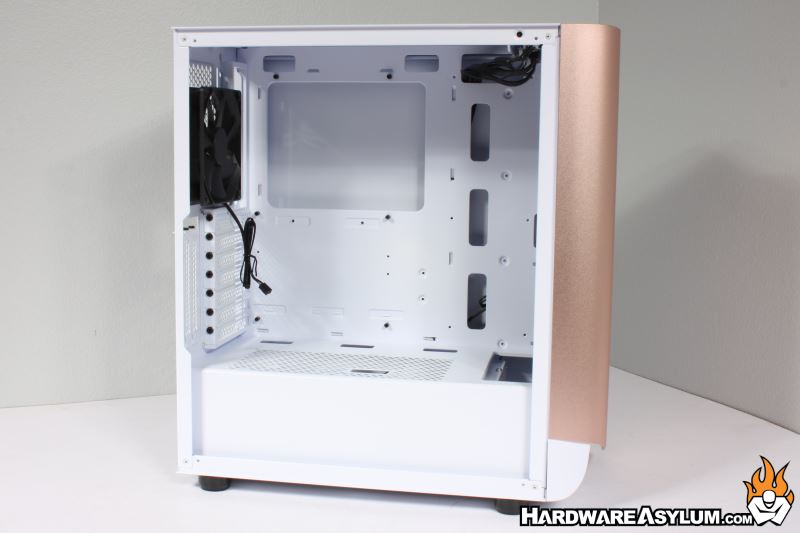
Unlike some cases with tempered glass side panels the SETA is installed similar to any metal side panel. This is accomplished by gluing two metal rails to the glass that lock it in place front to back. A metal shelf at the top and bottom help to protect the glass and give it something to rest against when being installed.

The back side of the motherboard tray is pretty typical. A main cable run is located to the left of the heatsink opening and bundles all of the factory wiring. Including the LED light cables that attach to the front bezel. You’ll have to remove them to remove the bezel.
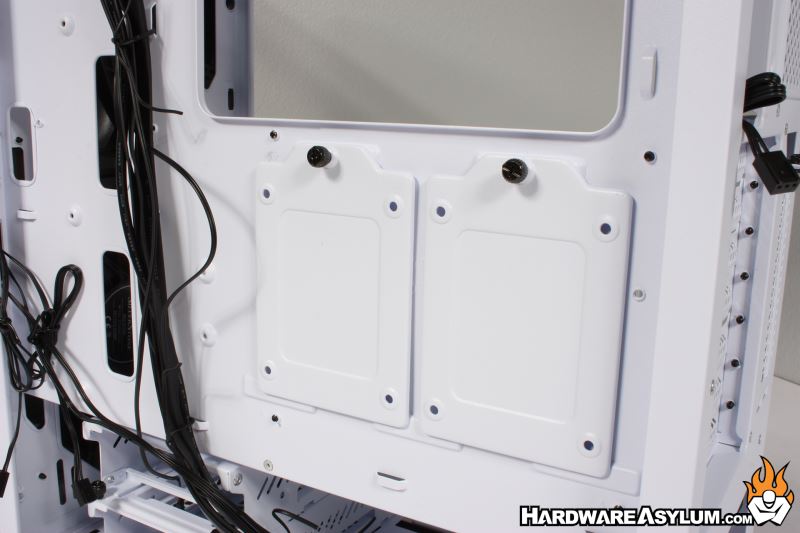
A total of six drives can be installed in the SETA A1. Two are surface mounted to the motherboard tray while the others are located in the drive rack under the basement panel.
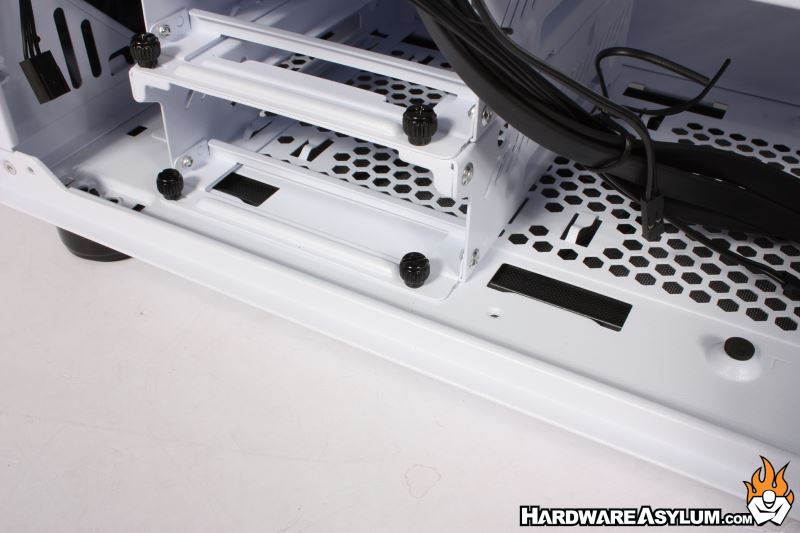
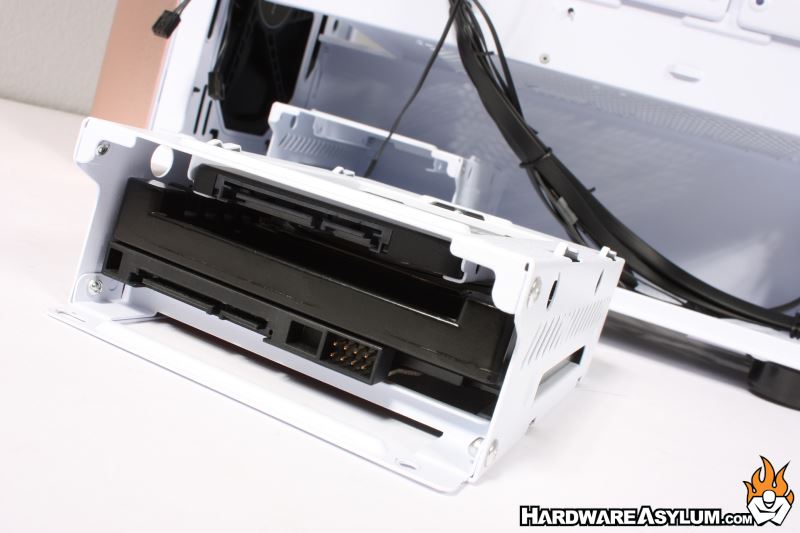
Both drive racks can be removed and/or moved if your installation requires it. Each of the two drive racks supports a single 2.5” SSD and a 3.5” HDD. Unlike some of the other designs I have seen this one allows both drives to be installed at the same time and is very compact.

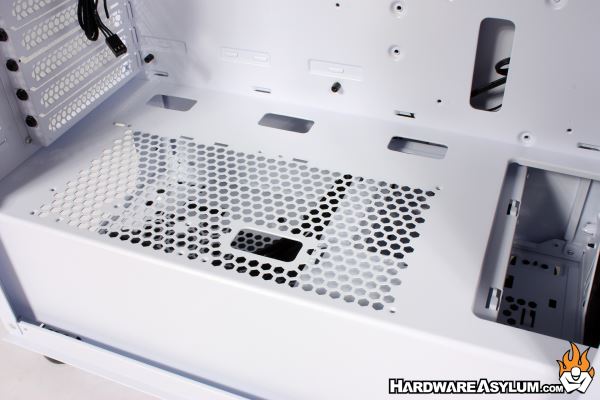
For those looking to show off their SSDs the drive trays on the motherboard panel can be moved to the basement panel. There are plenty of access holes for both the SSDs and motherboard making this panel one of the most versatile I have seen.