Thermaltake P6 TG Open Air Case Review
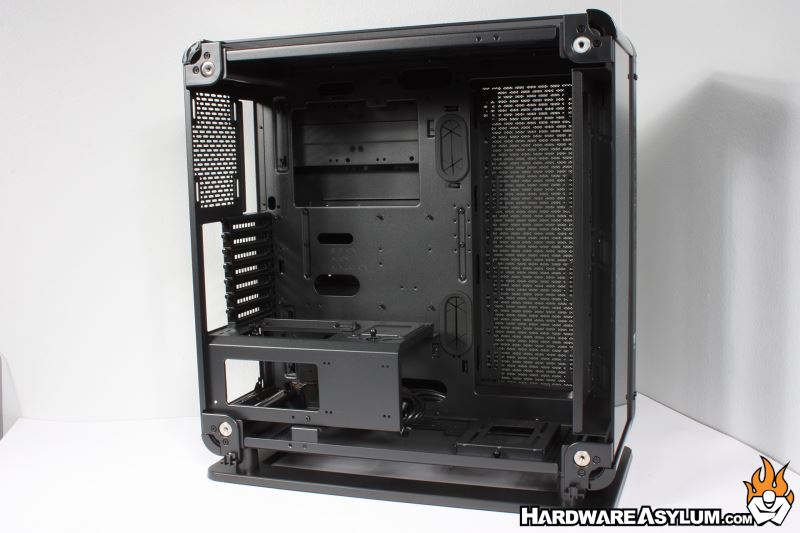
Author: Dennis GarciaLooking Inside the Core P6 Tempered Glass
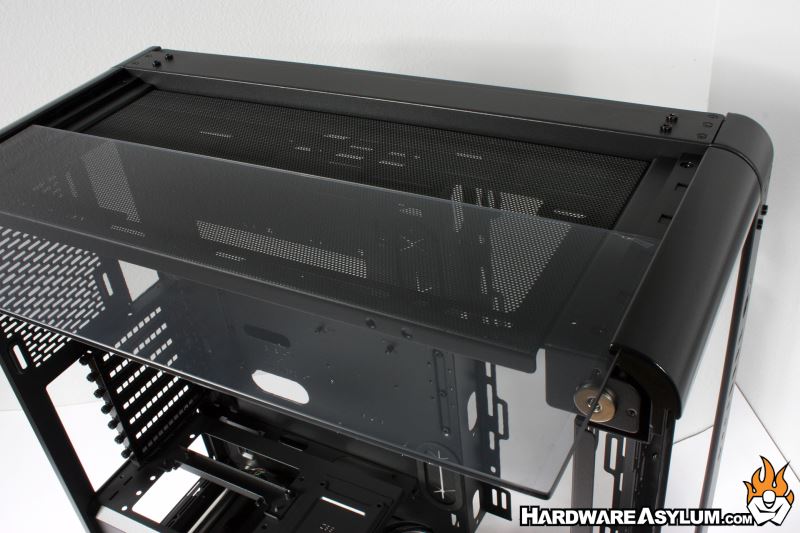
Beyond the tempered glass side panels, you’ll find that the Thermaltake Core P6 Tempered Glass is very open. To remove the front glass, you need to remove the decorative bolts and while they are smooth the overall size makes them easy to grab and give a quick twist. (Insert inappropriate joke here) After the glass lifts away you’ll find two tabs at the bottom to provide some support for the glass but it can still come crashing down so make sure to support the panel.

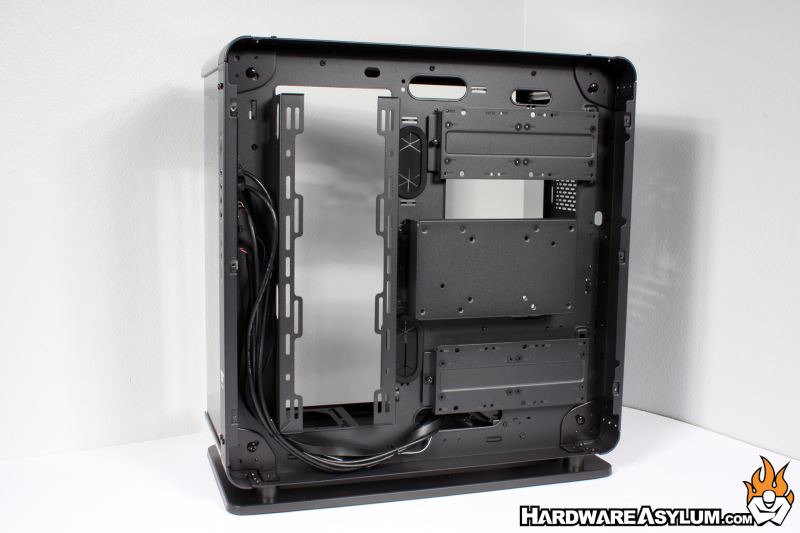
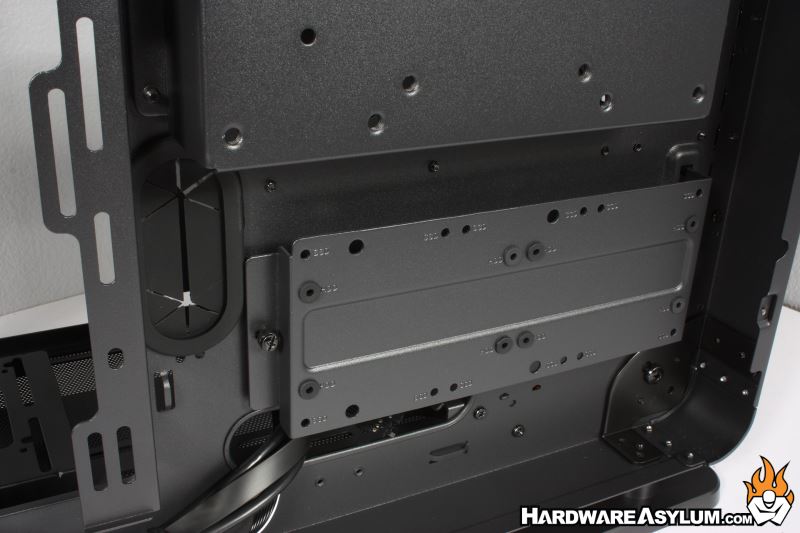
The back panel can be removed with six screws and exposes the various HDD and SSD storage racks. You’ll also find that the area behind the motherboard is HUGE when it comes to cable storage with around 2 inches of depth.
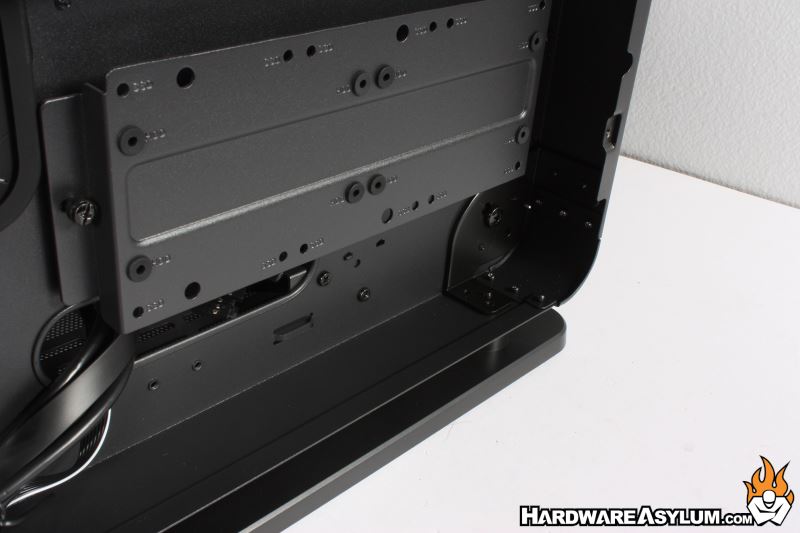
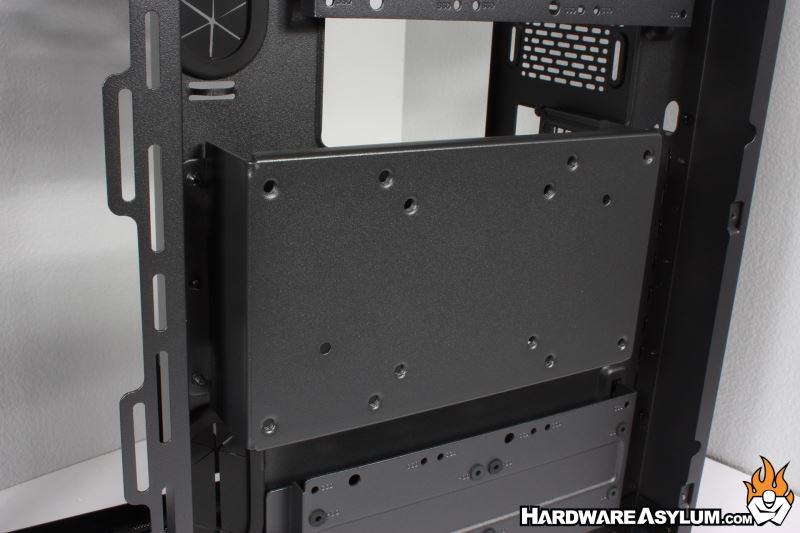
There are two locations where you can install storage drives. The first is on the PSU cover with support for a single 2.5” SSD. The rest are located behind the motherboard tray and Thermaltake has given you options to install up to eight 2.5” drives or four 3.5” drives. Honestly, I would be surprised if anyone is using more than two and would request that you turn in your “hardware enthusiast card” if you do.
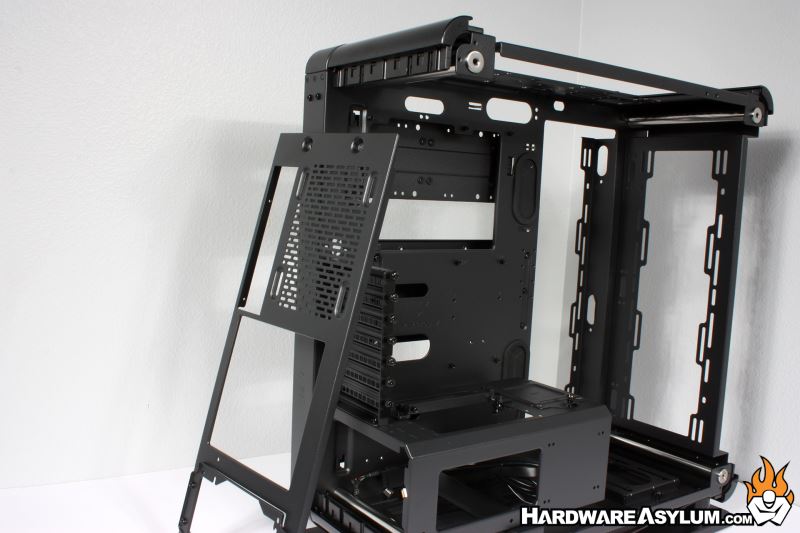
Pass through holes are scattered around the chassis with only two of them having rubber grommets.
To really get inside the TT Core P6 TG you need to start removing the panels and Thermaltake made that process extremely easy.
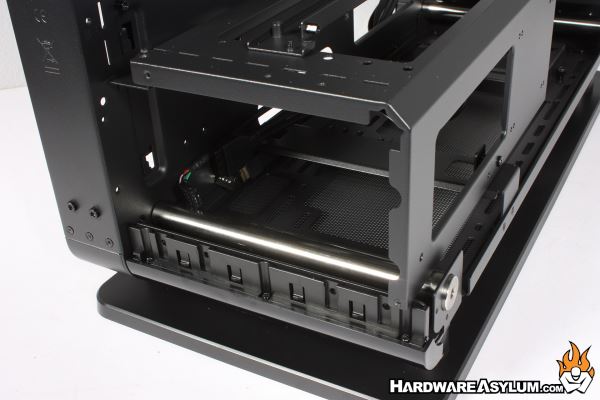
A decorative part of the Core P6 are the four chrome bars that hold the front glass in place. On this edition those posts are mostly hidden but can be fully exposed by removing each individual panel. To start you can remove the retention tabs found at each corner along with the smaller glass panels.