Thermaltake P6 TG Open Air Case Review
Author: Dennis GarciaCase Interior and Cooling Options
Cooling on the TT Core P6 TG is interesting. If you follow what Thermaltake has intended you will be installing a full DIY watercooling loop for both the CPU and GPU. The coolant will then be routed to a radiator located at the top, front, bottom or back of the chassis.
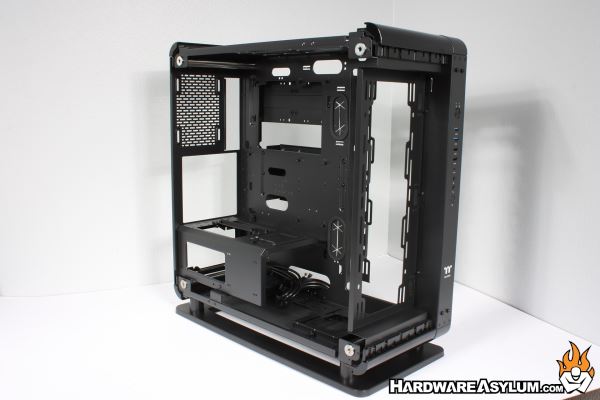
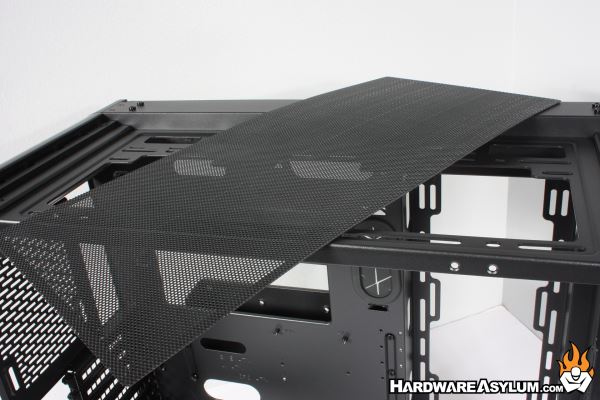
With all of the panels removed you can get a pretty good idea as to how open the Core P6 is and where you can place the various cooling components, including fans.
Of course, you can use AIO coolers with the P6 and finally have choices as to where you mount the radiators depending on your AIO size.
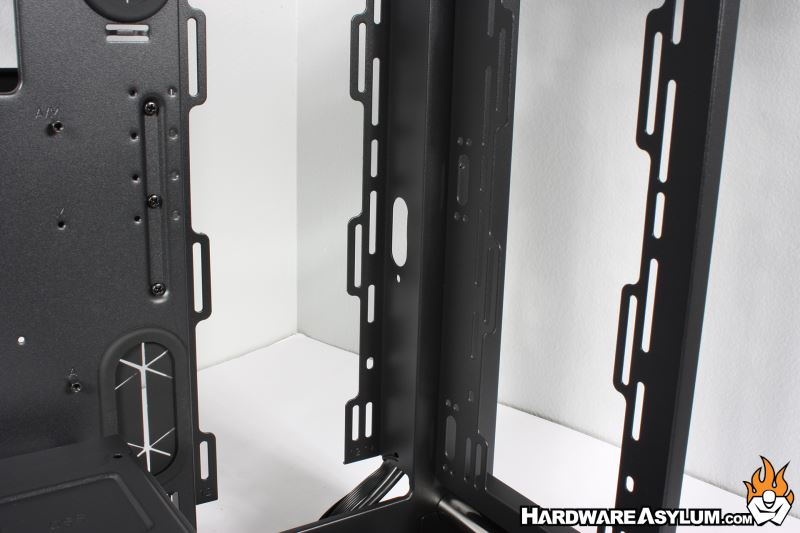
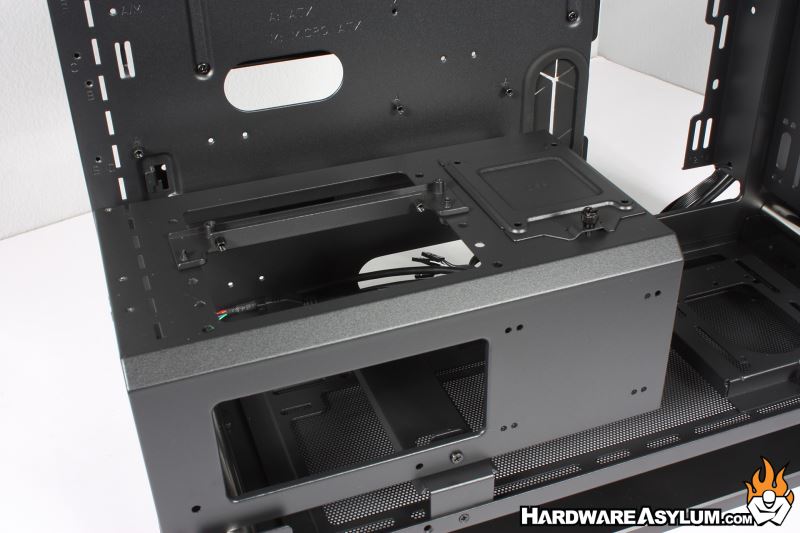
For those going with a traditional DIY loop you can install a tube style pump + reservoir combo on the included bracket. Being this is a Thermaltake chassis they have designed it for “their” pump res combo but, you should be able to install other designs with very little effort.
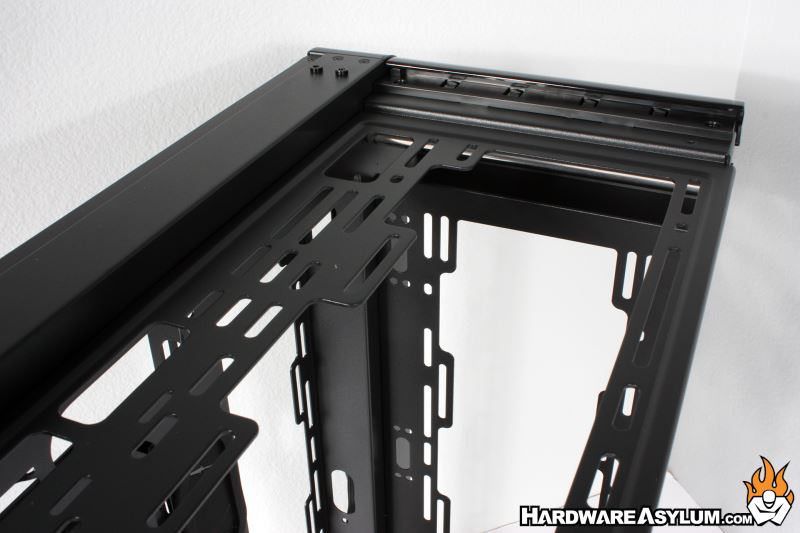
All of the fan locations support both 120mm and 140mm fans and the back, top and bottom locations all come with magnetic fan filters allowing them to be quickly removed for cleaning with a no hassle installation process.
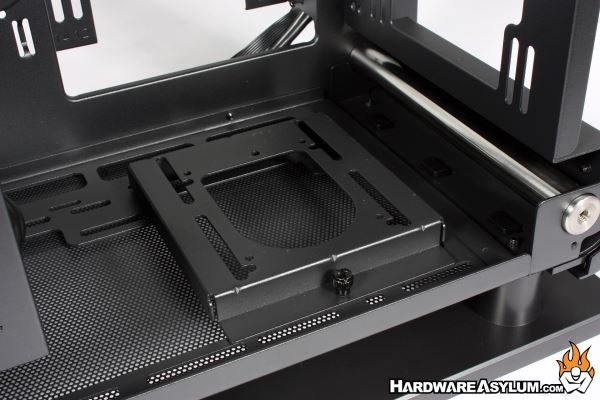
At the bottom of the case you get two options for installing a power supply. The basement panel does not extend the entire length of the chassis but will support some of the longest PSUs on the market. A window is cut allowing you to show off your excellent choice in power supply selection.
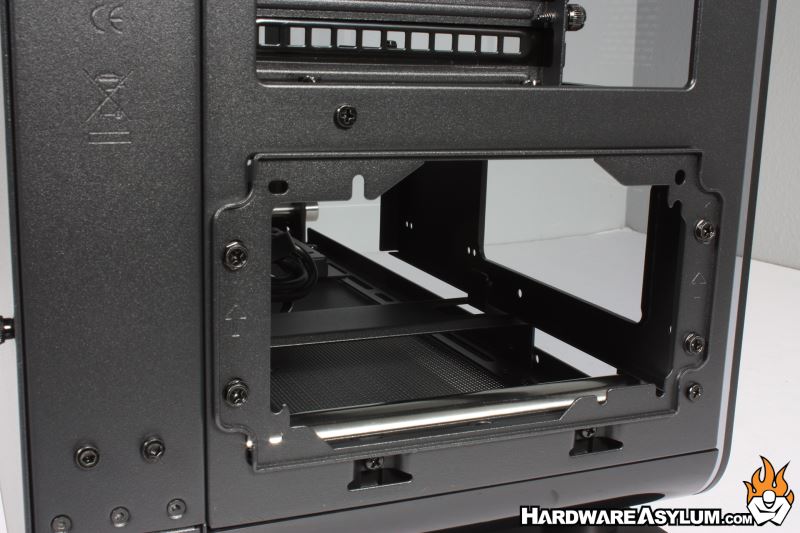
To install the PSU you’ll need to use the supplied frame. For smaller motherboards such as Mini ITX and Micro ATX you have the option to vertically mount your PSU using the supplied brackets.