Cooler Master Hyper 212 EVO V2 Heatsink Review
Author: Dennis GarciaCooler Installation
The Cooler Master Hyper 212 EVO V2 comes with a completely new mounting system and I cannot be more pleased. This new system moves away from the X bracket and older “rail” method to what I will call a “cage”. It really is a rail system but instead of mounting the rails to the heatsink they are mounted to the motherboard first.
This cage design is not new and I would swear it was used on a previous Cooler Master design before but, I cannot find it. Some of you may recognize it as a sample of the popular Noctua design or the one used on an old NZXT cooler that I reviewed back in 2012. Regardless of where it came from it works extremely well and is easy to install.
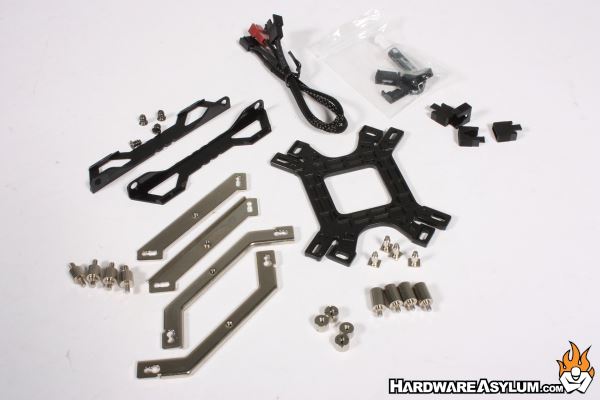
First thing is to lay out your parts and assemble the backplate. To do this you will need to pick the correct side of the plastic backplate and install the standoffs. They only go in one way so make sure you get them seated into the slots.
Next take the retention clips and slide them over the tabs. This will keep the standoffs in place and prevent them from backing out during installation. One thing you need to make sure is that the clips are snapped into place and pushed completely over the post.
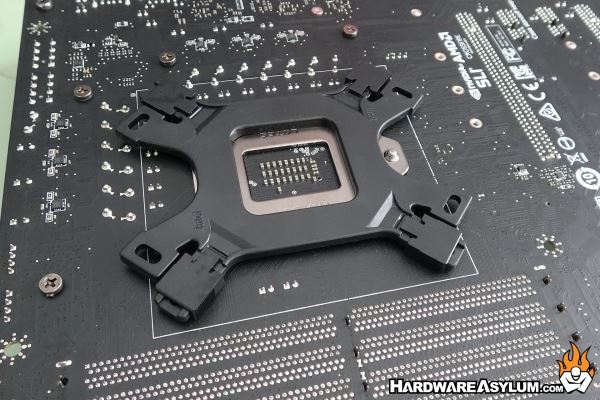
Finally install the backplate and flip the motherboard. We will be testing on the MSI Z390 ACE which will be your garden variety LGA 115x enabled motherboard.
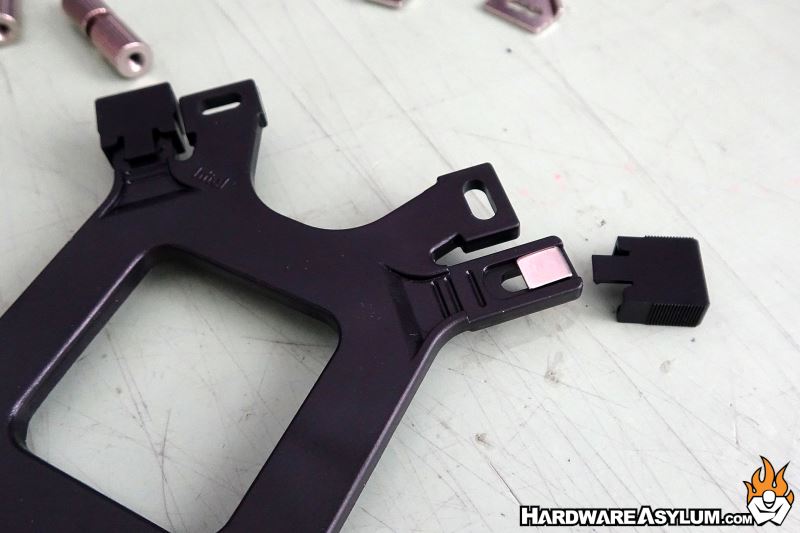
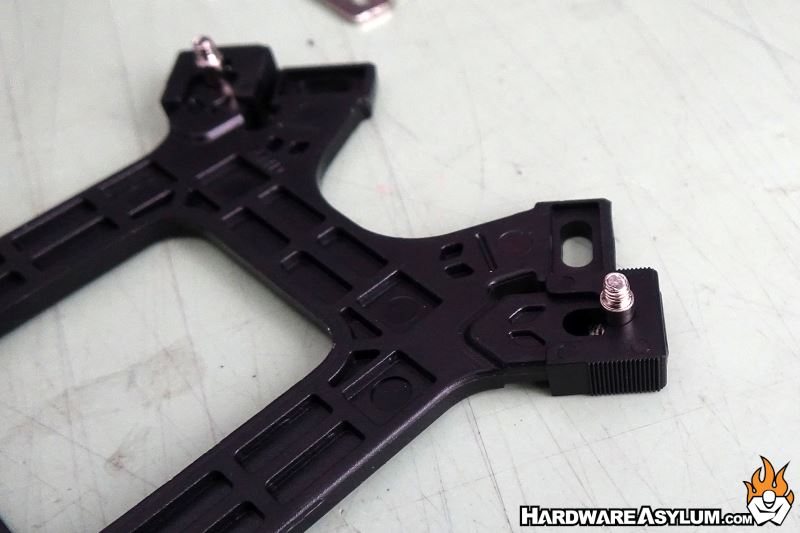
From the top you need to build the base of the cage. The first are the extensions that lock the backplate to the PCB. These just need to be finger tight.
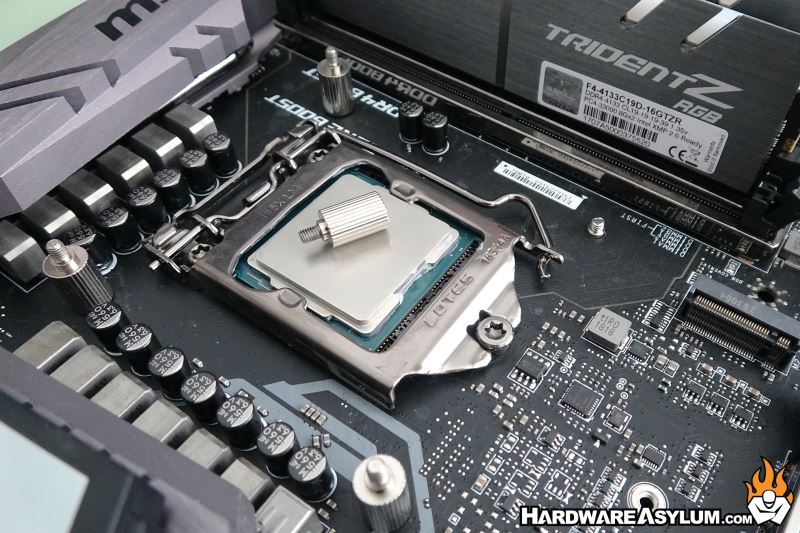
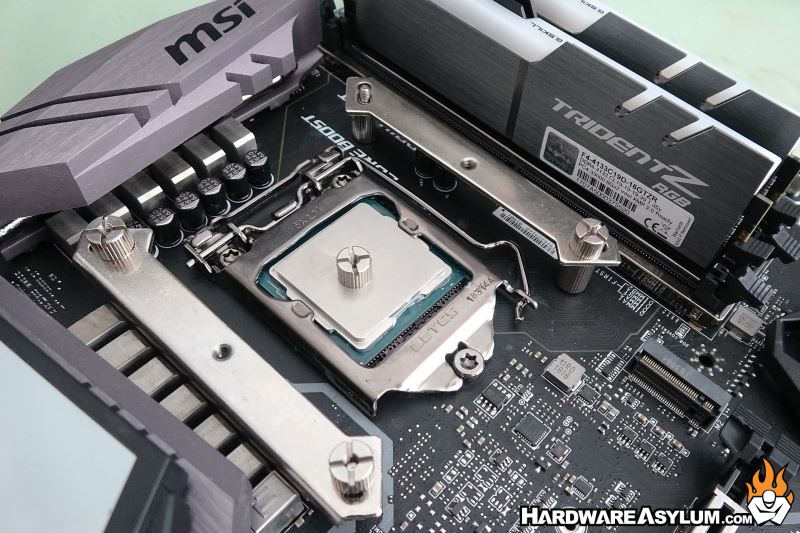
Next plate the mounting rails across the extensions. Make note of the two threaded holes, these indicate the direction of airflow through the heatsink. I have positioned the heatsink to blow across the motherboard and will likely be how you install it too.
The rails are held down by another set of knurled nuts with slots cut in the top for people who need to use a screwdriver.
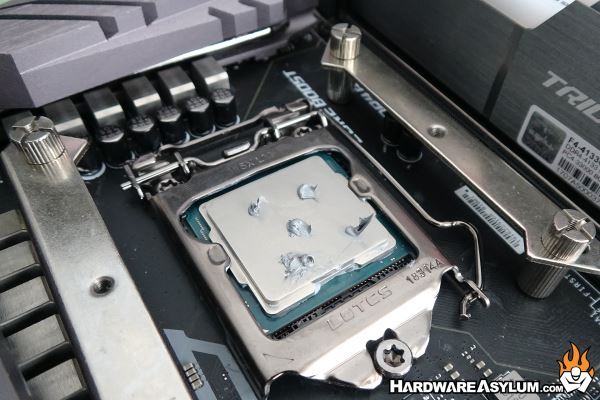
Apply some thermal paste, I prefer, and recommend, the 5 dot method as illustrated. You can use the included paste or a high quality TIM like the Noctua NT-H1 like I am using here. (The tube is almost empty, hence the mess)
Remove the protective plastic from the bottom of the heatsink and install the cooler. Two screws will secure the cooler to the cage. As was mentioned before the Hyper 212 EVO V2 features an offset design so be sure to position it with the gap towards the memory slots.
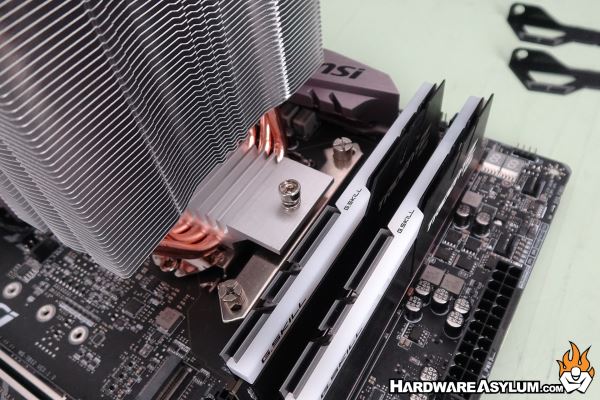
The final step is to install the included fan and reinstall your memory. I’m glad to report that the fan is held in place with plastic clips making the installation process extremely quick and easy.