Cooler Master Hyper 622 Halo Dual Tower Cooler Review
Author: Dennis GarciaCooler Master Hyper 622 Halo Installation
Installing the Hyper 622 Halo is extremely easy and the universal mounting hardware will allow the process to be the same on all platforms from AMD to the latest Intel sockets. On most platforms you will need to use the included backplate and build up a mounting base for the cooler to attach to.
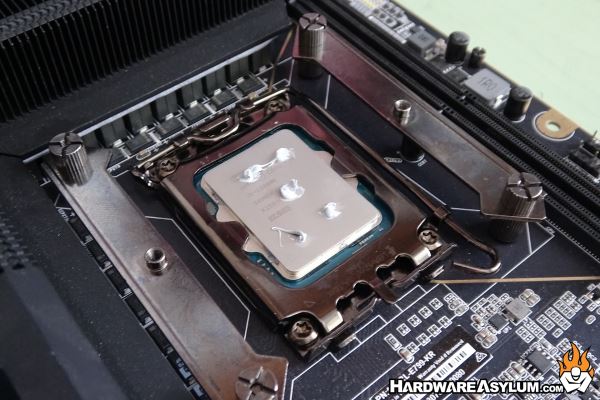
We will be testing on the LGA1700 Raptor Lake platform with a Core i9 13900k processor. These motherboards all require a special backplate and will be the first thing to install.
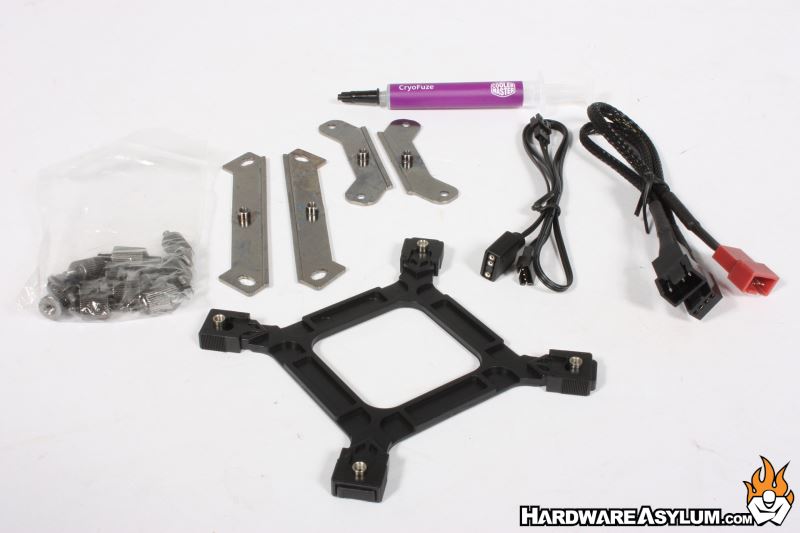
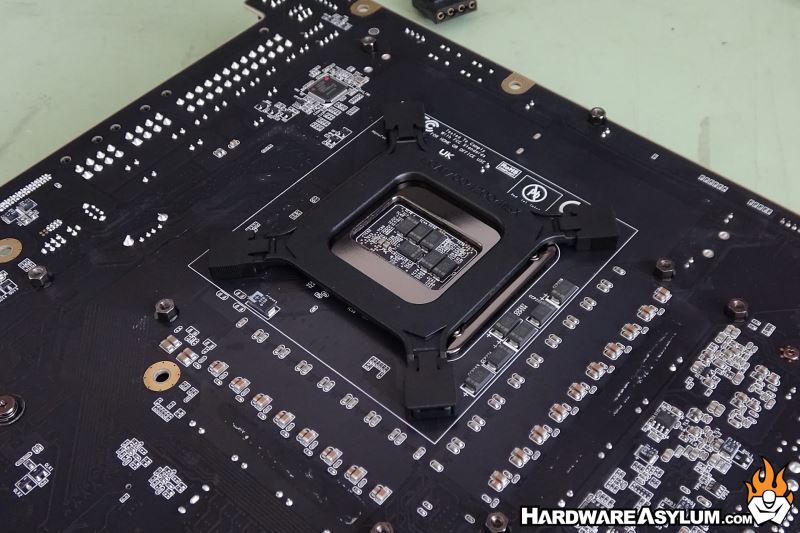
Next, you’ll install the standoffs. The package features two sizes so pay attention to which ones you will need based on your platform. For the LGA1700 we will be using the risers with the longer screws and these will thread into the backplate. I was able to secure the standoffs with my fingers but you could use a set of pliers if you wanted to strip out the threads. (use your fingers) They don’t need to be tight, just snug.
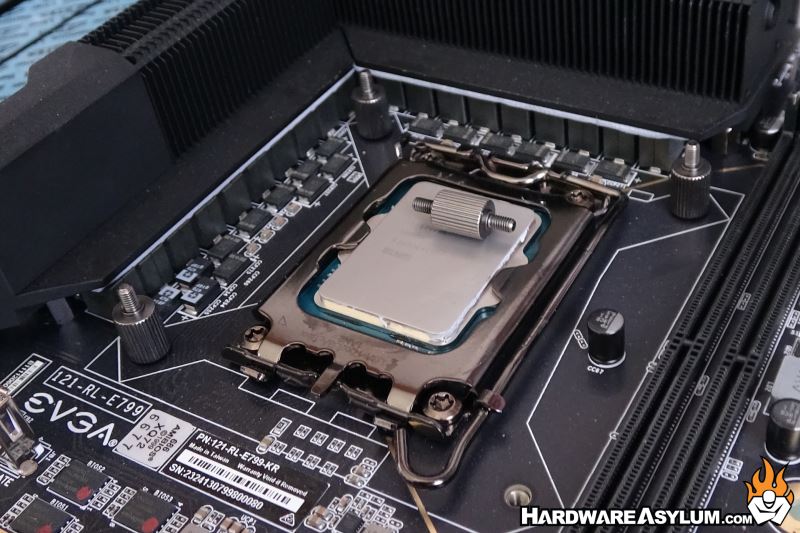
After that you will want to install the mounting rails and these will sit on top of the risers you just installed. Make sure to align the threaded holes in the direction you want the fans to face. Here is a hint: The holes are parallel to the fan indicating that the airflow will be perpendicular to the mounting. Use the included nuts to secure the rails in place.
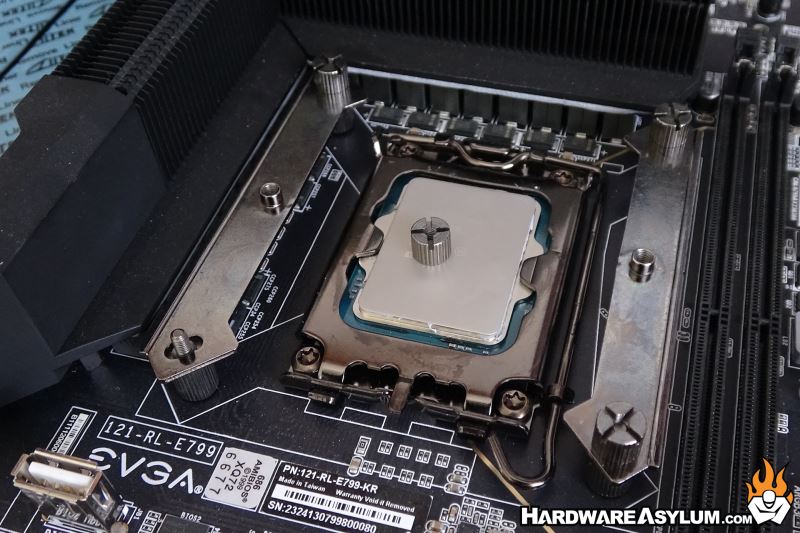
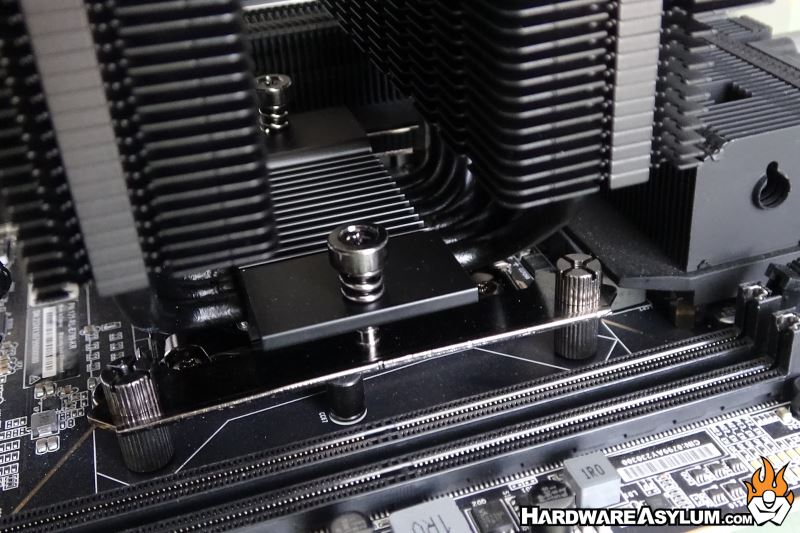
At this point you will want to install the thermal paste, I prefer the 5-dot method due to the even coverage and repeatable thermal results.
To install the cooler, you will need to remove the center fan and use a long Philips screwdriver. Tighten the nuts a few turns before switching to the next, this will ensure that you have applied even pressure to the heatsink.
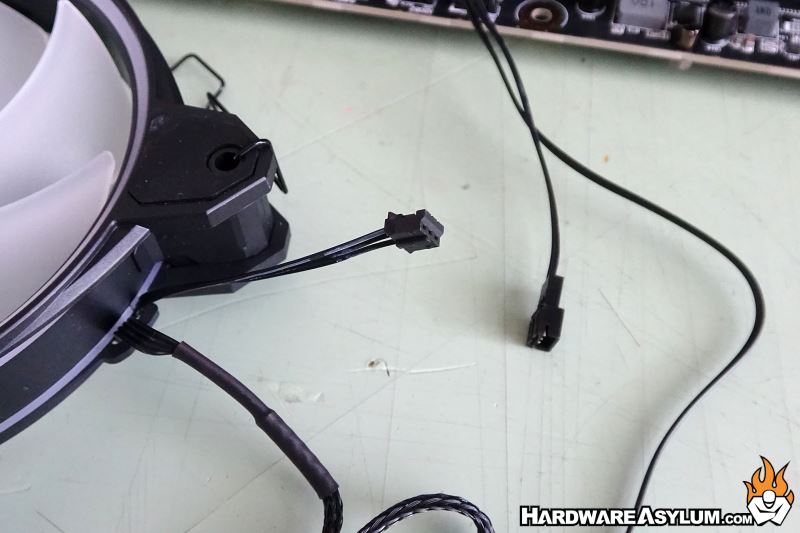
Before reinstalling the center fan you will want to hook up the RGB header, unlike standard case fans the Hyper 622 Halo is using a special ARGB plug that requires a dongle to interface with a standard 3-pin ARGB header. The included cable will link the two fans and only require a single ARGB header to operate.