Cooler Master Masterliquid ML240 Illusion AIO Cooler Review
Author: Dennis GarciaCooler Installation
Installing the MasterLiquid ML240 Illusion is extremely easy and the universal mounting hardware will allow the process to be the same on all platforms from AMD to the latest Intel sockets. On most platforms you will need to use the included backplate and build up a mounting base for the pump block.
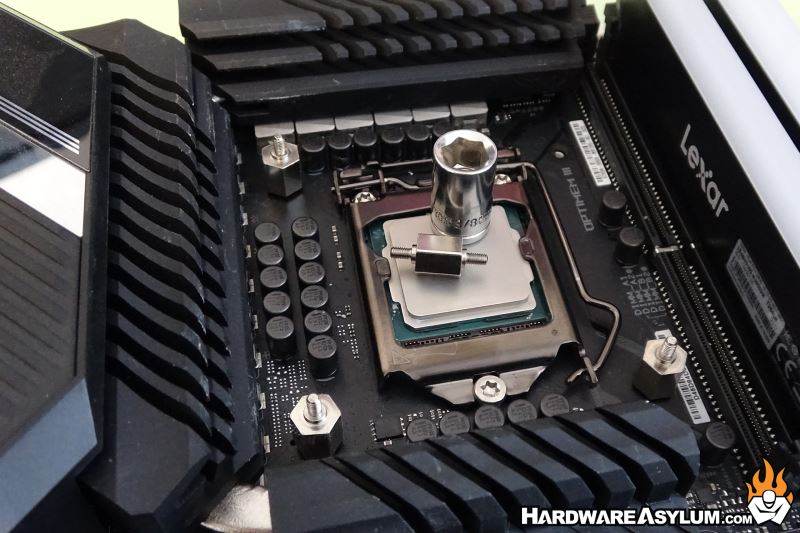
We will be testing on the LGA115x platform with a Core i9 10900k processor which will require the backplate which is the first step. It installs in the normal location using the existing mounting holes and is form fitted to match the socket plate.

Next, you’ll install the standoffs and much to my surprise they resemble how you might install the cooler on an X99 or X299 system. The risers install into the backplate and that is it. I was able to secure the standoffs with my fingers but you could use a wrench if you wanted. They don’t need to be tight, just snug.
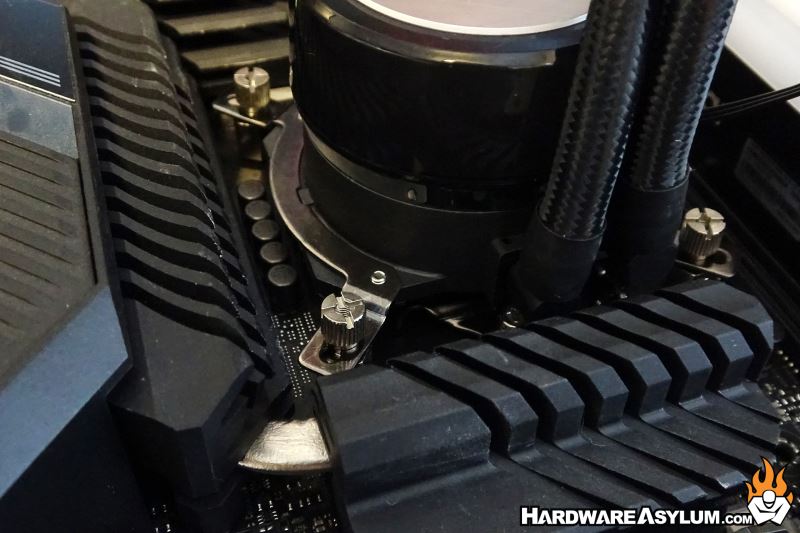
With this motherboard I found it helpful to use a socket to install these given that the large wrap-around VRM cooler was preventing me from using my fingers.
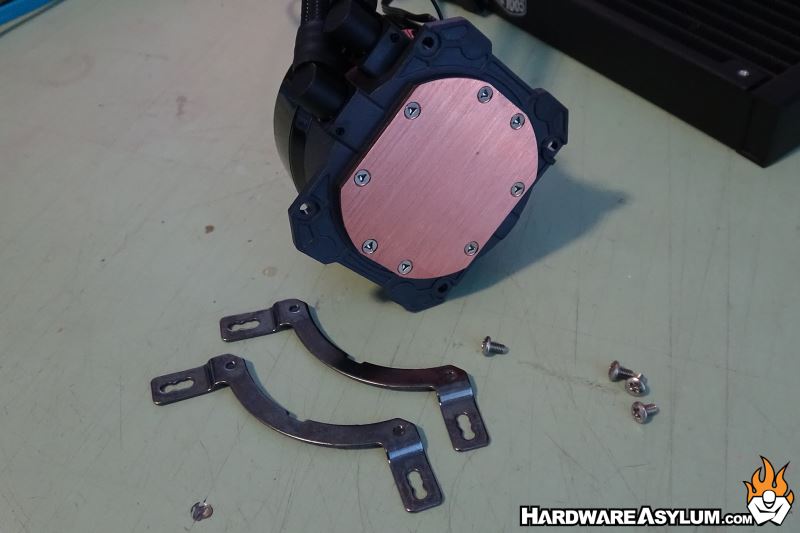
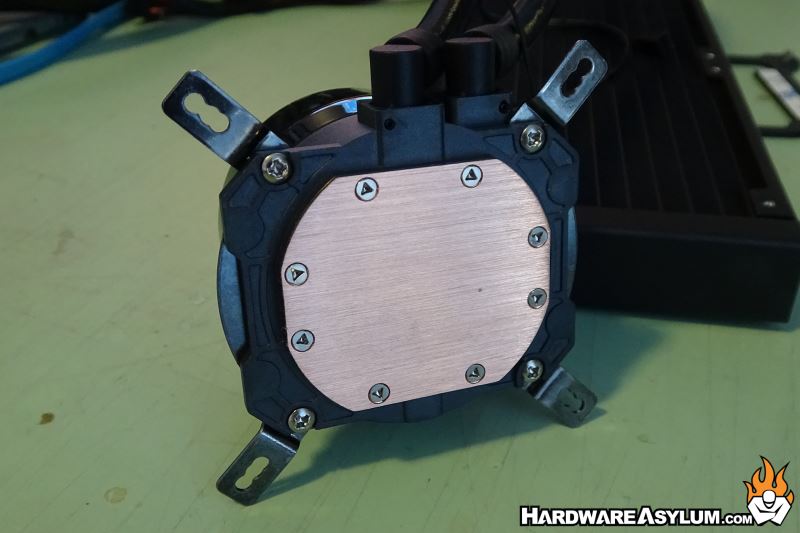
After that you will want to install the mounting rails to the pump block. They are keyed so they only install one way and you will want the bends to be “down”. These are secured with four screws from the bottom.
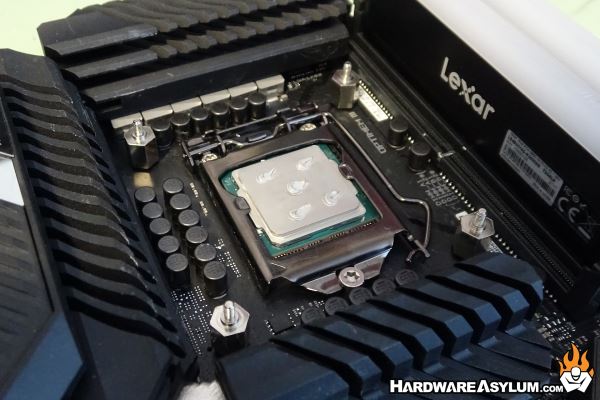
The final two steps involve applying thermal compound and installing the pump block. I prefer the 5-dot method which involves five small dots on the processor in an X pattern.
Unlike with the threaded risers the nuts holding the MasterLiquid in place are considerably smaller and somewhat difficult to hold. The tops are slotted to provide more options when installing the cooler.
I found that finger tight is enough to secure the pumpblock however EXTREME care needs to be used to ensure the pumpblock is centered over the CPU and that all four corners have equal pressure.
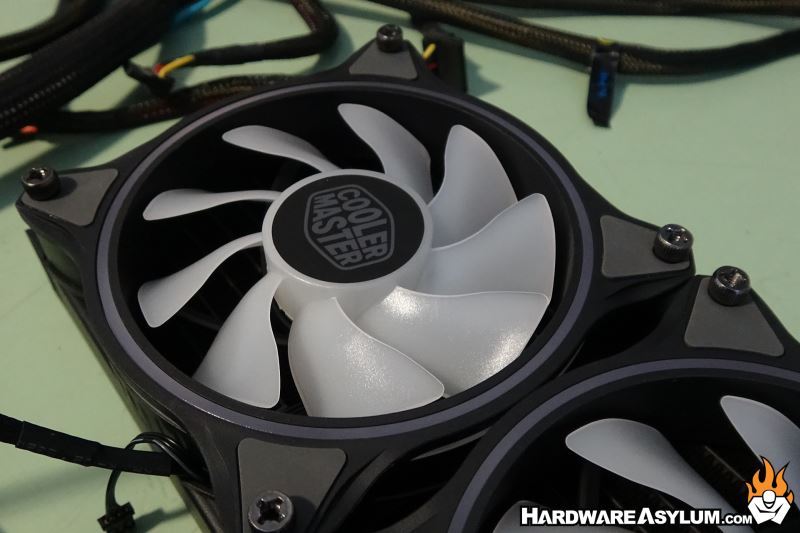
The cooling fans will need to be installed using the included screws. You can install them in either a push or pull configuration. For this build we want to see all of the pretty lights so they will be pushing through the radiator.