
Cooler Master V8 ACE 3DHP Black Intel Version Heatsink Review
Author: Dennis Garcia
Cooler Master V8 ACE Cooler Installation
Installing the V8 ACE 3DHP is extremely easy and the universal mounting hardware will allow the process to be the same on all platforms from AMD to the latest Intel sockets. On most platforms you will need to use the included backplate and build up a mounting base for the heatsink to sit on.
We will be testing on the LGA1700 Alder Lake platform with a Core i7 12700k processor. These motherboards require a special backplate and will be the first thing to locate. It is only slightly larger than the LGA1200 counterpart and many early motherboards come with dual mounting holes.
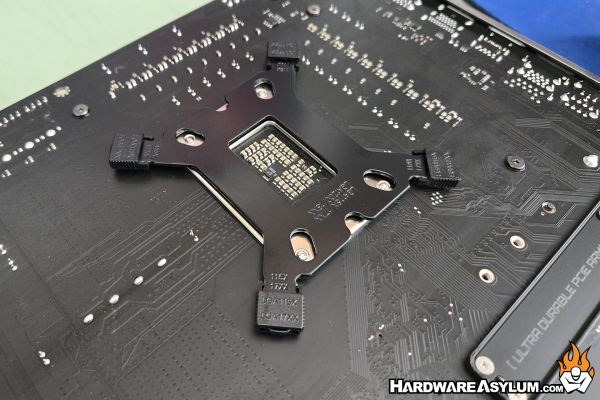
Next, you’ll install the standoffs and these are much taller than previous editions. The risers thread into the backplate and that is it. I was able to secure the standoffs with my fingers but you could use a set of pliers if you wanted to strip out the threads. (use your fingers) They don’t need to be tight, just snug.
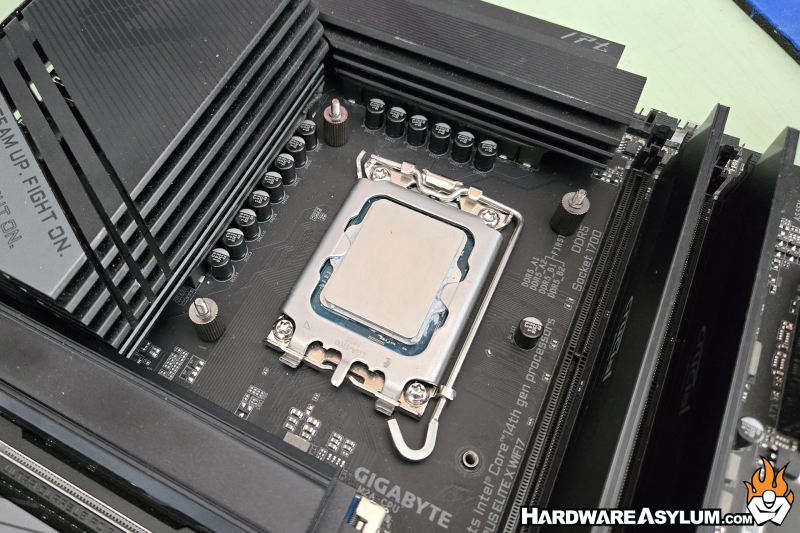
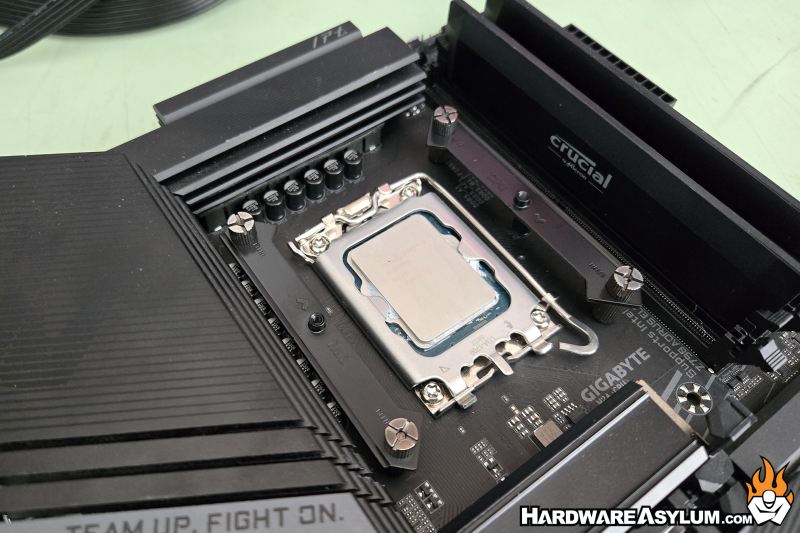
The Cooler Master V8 ACE used a single point installation method so the orientation of the mounting rails is important for the cooler orientation and will be 90 degrees of the rails. Use the supplied nuts to secure that rails to the installed posts.
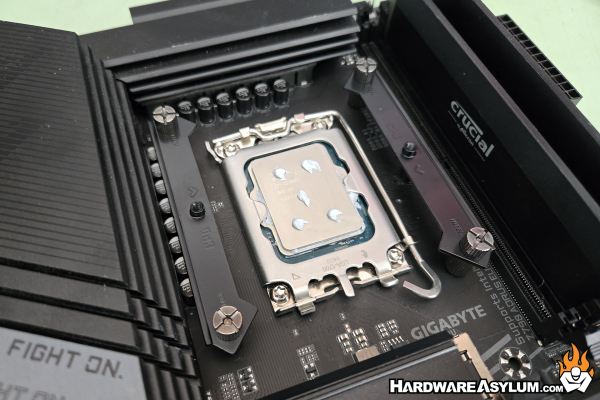
The final two steps involve applying thermal compound and installing the heatsink. I prefer the 5-dot method which involves five small dots on the processor in an X pattern.
Take care in lining the heatsink up with the threaded posts. I found significant resistance once the spring screws started to engage, from there just make sure you tighten each screw evenly to ensure the best mounting.
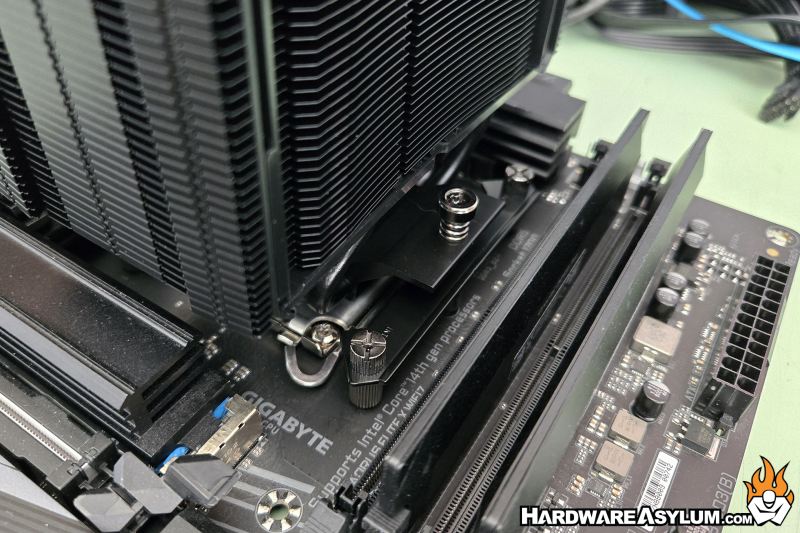
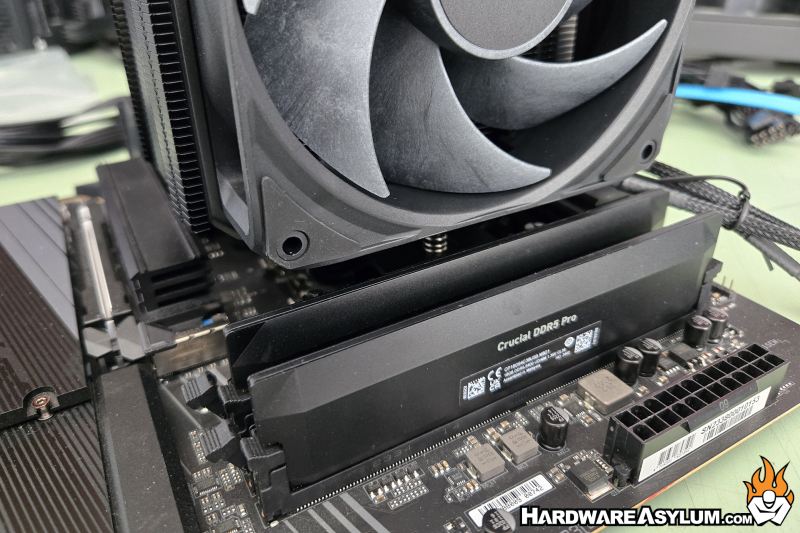
After that, install the fans and connect the fan tails. There is an included splitter if you’re motherboard does not have enough plugs.