DeepCool Assassin 4S Dual Tower Heatsink Review
Author: Dennis GarciaDeepCool Assassin 4S installation
Installing the DeepCool Assassin 4S is extremely easy and the universal mounting hardware will allow the process to be the same across all platforms provided that you use the correct brackets. On most platforms you will need to use the included backplate and build up a mounting base.
We will be testing on the LGA1700 Alder Lake platform with a Core i7 12700k processor. The included backplate can be adjusted between LGA1200 and LGA1700, just make sure to slide the pins to match your system.
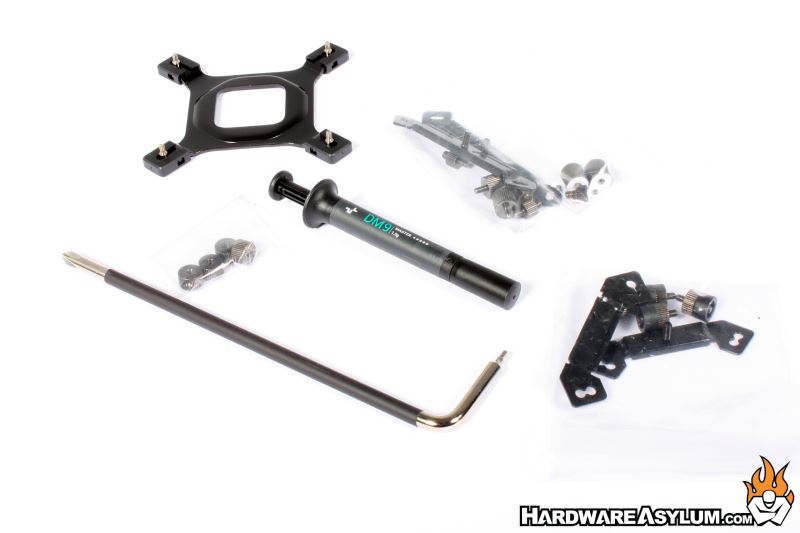

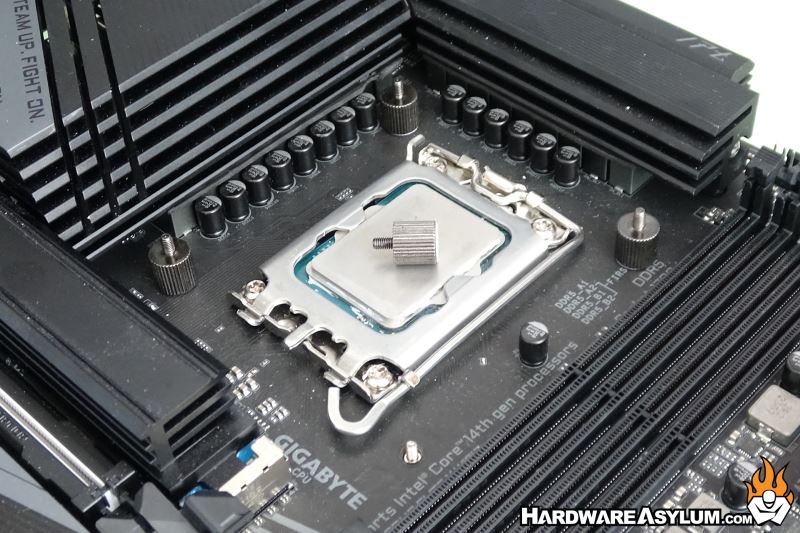
The first part is to install the backplate. This plate comes pre-assembled and just needs to be lined up and held in place until step two can be completed.
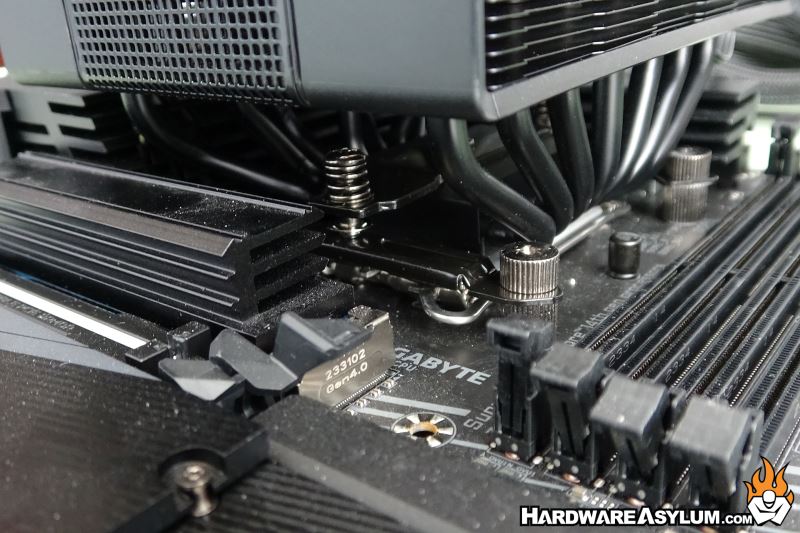
Step two requires installing the threaded standoffs which not only hold the backplate to the PCB but also establish the height required for the mounting rails. These screws only need to be “finger tight” to keep the backplate from moving around.
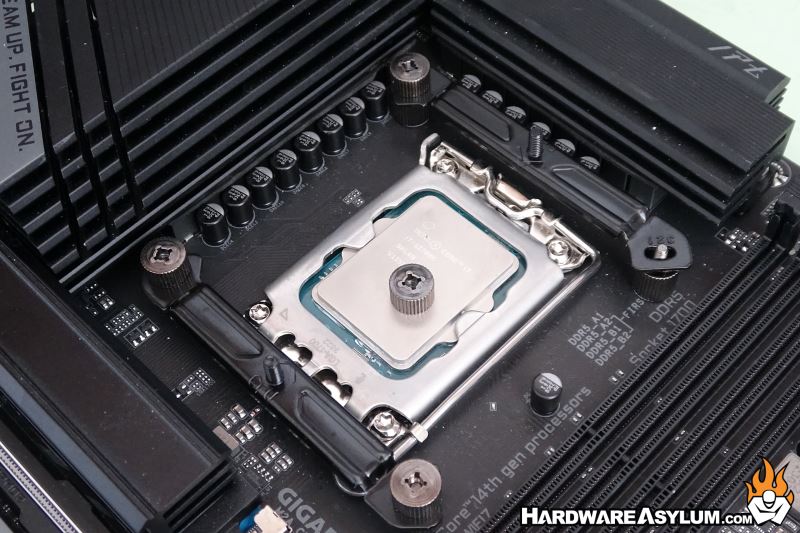
When installing the mounting rails, you need to keep in mind the orientation of the heatsink and how you want the fans to be positioned. By default, the airflow will follow the direction of the mounting rails. If you are unsure how you want the heatsink installed then consider that you should have the airflow directed to the back of your chassis.
These rails are held in place with four more nuts and be sure to have the squares facing up. They only need to be finger tight but, DeepCool has included provisions for a Philips head screwdriver to be used.
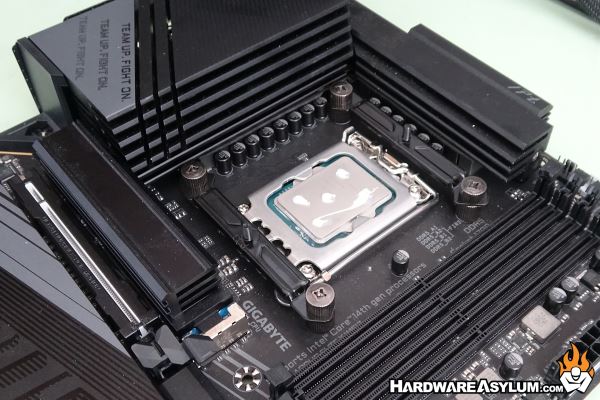
DeepCool includes a tube of thermal compound that must be installed before installing the cooler. As always, I’ll be using the 5-dot method which creates an even distribution of thermal compound across the entire CPU.

To secure the heatsink you need to position the cooler on top of the threaded posts so that the captured nuts will thread down on them. You will need to remove the center fan to access these screws. Once complete you can replace the fan and make note of the tiny arrow along the edge of the fan frame. This will indicate the airflow direction, which should be pointed over the VRM heatsinks.
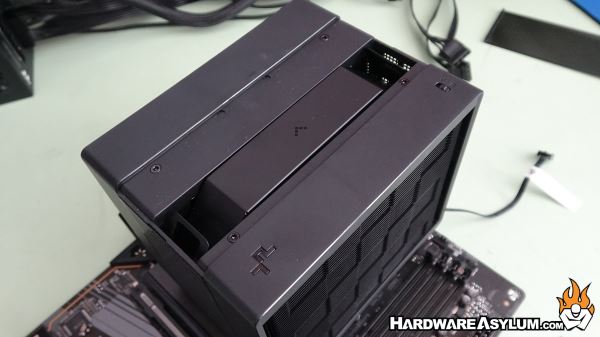
What I like about the Assassin 4S design is that the cooler has been “pushed back” such that the memory socket location is completely clear allowing it to support tall memory modules.