Noctua NH-U12S SE-AM4 120mm U-Type Tower Heatsink Review
Author: Dennis GarciaCooler Installation
Installing any Noctua heatsink is extremely easy and their universal mounting hardware not only is one of the best we have ever used but works with any Noctua cooler currently on the market. The system is so universal that when new socket configurations come out you can contact Noctua and get a socket upgrade kit with proof of purchase.
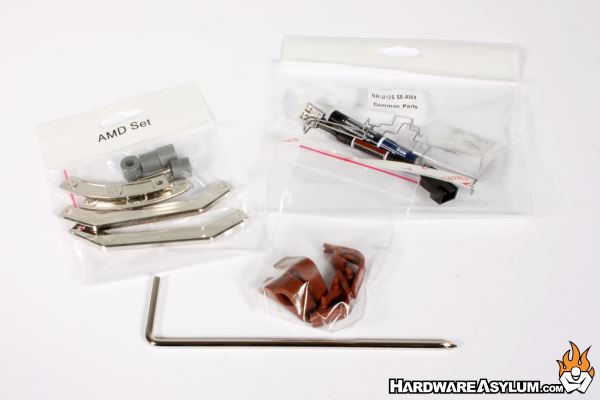
This cooler is a special edition and only contains mounting hardware for the AM4 platform and is what we will be using for this review.
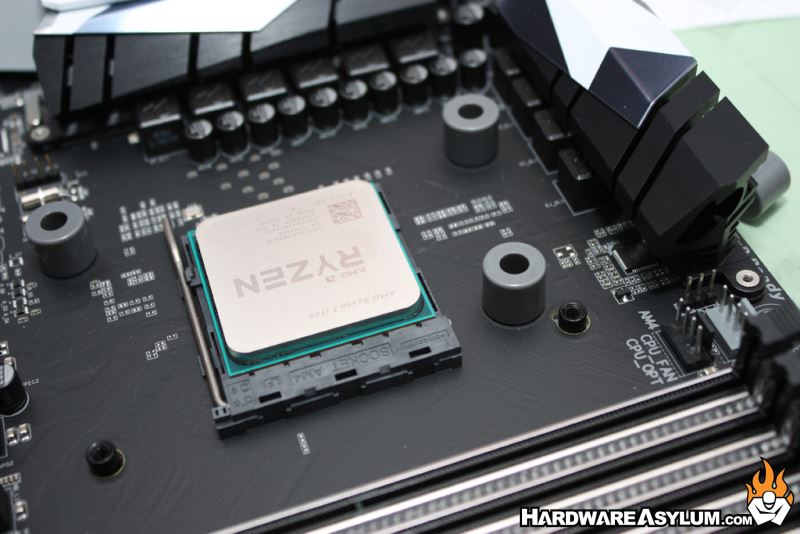
You start by removing the stock heatsink retention brackets. There are two screws holding each bracket in place and are normally held down by the large metal reinforcement plate on the back of the motherboard.
With the stock brackets removed you’ll need to set the spacers down over the existing screw holes. This is the first part to building a base for the mounting brackets to sit.
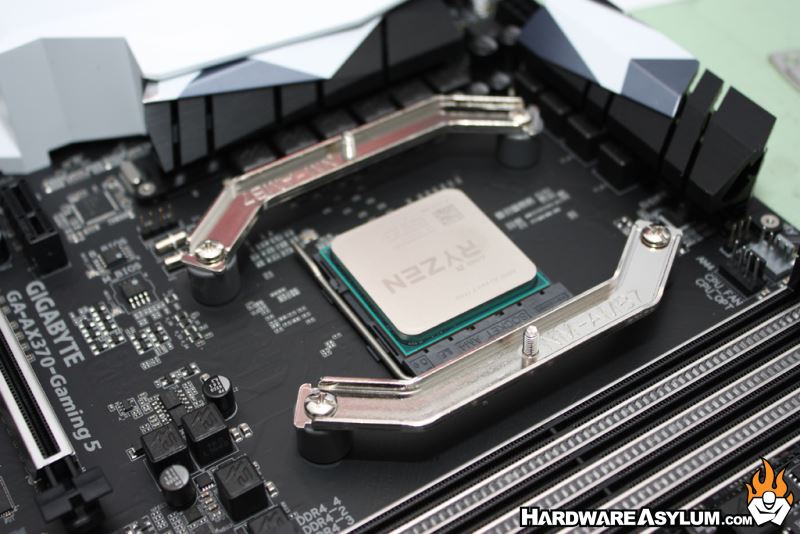
The Noctua mounting brackets can be installed in two directions depending on how you want to orient the heatsink. I’ll be using the longer brackets so the heastink will sit parallel to the memory sockets. On larger coolers like the D15 you may need to use the shorter brackets which will switch the orientation by 90 degrees.
Noctua includes a longer set of screws that will need to be used to hold the mounting brackets in place. These thread into the stock metal backplate and may extend past the plate under the motherboard.
The final two steps. Install some of the excellent Noctua NT-H1 thermal compound included with the NH-U12S SE or swap it for whatever your current favorite is. I use the 5 dot method and have yet to fail me.
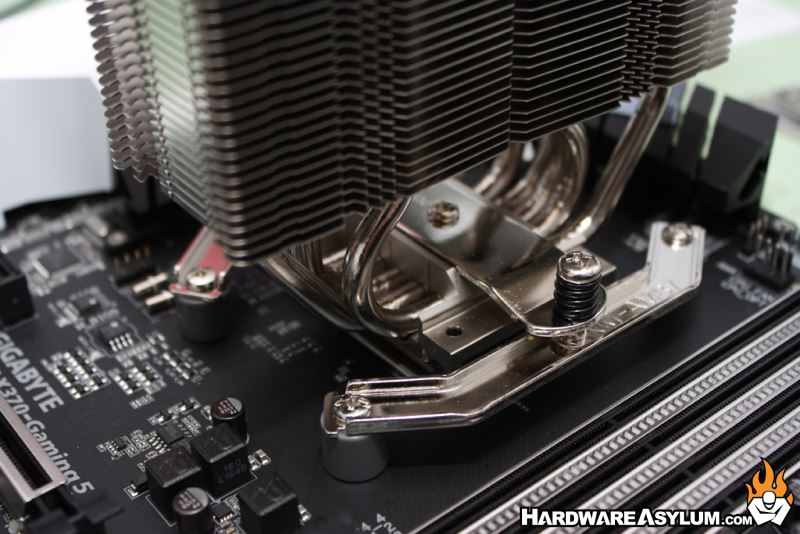
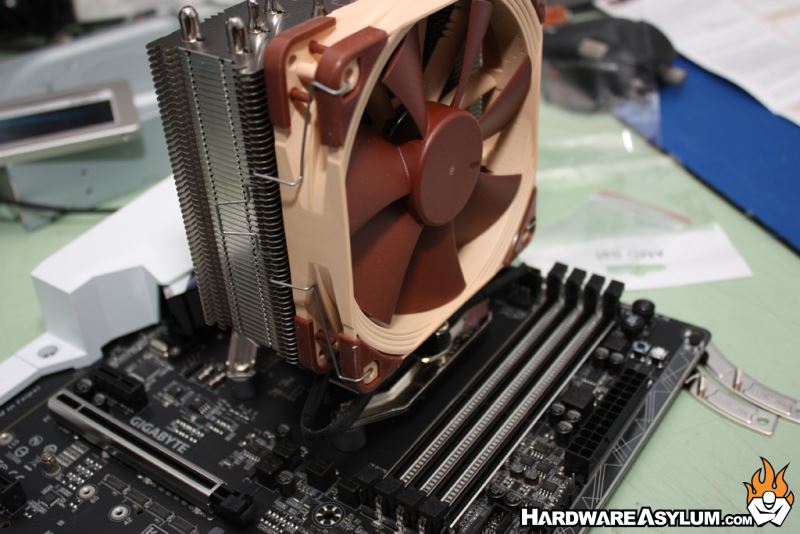
Once the thermal paste has been applied you’ll need to install the cooler. There are two spring screws attached to the heatsink which thread over the posts on the mounting brackets. Line the cooler up and secure these screws with even turns on each side until they bottom out.
Hook up the included NF-F12 cooling fan and away you go.