Noctua NH-D9L 92mm D-Type Heatsink Review
Author: Dennis GarciaCooler Installation
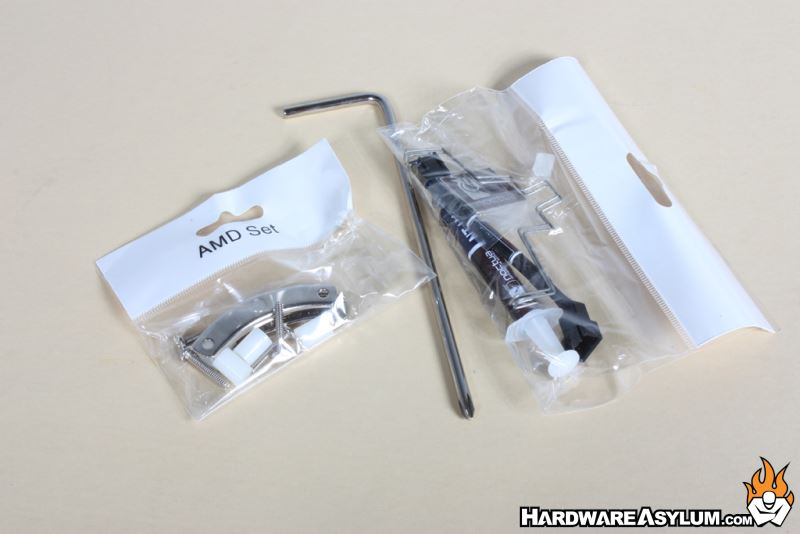
Installing any Noctua heatsink is extremely easy and their universal mounting hardware not only is one of the best we have ever used but works with any Noctua cooler currently on the market. The system is so universal that when new socket configurations come out you can contact Noctua and get a free socket upgrade kit with proof of purchase.
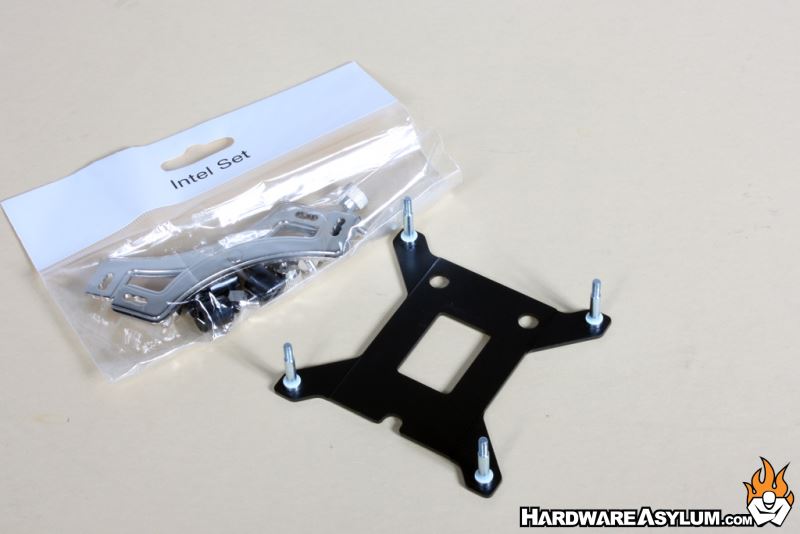
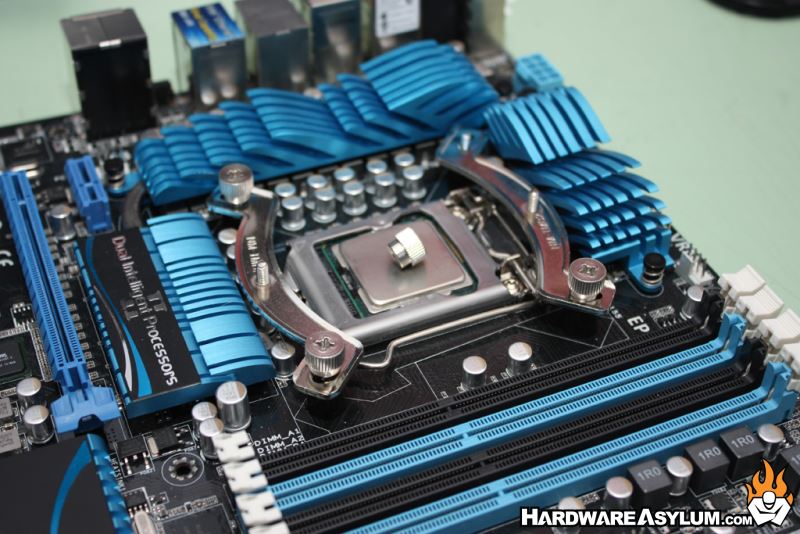
You start by installing the back plate and placing the included spacers over the exposed threaded posts.
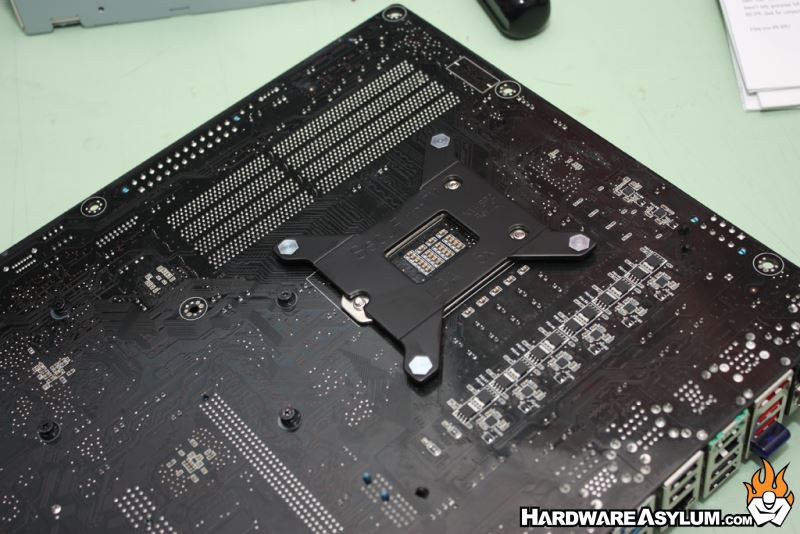
Next you secure the mounting plates to those posts using the included screw caps. These simply lock down without any sort of spring pressure.
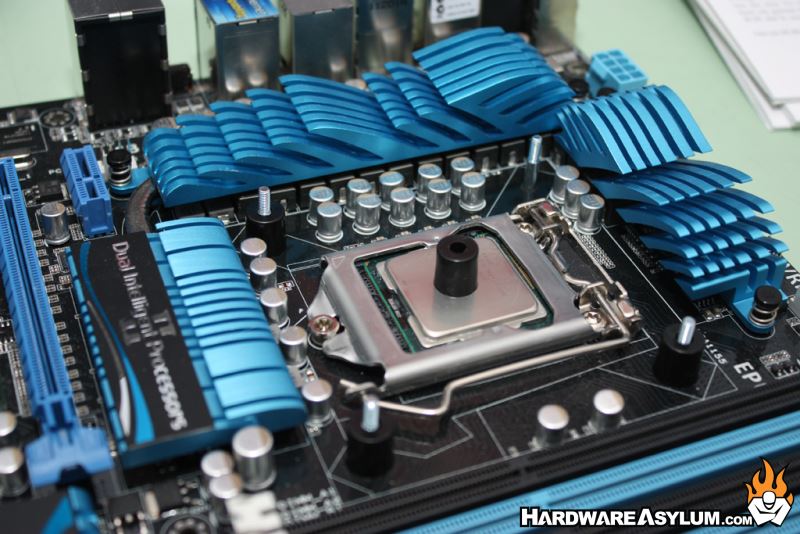
You should do a trial fit to determine the best way to install the cooler, we choose to align the cooling fan to blow towards the I/O connector as that seemed to be how the cooler aligned best. The heatsink is tall enough to clear the motherboard heatsinks and even allows you to fill all four memory slots.
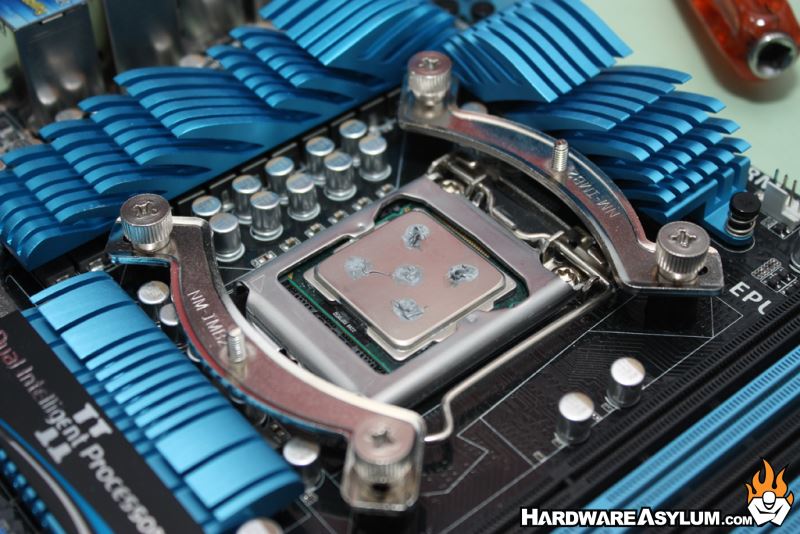
Once you have determined the heatsink orientation you can install the mounting plates with the included screwcaps and apply some thermal compound. We prefer the 5 dot method with dabs in the illustrated configuration.
To secure the heatsink you will need to first remove the cooling fan and use the included screwdriver to tighten the two spring screws.

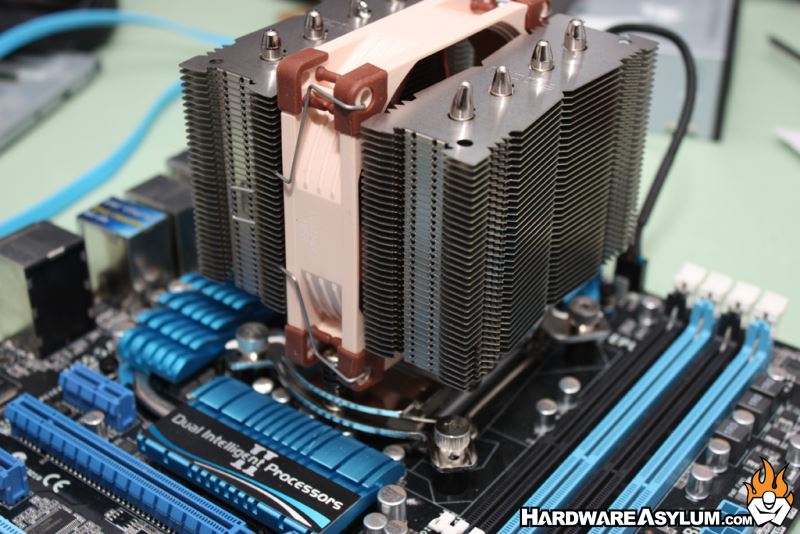
Once secured, reinstall the fan, hook up the fan header and away you go.