Noctua U12A 120mm Performance Air Cooler Review
Author: Dennis GarciaCooler Installation
I tested the NH-U12A on a variety of different systems and for this review I’ll walk you through the process of installing the cooler on any LGA 2066 motherboard. LGA 2011 and LGA 1366 will be identical and aside from having to use a backplate any LGA 115x will be very similar.
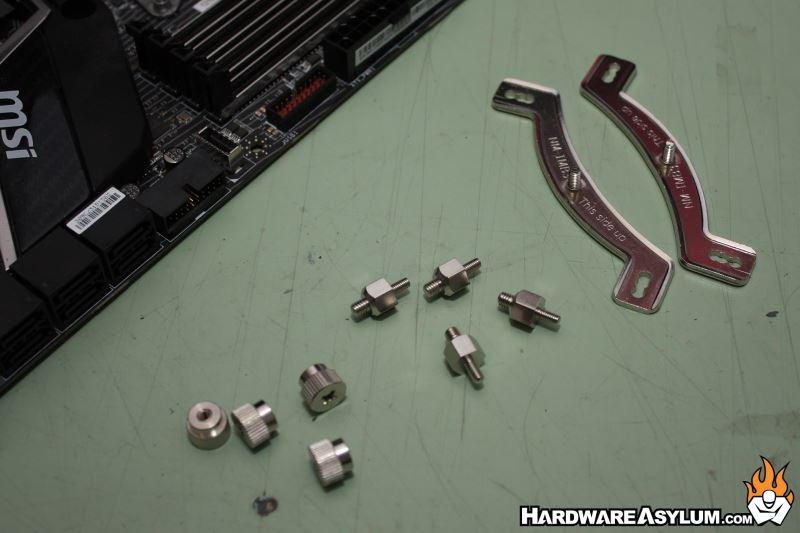
First of all you need to pick and install your mounting rails. As I mentioned this will be an Intel install so we’ll use the curved rails and studs.
The studs install into the four mounting holes around the CPU socket.
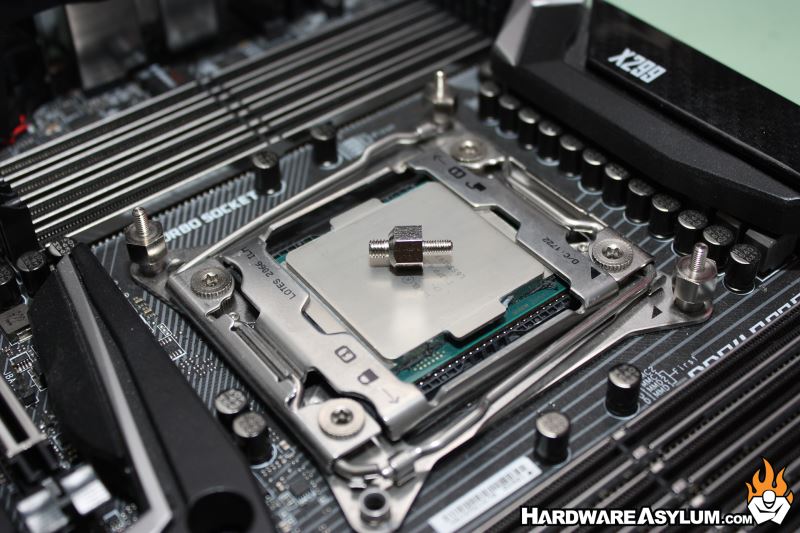
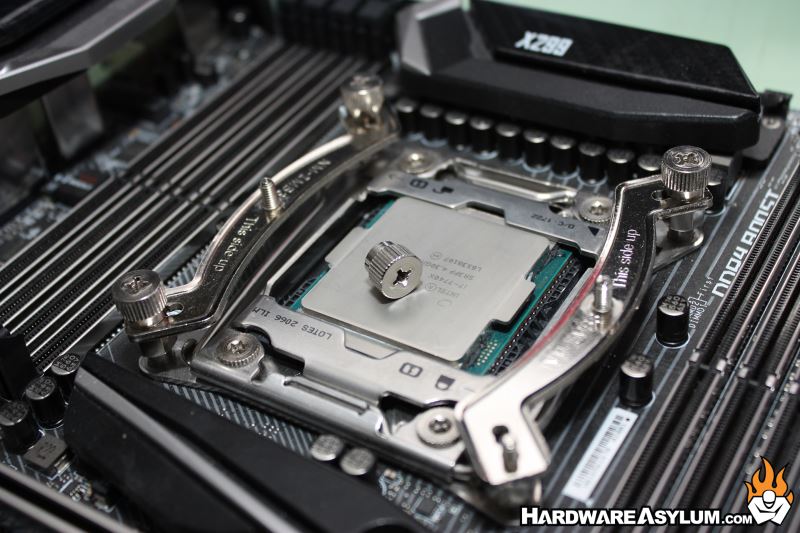
After that the rails can be installed. The two posts in the middle of the rail align 90 degrees of the cooling tower. I want the fans to be mounted parallel to the memory modules and the rails mimic that.
Secure them with the cap screws and make sure they are snug.

Install thermal paste. The Noctua NH-U12A comes with the new Noctua NT-H2 thermal compound so be sure to use it. I prefer the 5-dot method, simply dab five blobs of paste in the pattern pictured and you are set.
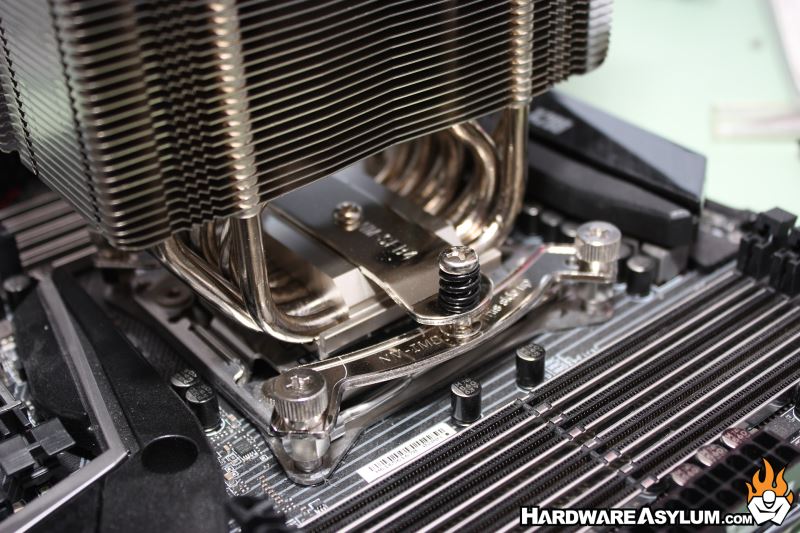
The next to last step is to install the cooler. I mentioned how the tower was offset slightly allowing the cooler to clear memory modules. In some instances you may only be able to run a single fan so be sure to check the cooler alignment before locking it down to ensure your memory and other components will fit properly.
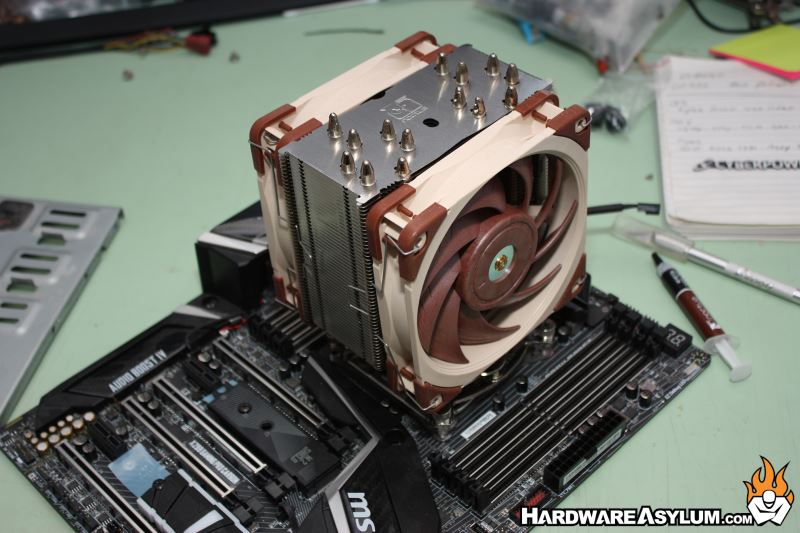
Finally install the fans and will lock to the cooler using the hooks along the edge. Just make sure to correctly align the airflow.