Raijintek Pallas Low Profile Heatsink Review
Author: Dennis GarciaCooler Installation
Installing the Raijintek Pallas is pretty straight forward and features the typical riser mounting plate design. In fact you may get a startling case of DejaVu if you have ever installed a Thermaltake NiC F4 or Thermaltake FrioOCK before since the mounting hardware is identical aside from a few stylistic changes.
It is safe to say that out of any installation method to copy the Thermaltake design is by far one of the best.
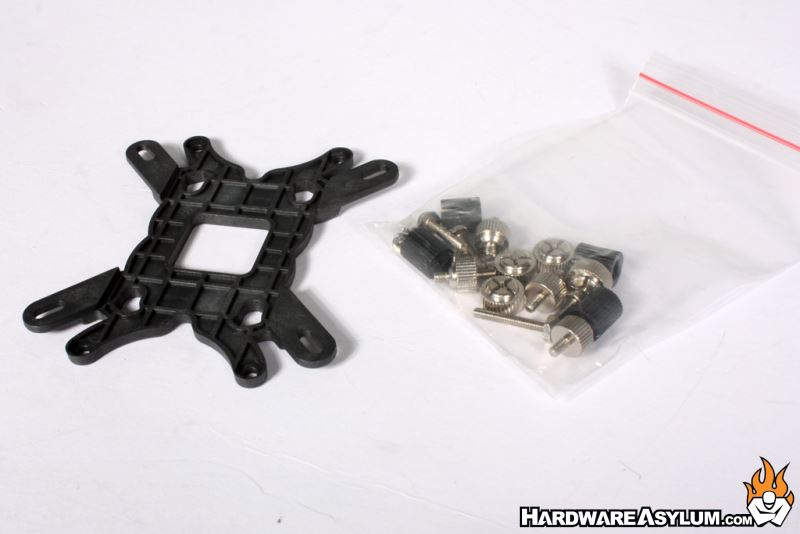
The included hardware is shown below.
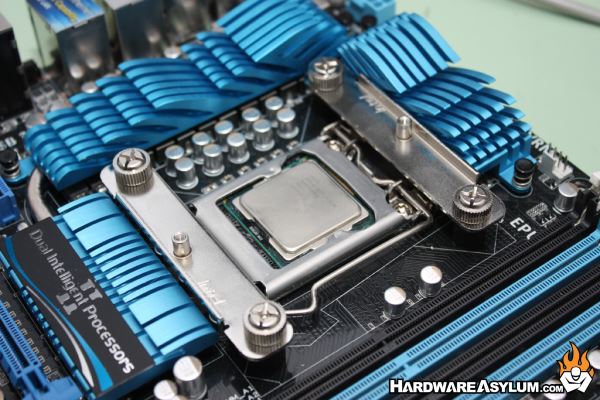
We will be testing on the LGA1155 Sandy Bridge platform and to get started you must first install the backplate and install each of the mounting pins.
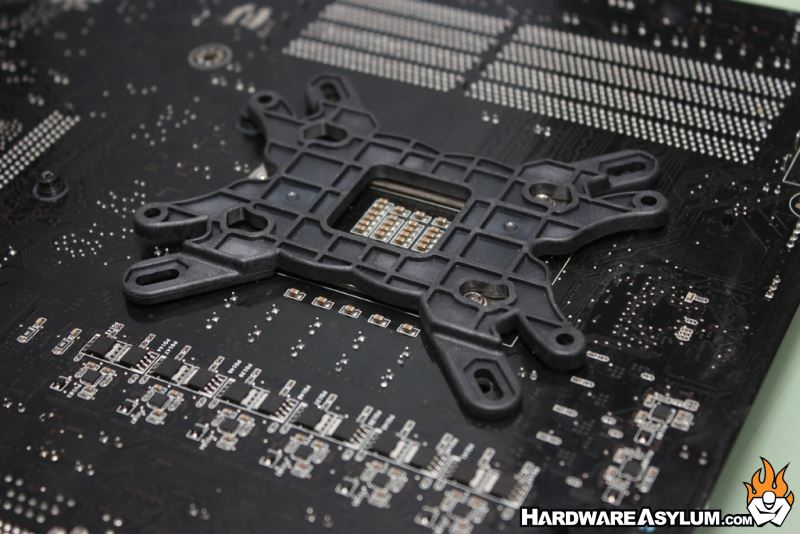
These pins are held in place using four threaded plastic standoffs which are installed from the top. We found that you must work both sides of the motherboard to get the standoffs installed and working opposite corners will make quick work of this process.
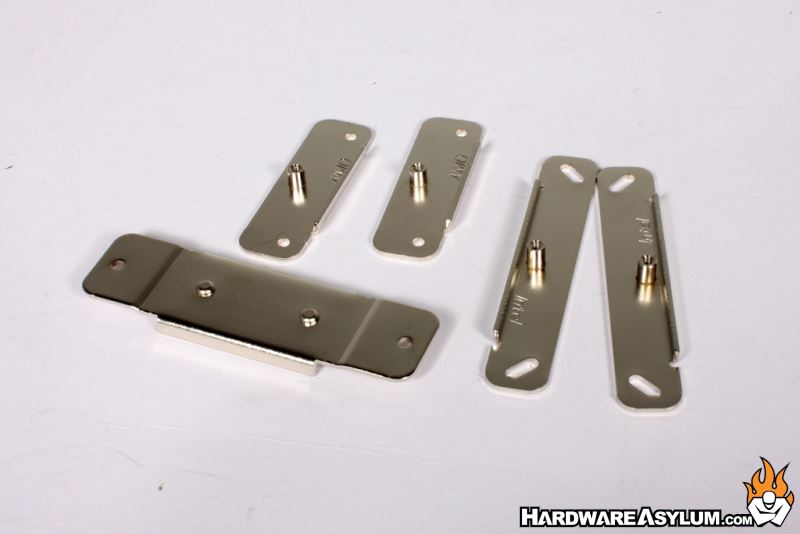
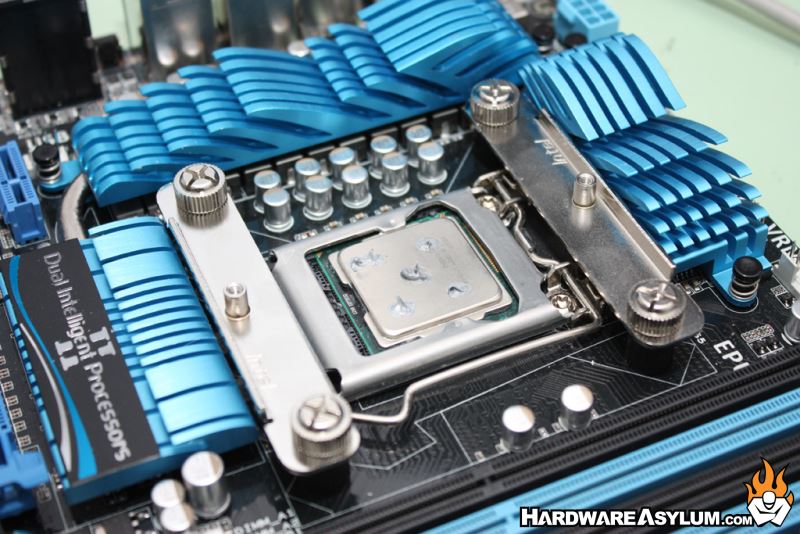
Next you'll install the mounting plates and be sure to place them with the reinforcement ribs facing up. Each of the mounting plates is held in place with a thumb nut and should be secured finger tight.
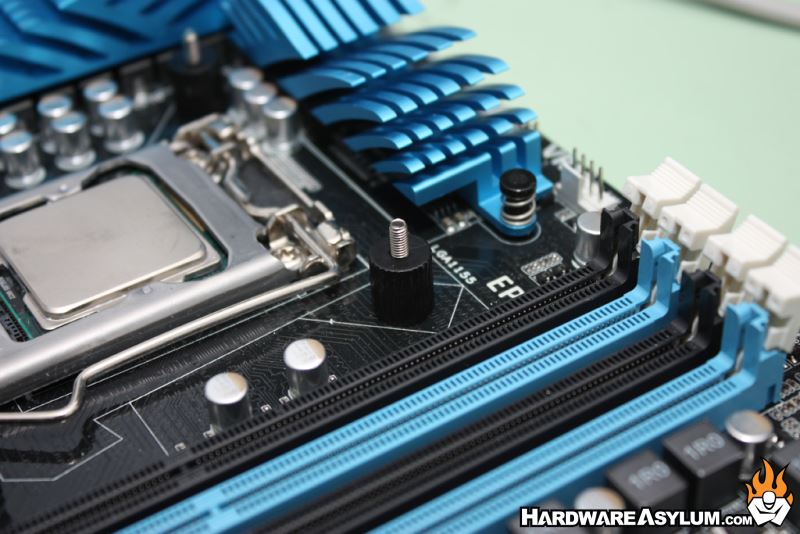
How you install the mounting plates will determine the orientation of your heatsink. Installing them as pictured will have the heatpipes facing the memory slots and allow the Pallas to cover the motherboard heatsinks.
Once the mounting plates have been installed you can apply some thermal paste and secure the heatsink. We prefer the 5-dot method as this allows for some of the best coverage.
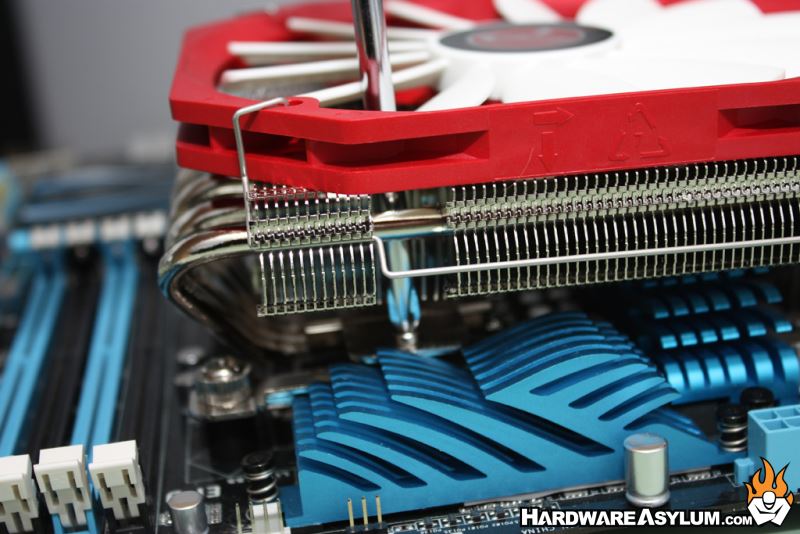
To secure the heatsink you must first line up the mounting plate with the dimples on the top of the heatsink base. Then place the cooler over the processor and line up the mounting screws with the posts on the mounting rails. Loosely tighten each side evenly until the screws stop. When you are done, plug in the fans and you are ready to go.
A void in the radiator has been provided so you can access the screws. While the install seems pretty straight forward the last step was by far the most difficult. The screws used to hold the heatsink in place were not attached to the mounting plate and allowed them to do whatever they wanted. The alignment dimples also needed to be deeper to keep the mounting plate from moving around. Needless to say we ended up getting creative to ensure the heatsink was installed properly.