Cooler Master TPC 812 Performance Cooler Review
Author: Dennis Garcia
Published: Sunday, April 15, 2012
Installation
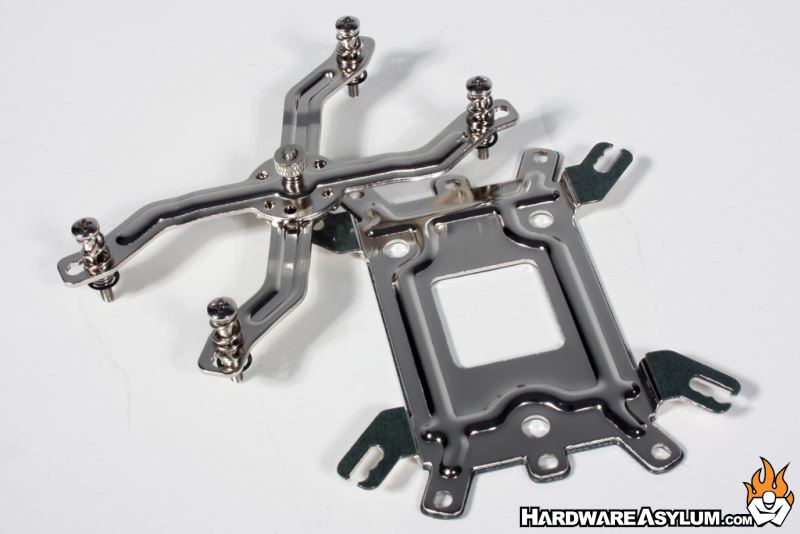
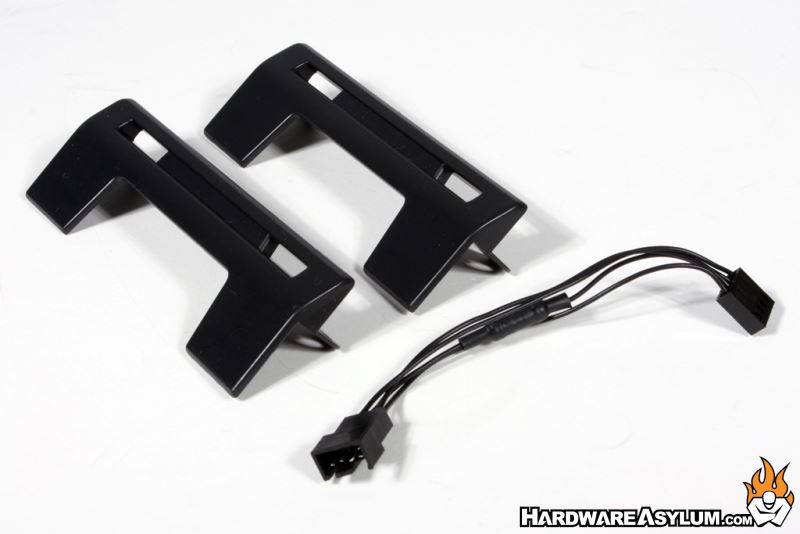
In the package you will find everything you need to install the TPC 812 including a universal back plate and scissor style mounting clip that adjusts to match the desired processor platform. Fan mounting is accomplished by using two plastic clips to hold the fan in place removing the need for wire clips.
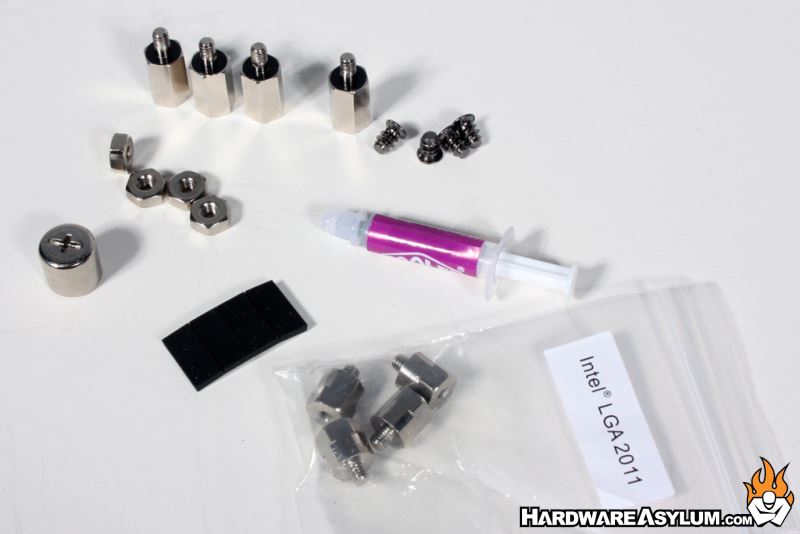
Mounting hardware comes in two flavors, before LGA 2011 and after LGA 2011. Since we will be testing on the LGA 2011 platform all we need is the tiny bag of bolts seen in the corner.
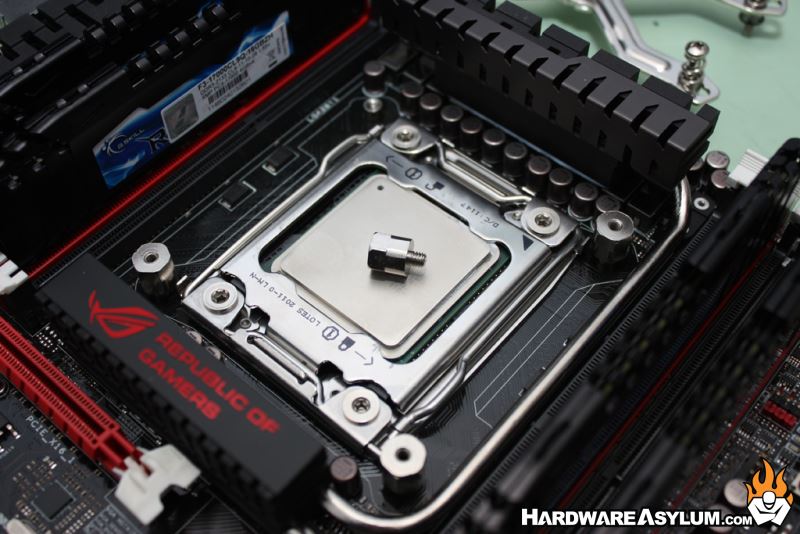
To begin you screw the LGA 2011 riser bolts into the threaded heatsink mounting holes. They need to be snugged down using the included tool or a socket from your toolbox.
To begin you screw the LGA 2011 riser bolts into the threaded heatsink mounting holes. They need to be snugged down using the included tool or a socket from your toolbox.
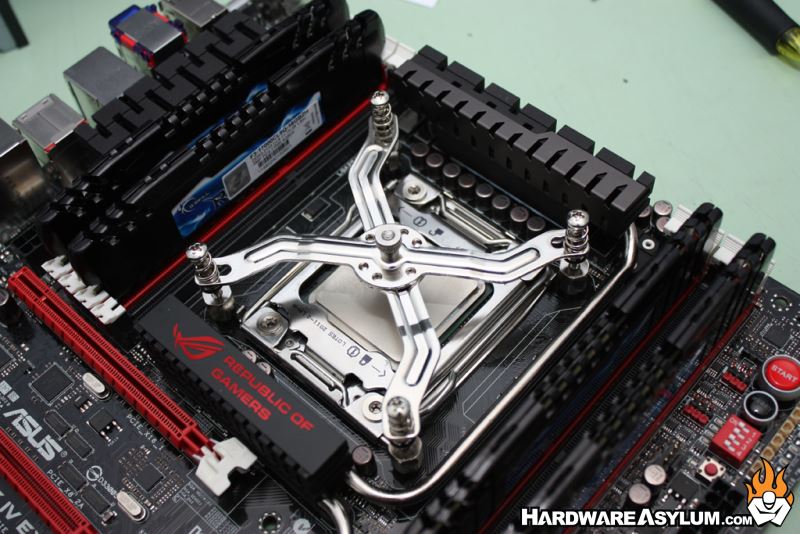
Based on previous experience this next step can be tricky so it is always best to do a test fit before attaching the heatsink. Basically you'll need to make sure the mounting screws are in the proper position on the scissor clip and that the mounting clip is opened to the right position.
There is a notch located near the center of the scissor mount that aligns to a pin on the heatsink. This has to be lined up to ensure that the heatsink is properly mounted and does not rotate on the processor.
There is a notch located near the center of the scissor mount that aligns to a pin on the heatsink. This has to be lined up to ensure that the heatsink is properly mounted and does not rotate on the processor.
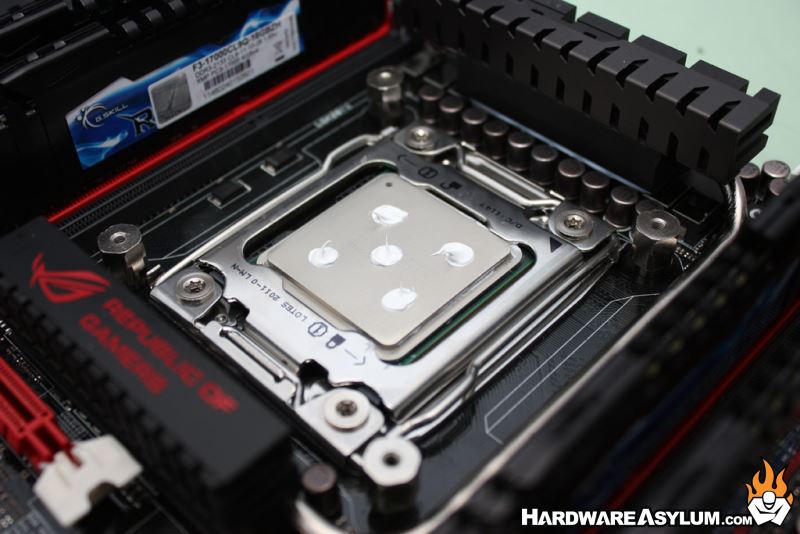
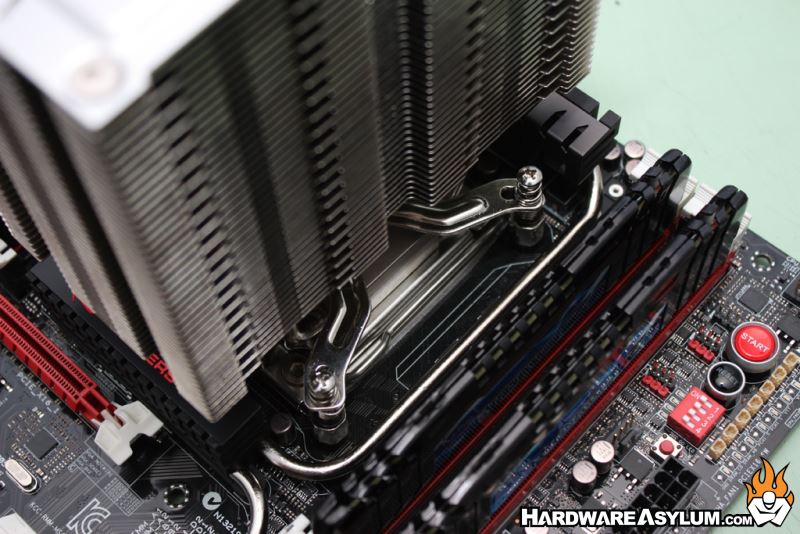
The final step is to apply some thermal compound, feed the scissor mount thru the base of the heatsink and install the cooler. At this point you can open the mounting clip to the proper position and make sure the pin on the heatsink lines up with the mounting clip. After that use a Phillips screwdriver and tighten each of the screws until they have fully seated.