Gigabyte X79 UD7 OC Motherboard Preview
Author: Dennis Garcia
Published: Monday, November 14, 2011
Included Goodies
Inside the box you will find a variety of parts to help you get your system up and running. Some of these are required while others are convenience features that may be unique to this motherboard.
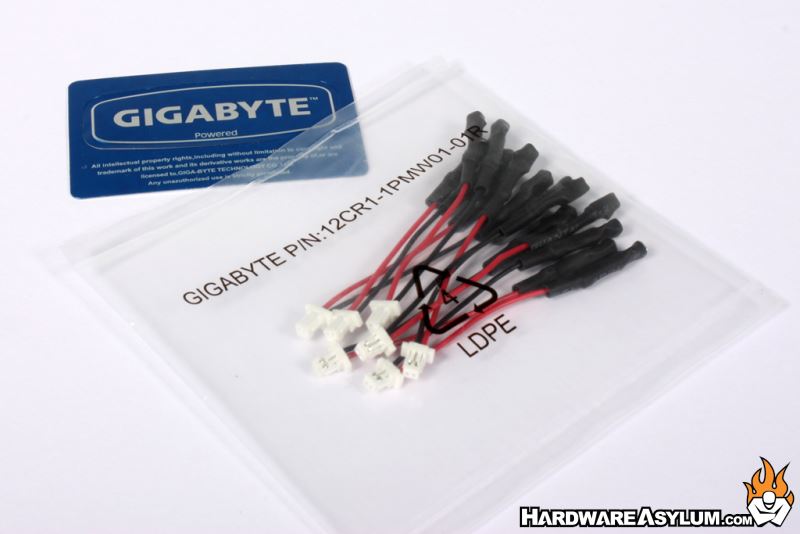
Overclocking is a key feature of the X79 UD7 OC and one of the key things you need to know is what the voltages are at any given time. You will find a series of voltage read points on the motherboard and if you would rather leave the meter hooked up you can use the included test leads to hold the probe in place.
Overclocking is a key feature of the X79 UD7 OC and one of the key things you need to know is what the voltages are at any given time. You will find a series of voltage read points on the motherboard and if you would rather leave the meter hooked up you can use the included test leads to hold the probe in place.
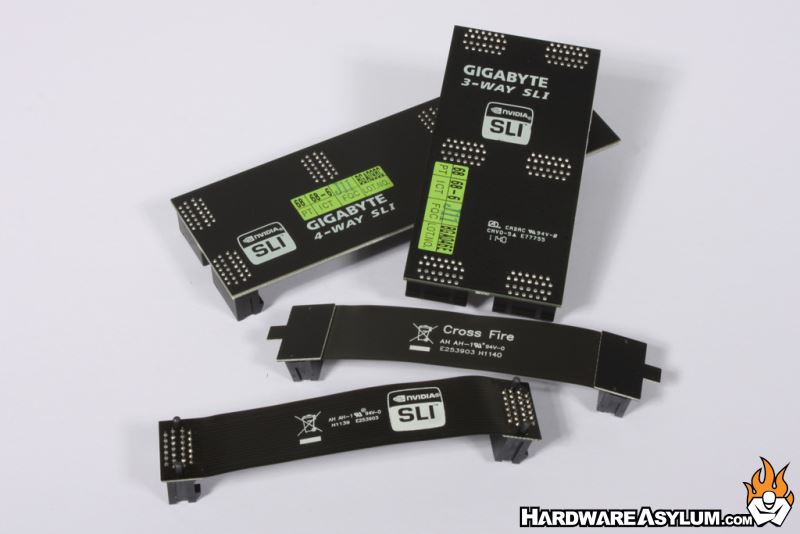
We mentioned how multiGPU is a larger part of the UD7 and we have the bridges to support it. SLI is supported with up to four cards using the included bridges. AMD Quadfire is also supported and Gigabyte has included a special length connector for those planning to run just two cards.
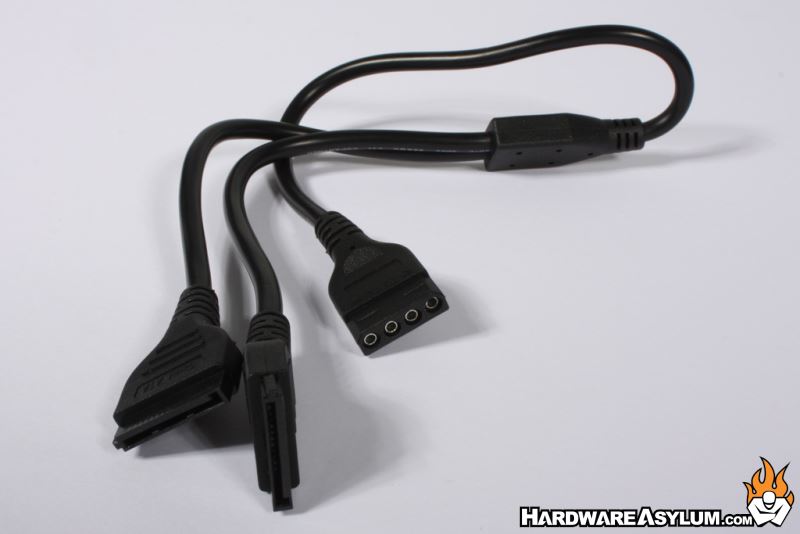
When running more than two graphics cards you need to supply some additional power to the PCI Express slots. This is done using SATA power connectors found along the edge of the motherboard. If your powersupply is lacking native SATA power connectors you can use this custom molex to sata power cable.
When running more than two graphics cards you need to supply some additional power to the PCI Express slots. This is done using SATA power connectors found along the edge of the motherboard. If your powersupply is lacking native SATA power connectors you can use this custom molex to sata power cable.
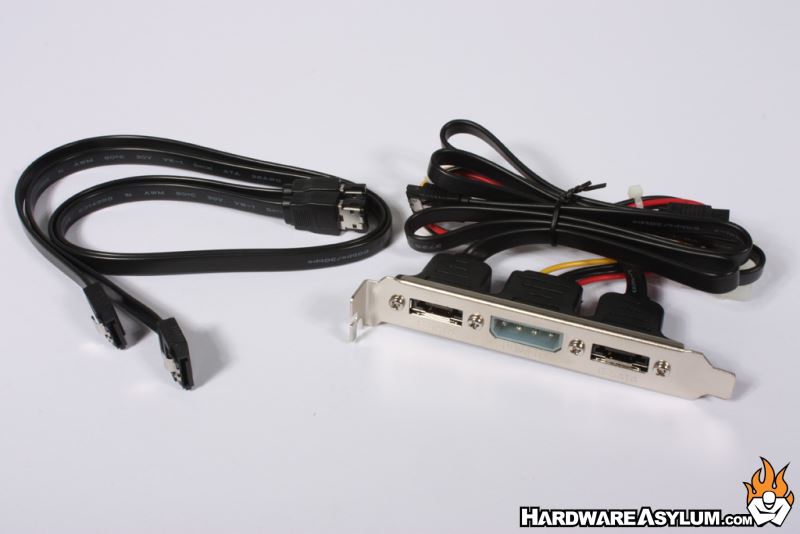

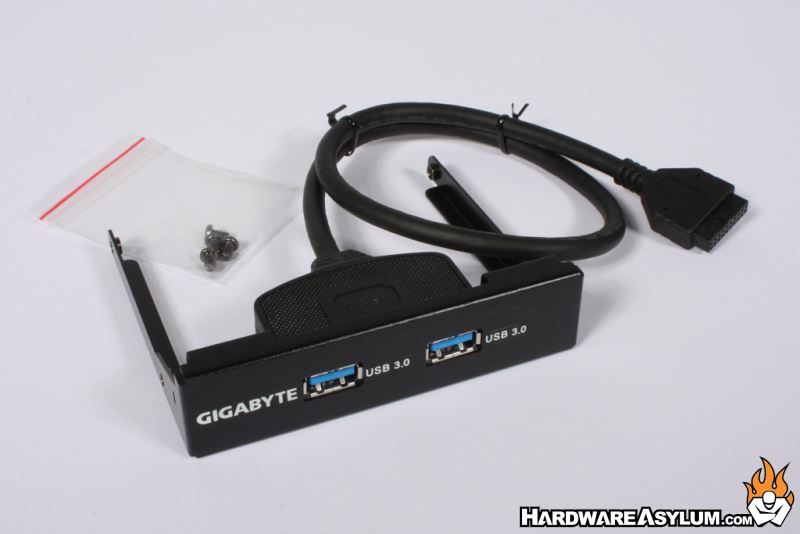
You do get the normal compliment of SATA data cables and I/O backplate.
With what appears to be a late addition to the X79 UD7 we find this dual input wireless module that operates both wi-fi and Bluetooth networks across a single PCI Express lane.
With what appears to be a late addition to the X79 UD7 we find this dual input wireless module that operates both wi-fi and Bluetooth networks across a single PCI Express lane.
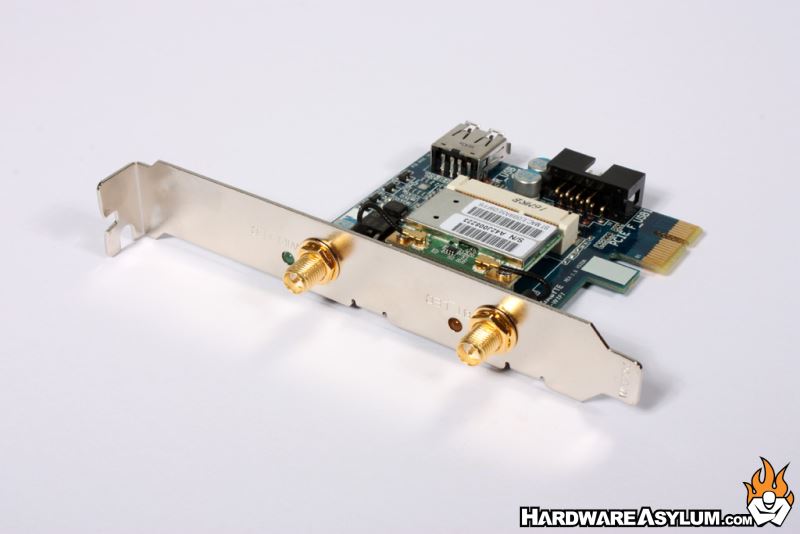
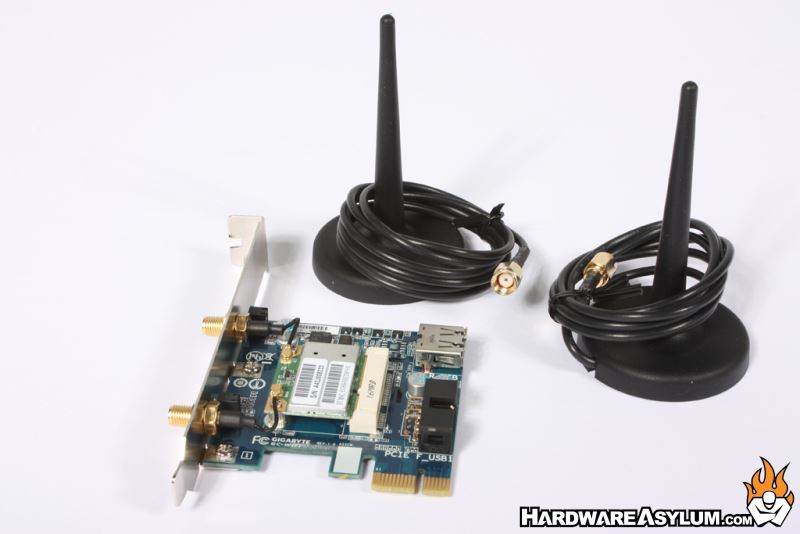
We actually like this approach since it gives the end user the choice of using the device or removing it completely for benchmarking sessions. Of course the device could have been hardwired to the motherboard but doing so adds complexity to the board design and defeats the purpose.
Our only wish would be to have them take the same approach for onboard sound or partner with a 3d party sound provider. Not only would you get better sound quality but also saves us from disabling the sound controller in the BIOS.
Our only wish would be to have them take the same approach for onboard sound or partner with a 3d party sound provider. Not only would you get better sound quality but also saves us from disabling the sound controller in the BIOS.