Asus Sabertooth P67 Motherboard Review
Author: Dennis Garcia
Published: Friday, April 06, 2012
Board Layout and Features
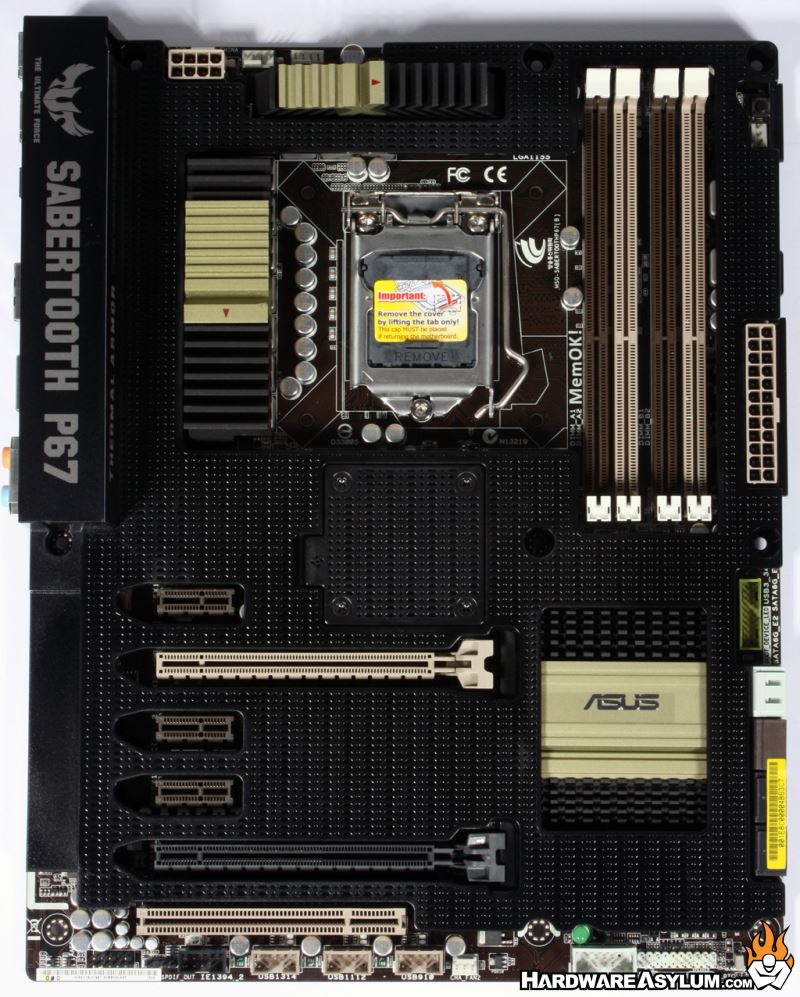
If this is your first time looking at a Sabertooth motherboard you are in for a surprise considering that it is like no other motherboard on the market. The expansion slots follow a desert camo theme alternating between a sandy and dark brown, black and olive green.
The Thermal Armor can be seen covering all of the major components with openings around the expansion slots and various heatsinks.
The Thermal Armor can be seen covering all of the major components with openings around the expansion slots and various heatsinks.
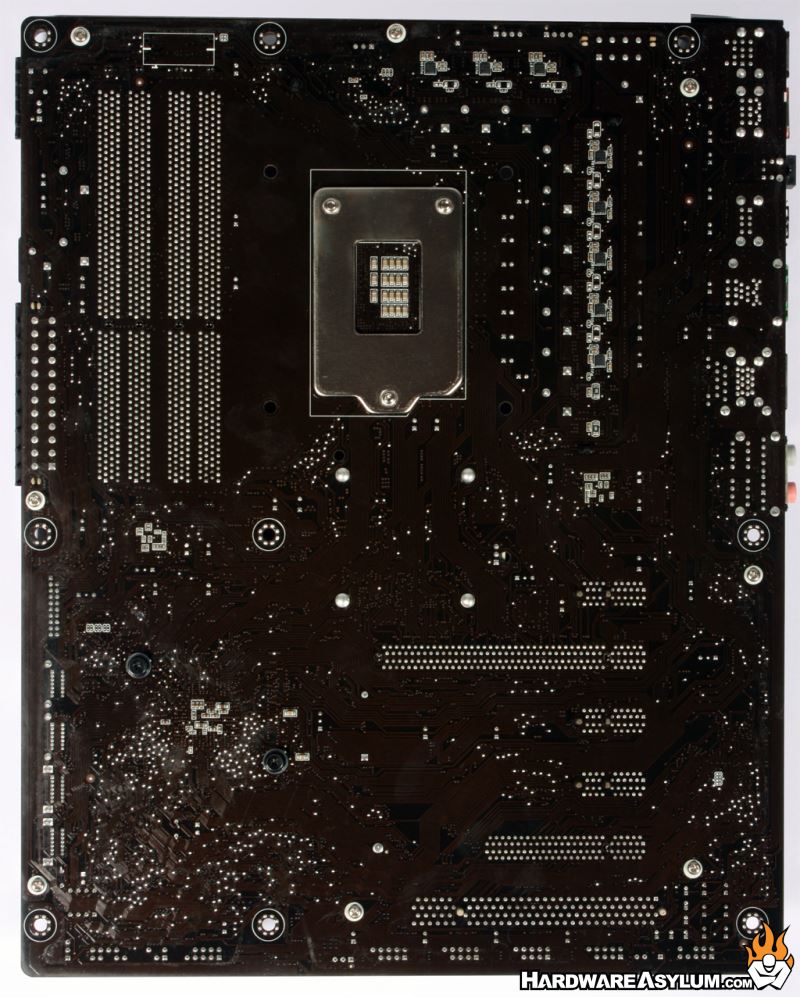
The back of the motherboard features a few surface components around the PWM but is otherwise devoid of anything major. A number of screws litter the PCB to hold the thermal armor in place along with four solid solder points located below the CPU socket.
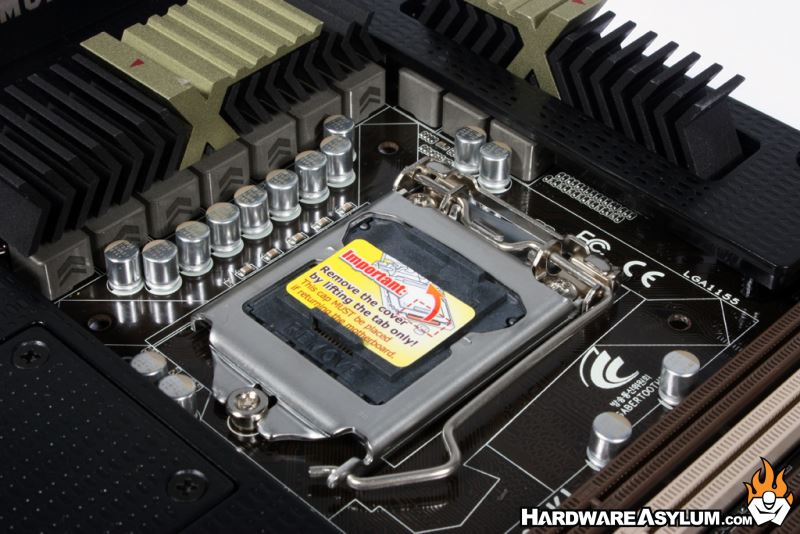
To go along with the TUF motherboard you will find a TUF ENGINE Power Design PWM situated around the CPU socket. The board features an 8 + 2 Digital PWM featuring TUF Components including alloy chokes, caps and MOSFETS all certified to a military standard. Control over the PWM is accomplished either thru the UEFI or using the Asus Digit+ VRM software utility.
To go along with the TUF motherboard you will find a TUF ENGINE Power Design PWM situated around the CPU socket. The board features an 8 + 2 Digital PWM featuring TUF Components including alloy chokes, caps and MOSFETS all certified to a military standard. Control over the PWM is accomplished either thru the UEFI or using the Asus Digit+ VRM software utility.
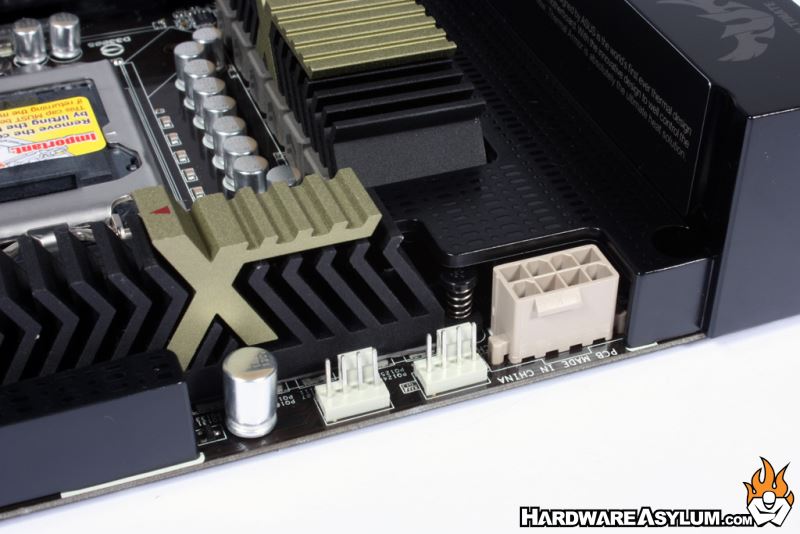
A standard 8 pin 12v power is required to run any Sandy Bridge system and you'll find the power socket at the top of the motherboard near the PWM coolers.
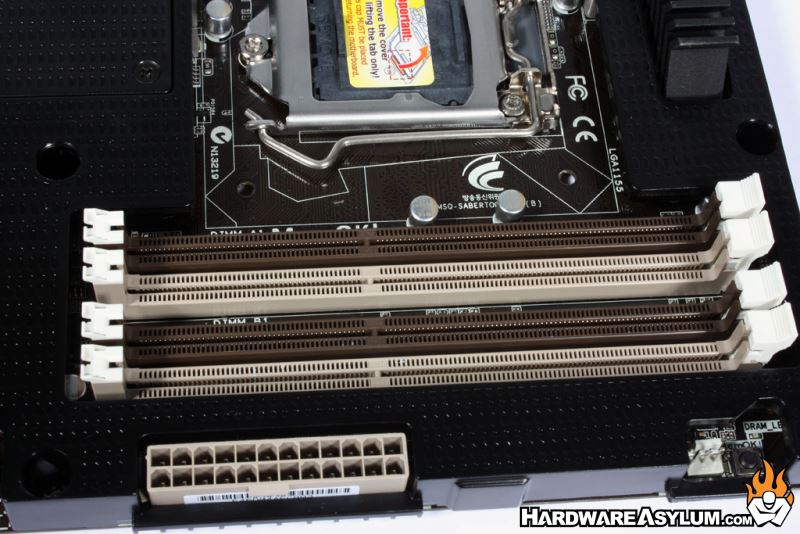
Dual channel memory comes standard on the Sandy Bridge and the Sabertooth supports DDR3 modules up to 1866Mhz across a total of 4 banks available with a maximum of 32GB supported. 24pin ATX power is located in the traditional location near the upper edge of the motherboard.
Dual channel memory comes standard on the Sandy Bridge and the Sabertooth supports DDR3 modules up to 1866Mhz across a total of 4 banks available with a maximum of 32GB supported. 24pin ATX power is located in the traditional location near the upper edge of the motherboard.
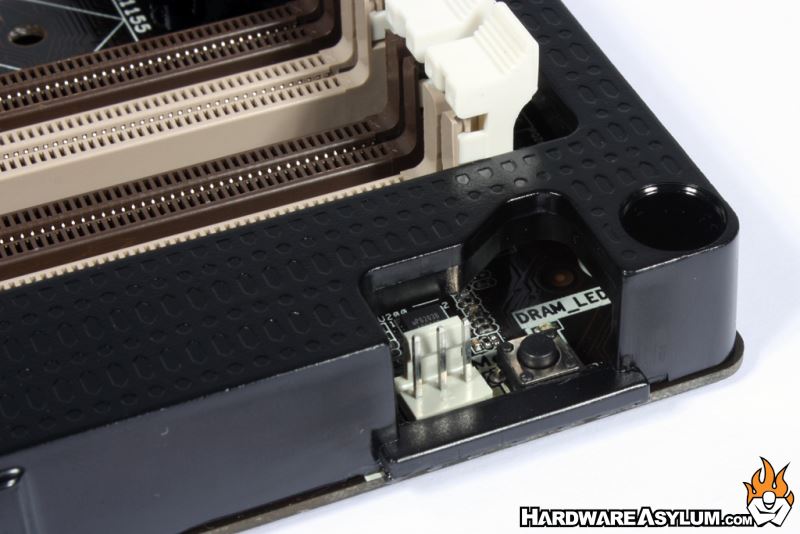
You will find a total of five fan headers on the Sabertooth P67 with three of them located at the top of the motherboard. The one pictured here is located next to the MemOK! Switch which allows you to recover from memory issues that may occur either from an overclocking experiment or bad ram. This works by detecting a safe DRAM frequency and temporarily setting that speed in the UEFI.