Supra PiModem Project - Getting Retro PCs Online
Author: Dennis GarciaFinal Assembly
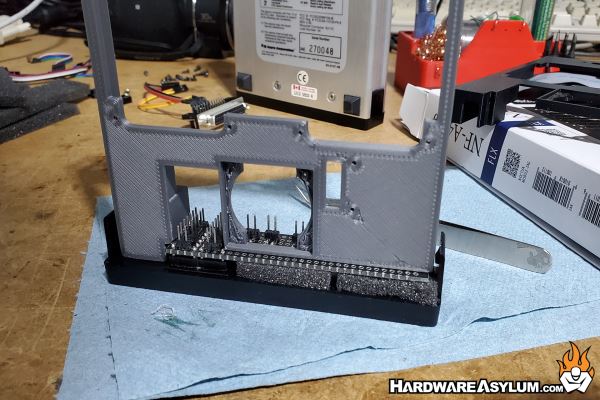
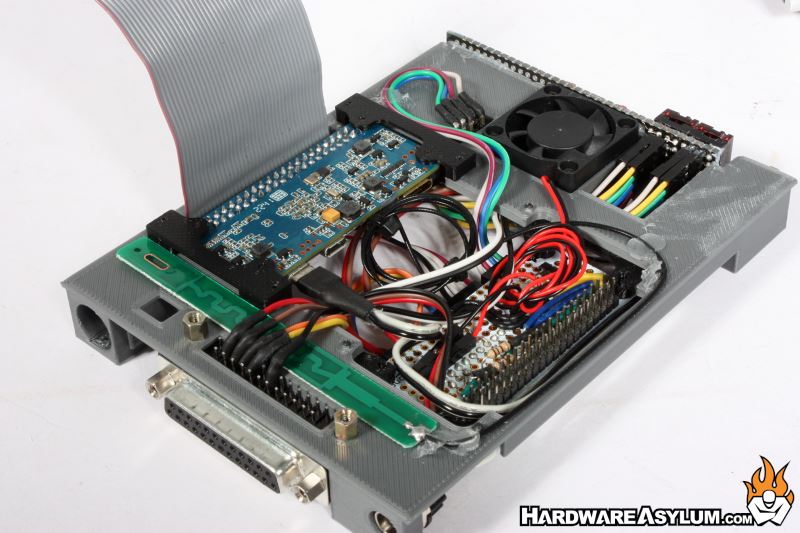
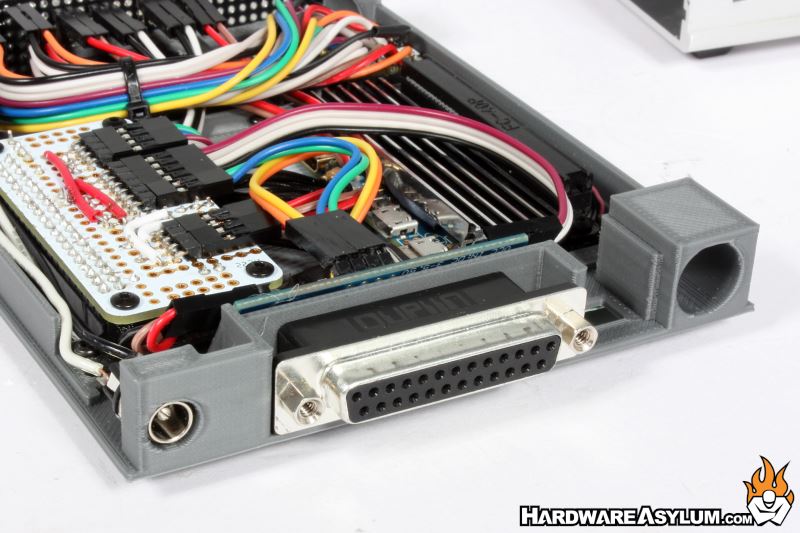
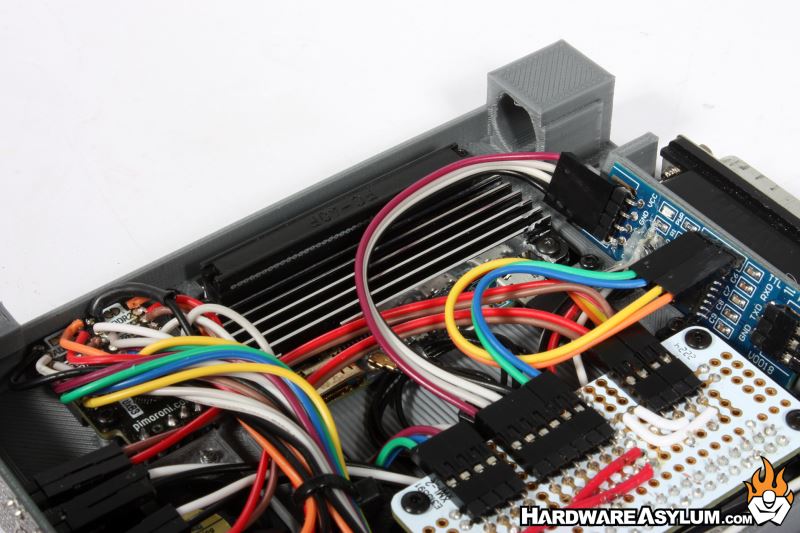
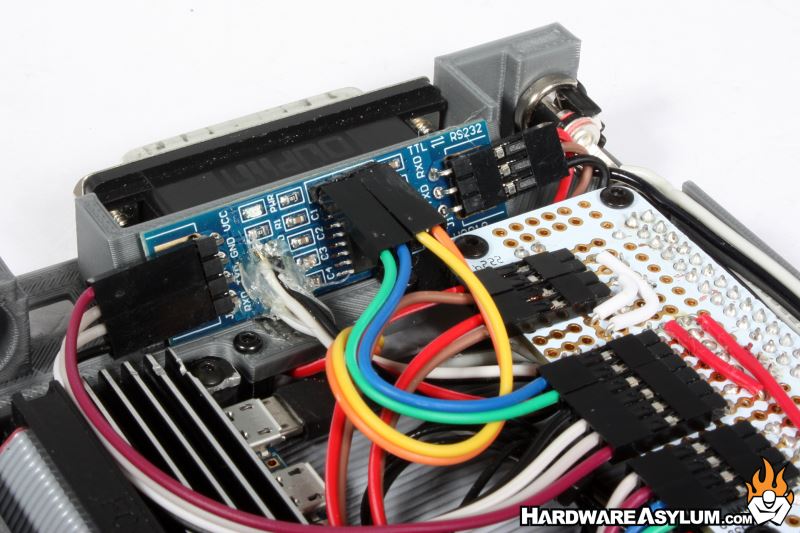
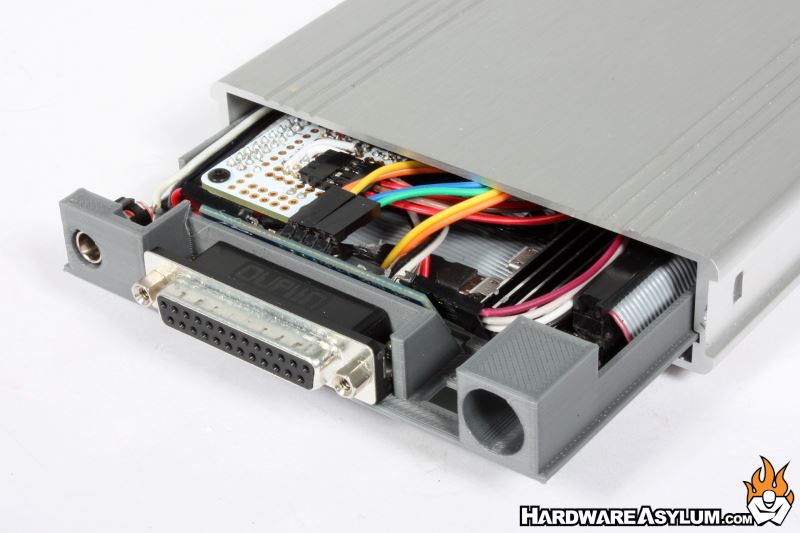
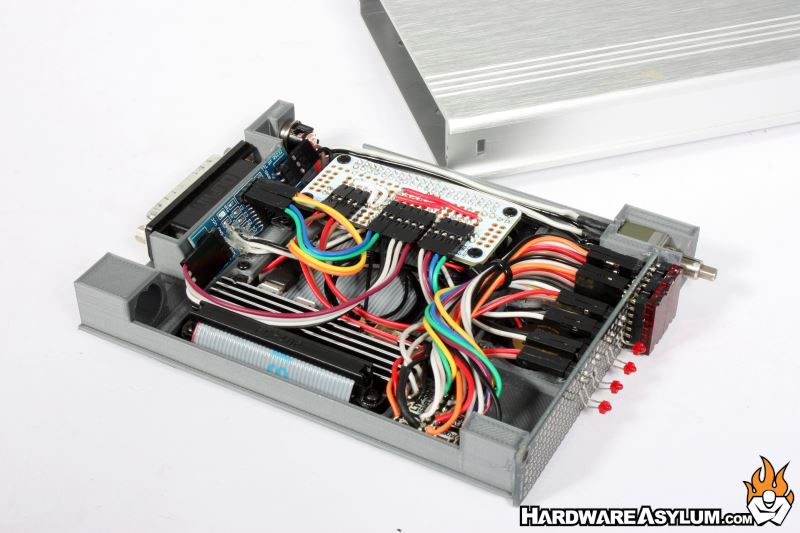
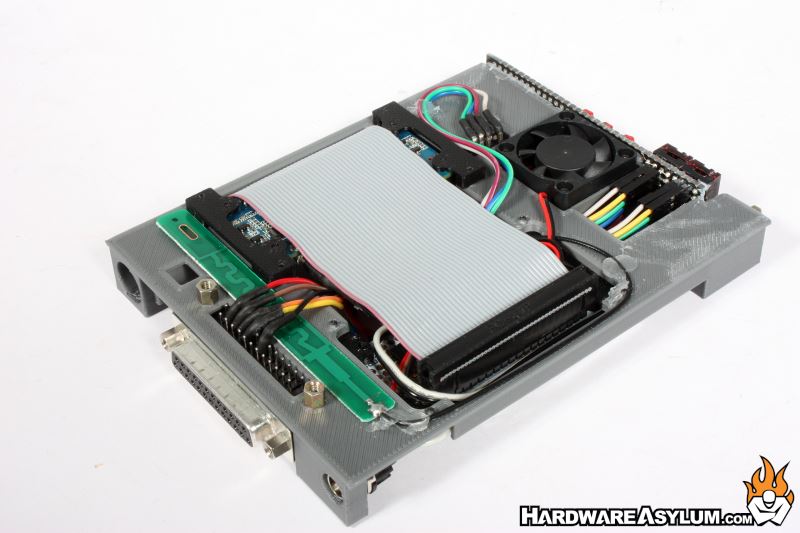
With everything wired and mocked up I printed my final revision to the Supra PiModem board and set out to put everything together.
The first step was to glue the perfboard front panel to the frame using some two-part epoxy. For this I was able to use the factory front bezel to ensure that the LEDs and Digit Display were aligned correctly and then placed the 3D Printed frame on top. Honestly this was the most stressful part of the entire build since a mistake here would require me to rebuild the front panel board
Luck was on my side and everything worked out great!
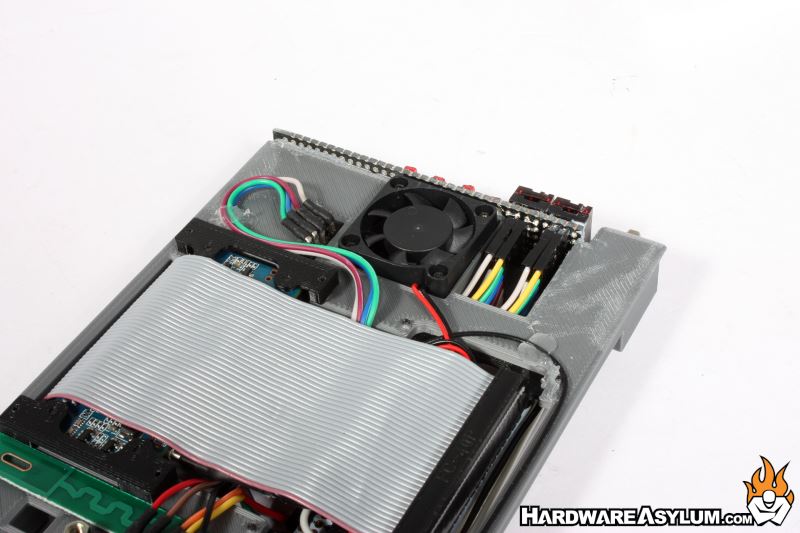
The next step was to install each of the components and spend some time making extremely tidy wire runs. I used some hot glue to secure certain wires including the WiFi antenna positioned near the DB25 plug.
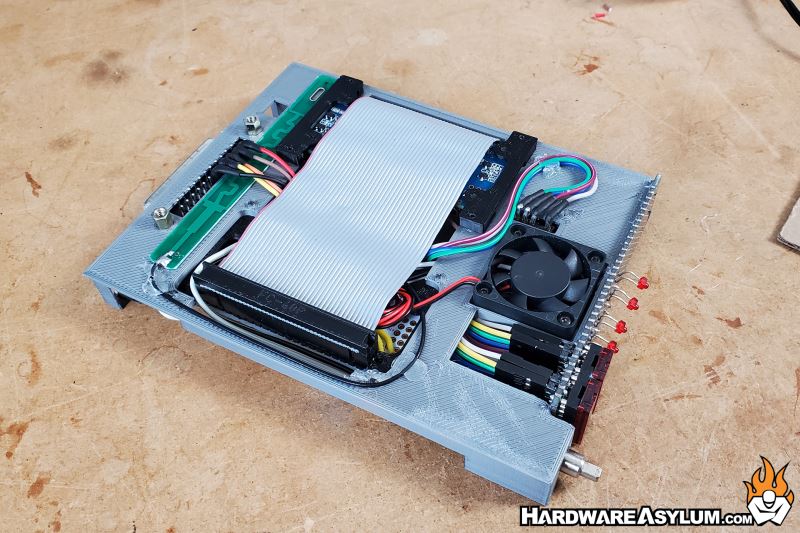
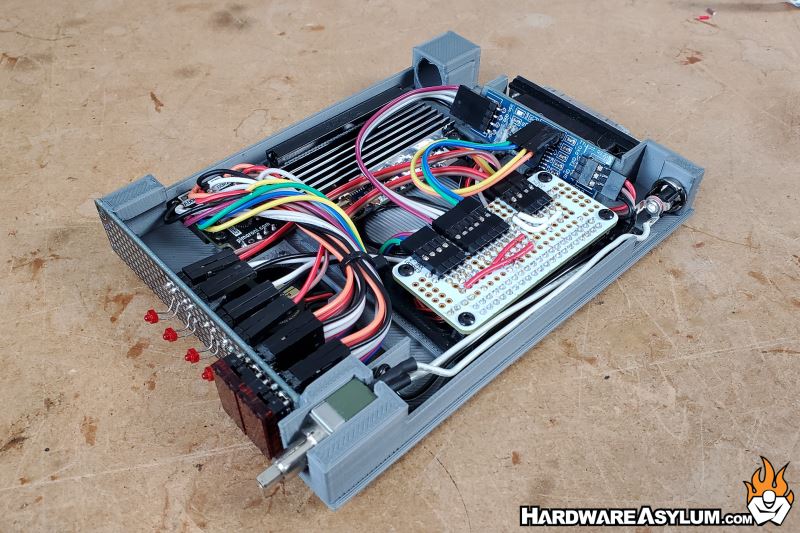
I also added some hot glue to the LED wire extensions to help reinforce the connection and prevent the 28GA wires from breaking.
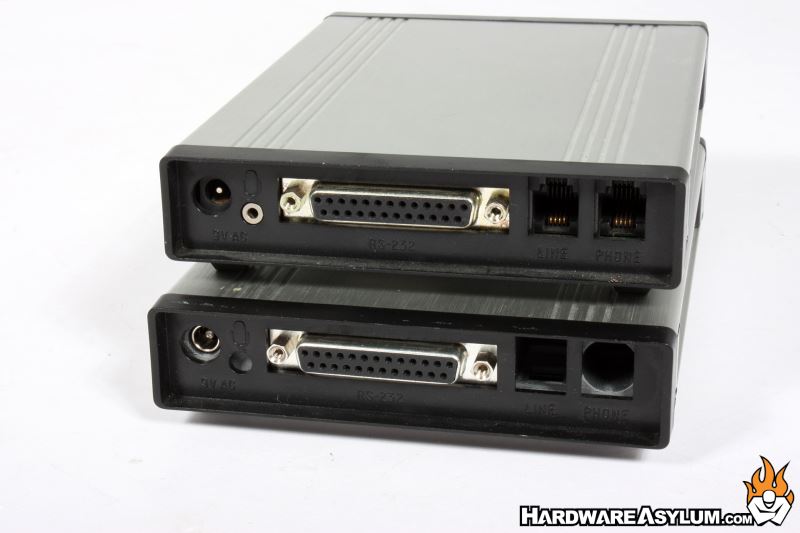
Overall, I am extremely pleased with how everything went together and how stealthy the Supra PiModem Project turned out. Below are some final photos of the project including a side by side against an unaltered Supra FaxModem 288.
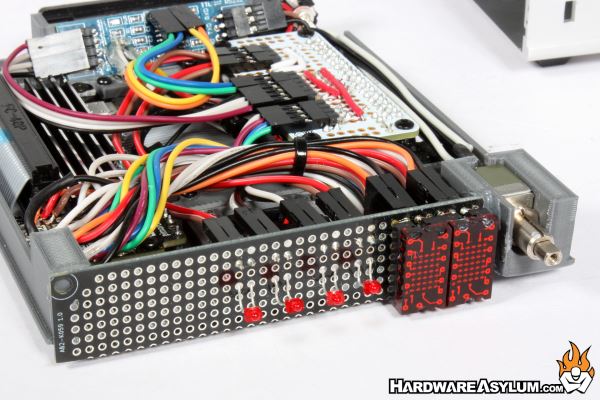
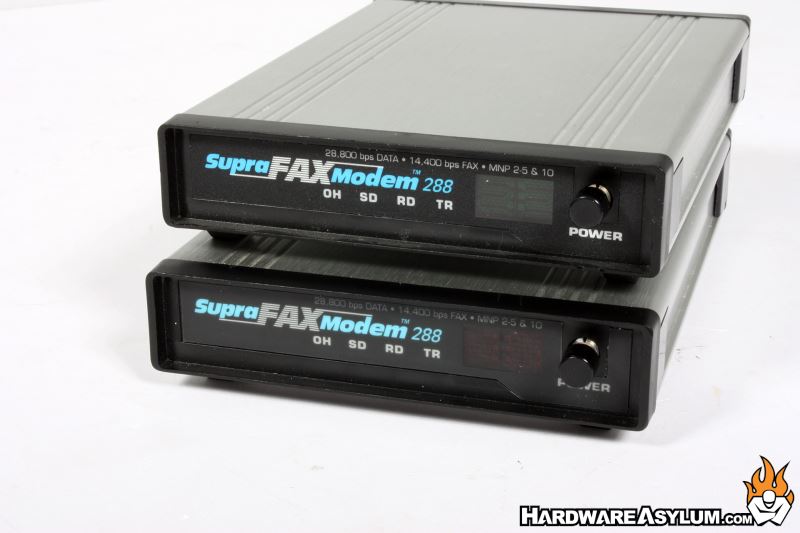
The factory modem used Green 5x7 dot matrix displays and I decided to use Red with an option to change them later if I wanted.
If you have any questions or comments about this project, feel free to send me an email or leave a comment on the YouTube video. I will provide links to the items used to build this project and will follow up this article with a detailed look at the software modifications I needed to make and a wiring diagram for how things hooked into the GPIO.