Fractal Meshify 2 Compact Case Review
Author: Dennis GarciaCase Layout and Features
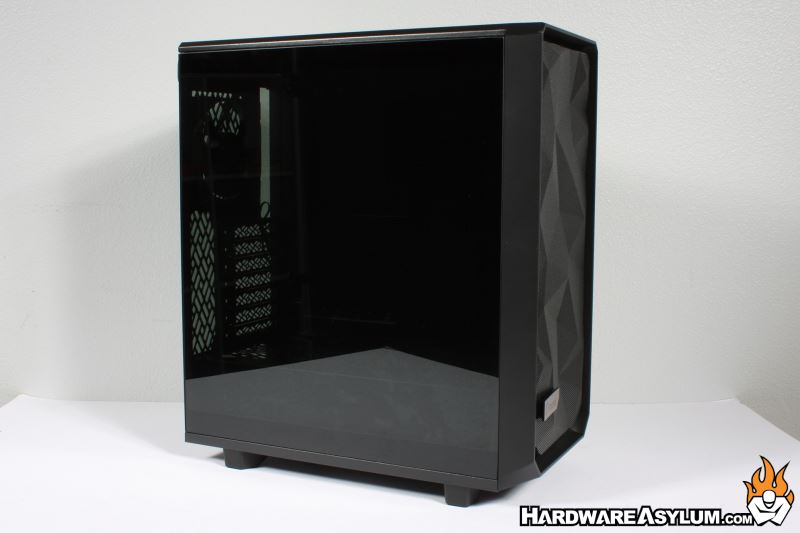
In terms of overall size, the Meshify 2 Compact is exactly that, compact. You can see this clearly in the overtly square dimensions that is slightly higher than it is wide. Another key feature is the tempered glass that looks like it is floating on the side of the chassis with seamless edges. This is due to the new latching feature that we will be covering a little later.
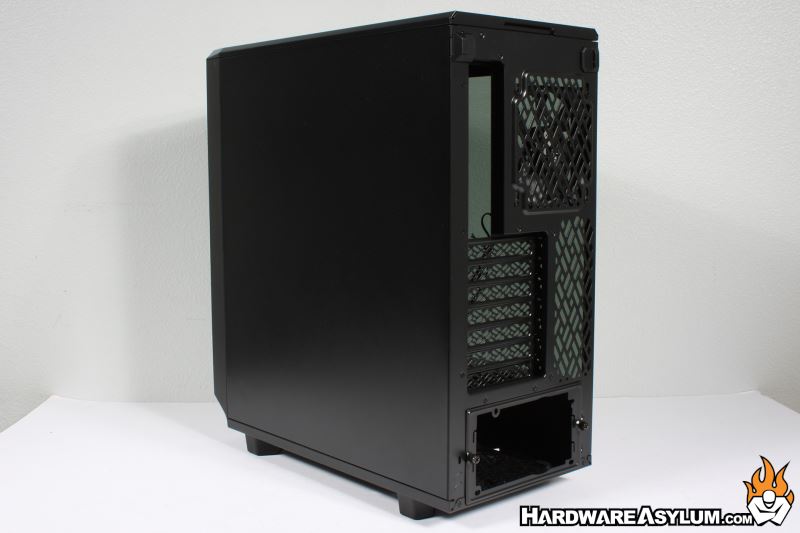
Turning the case around we can see a solid flat side panel with a similar appearance to the tempered glass side, minus the glass part.
Expansion slots number the standard 7 and the entire back panel and expansion slot covers are covered in venting to promote airflow and the free equalization of gaseous fluid both inside and outside of the chassis. Some will say this is a good thing while others are smarter than that.
It should be mentioned that the expansion slots are "bridgeless" meaning that they have no metal spars between the slots. This opens up the area for the vertical GPU mounting bracket and the option to have a vertical GPU in a case without a dedicated spot for it. The only downside is that with the GPU so close to the motherboard you cannot install any other expansion cards and getting to onboard M.2 drives requires more work.
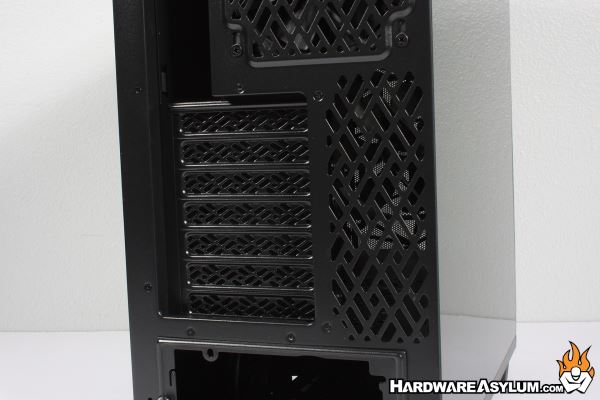
I really like the pattern. It tells me that some care went into the overall design and that Fractal wasn’t afraid of the tooling cost when setting it up. You see circles and hexagons all day long and they are easy to stamp out but patterns like this require a special die everywhere it is used adding to the cost.
Speaking of the same pattern can be found under the case. That is after you remove the extremely large fan filter with the fractal pattern.

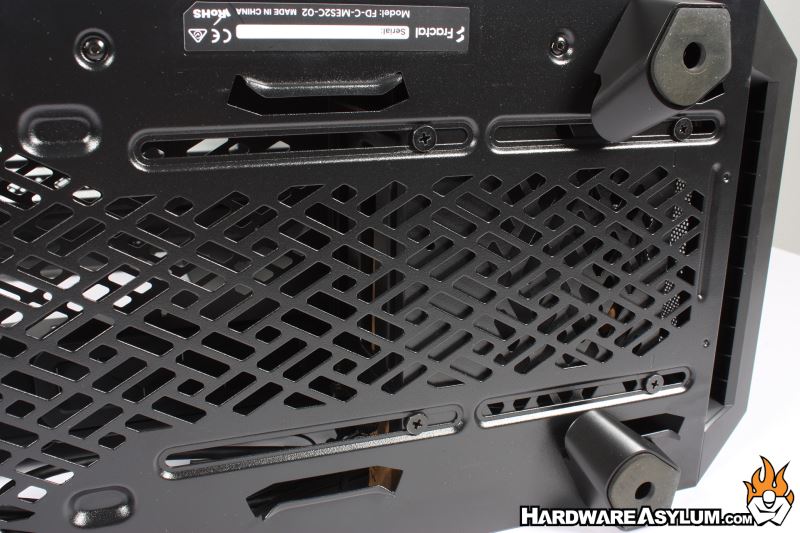
You will also notice the slotted holes that allow you to reposition the internal 3.5” drive rack and give you room to install additional fans and radiators. The only limitation is the size of your PSU and how many cables you want/need to route. Of course, removing the screws completely allows you to remove the drive cage and free up the rest of the room for more important things.
Turning out attention to the top of the case you’ll find the front panel controls located at the front and feature a single USB Type-C connection, power button, reset button, analog connections for headphone and mic along with two Type-A connections for USB 3.0
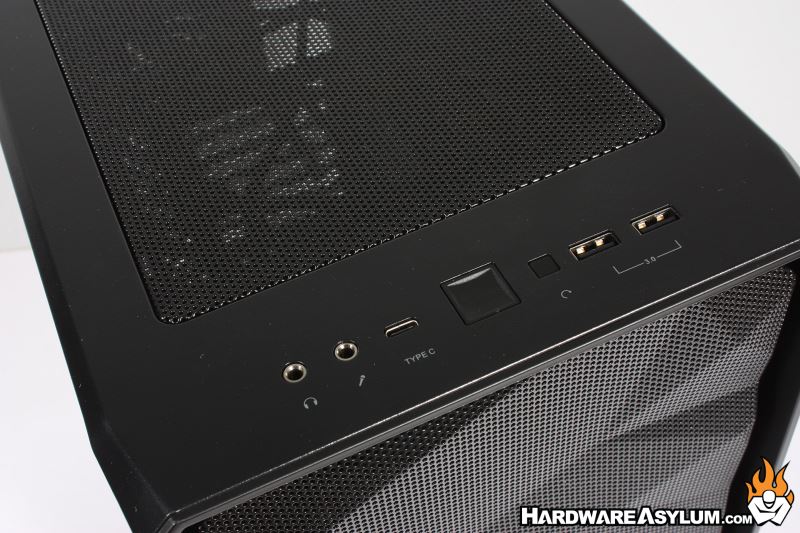

Beyond the front panel controls is a large metal vent. This vent is embedded into the top panel giving the top of the case an extremely clean look and unifies the design.