SilverStone Sugo 14 Mini ITX Case Review
Author: Dennis GarciaCase Component Install
Overall case cooling is pretty basic. You have a primary exhaust fan sitting over the motherboard and several vented panels allowing air into the case. This is a far cry from the “positive air pressure” designs and begins to favor AIO watercoolers. Basically, there appears to be no direct path for air to take and relies on the power of the exhaust fan to keep everything cool.
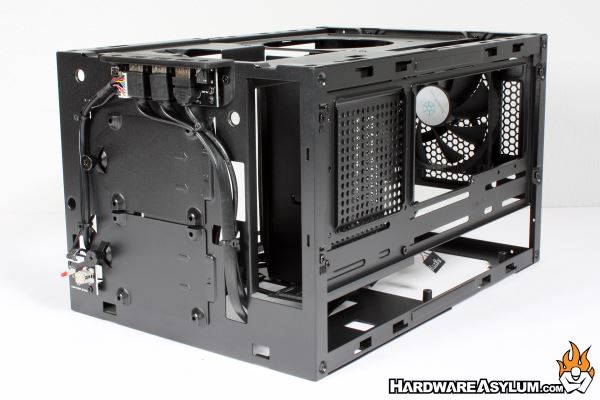
Cooling aside the SilverStone SUGO 14 is extremely well built. Corners are folded over nicely and have multiple rivets locking the panels in place. Interior panels feature embosses to help with strength along with angled panels to reinforce just about everything.
While I can talk about component access and how flexible the SUGO 14 design is I find it best to give some scale and install a few key components.
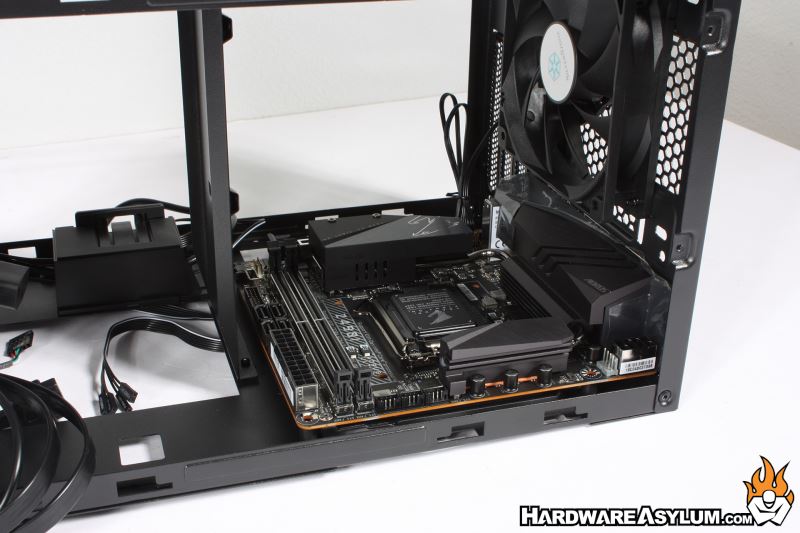
First is the motherboard. The Mini-ITX and Mini DTX motherboards install flat to the bottom panel and occupy the space between the PSU and the front panel. The standoffs are pre-installed and with both panels removed it goes in super easy.
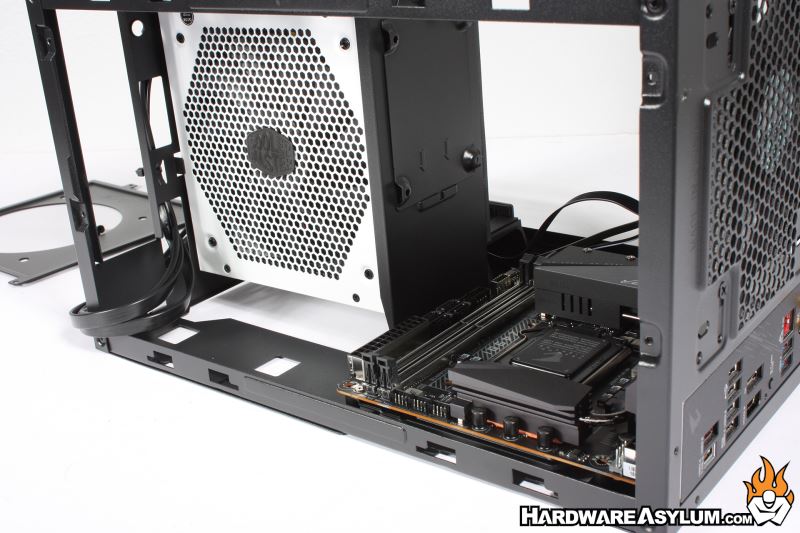
The PSU slides in from the bottom with the Power connection facing up. This allows the cables to exit nearest the components and helps to clean up the interior. Basically, the PSU is a vertical mount and will sit between the video card and external 5.25” bracket.
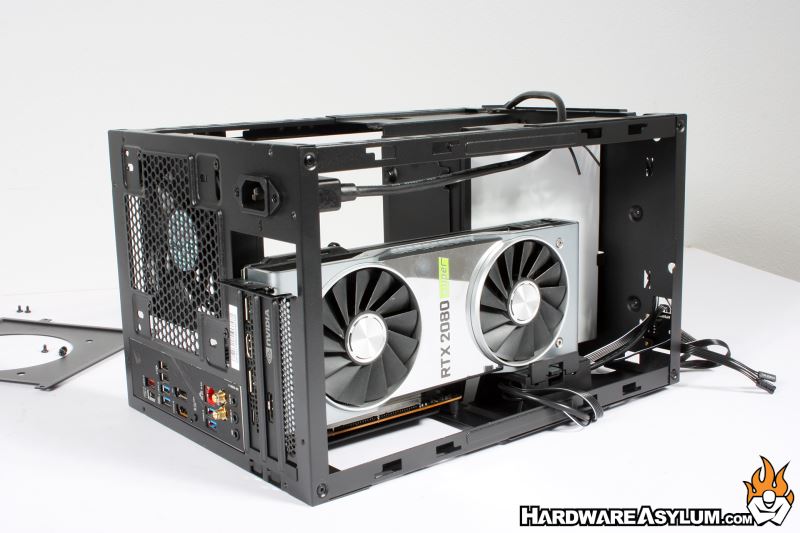
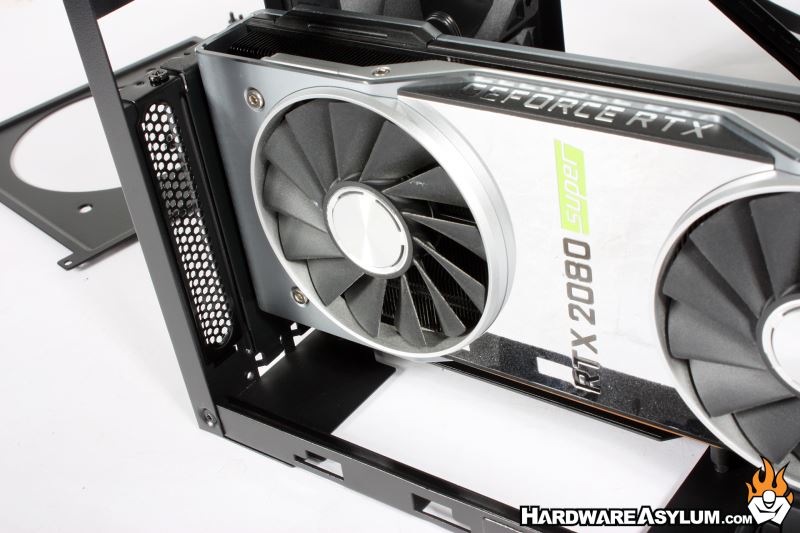
For this install I’m using the popular RTX 2080 Super and as you can see there is quite a bit of room between the edge of the card and the front panel and while the card takes up two card slots there is room for a third.
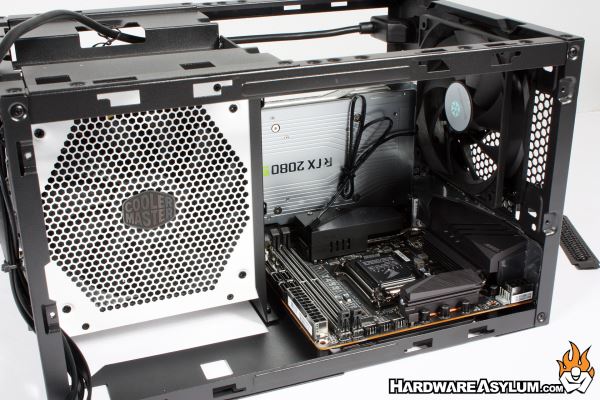
Flipping the case around shows the relation between these three major components and gives you an idea as to how much room is available for an AIO cooler or you could install a heatsink tower provided it is shorter than 182mm.